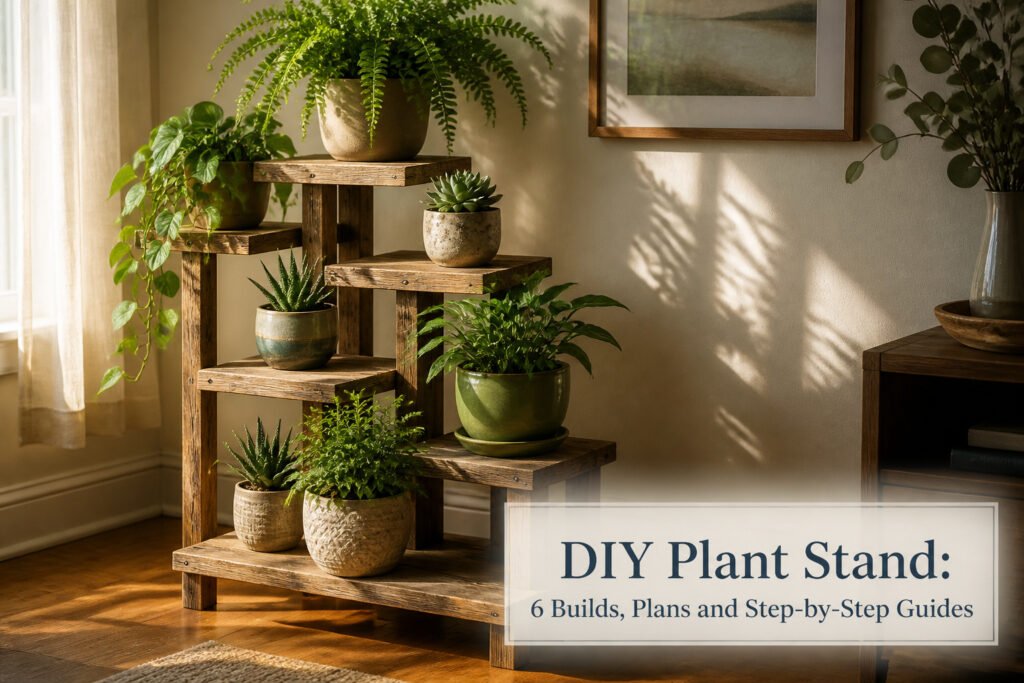
A DIY plant stand is a simple wooden frame built to lift potted plants off the floor or windowsill, but it only stays upright if the base is square to within a quarter inch. Most home builds use 2×2 legs and 2×8 shelves, with wood glue carrying the real load and screws just holding things tight while it cures. The tiered design most people picture needs staggered heights so shorter pots do not vanish under larger ones, and heavy ceramic always belongs on the lowest shelf to keep the center of gravity low.
Measure and Cut Wood
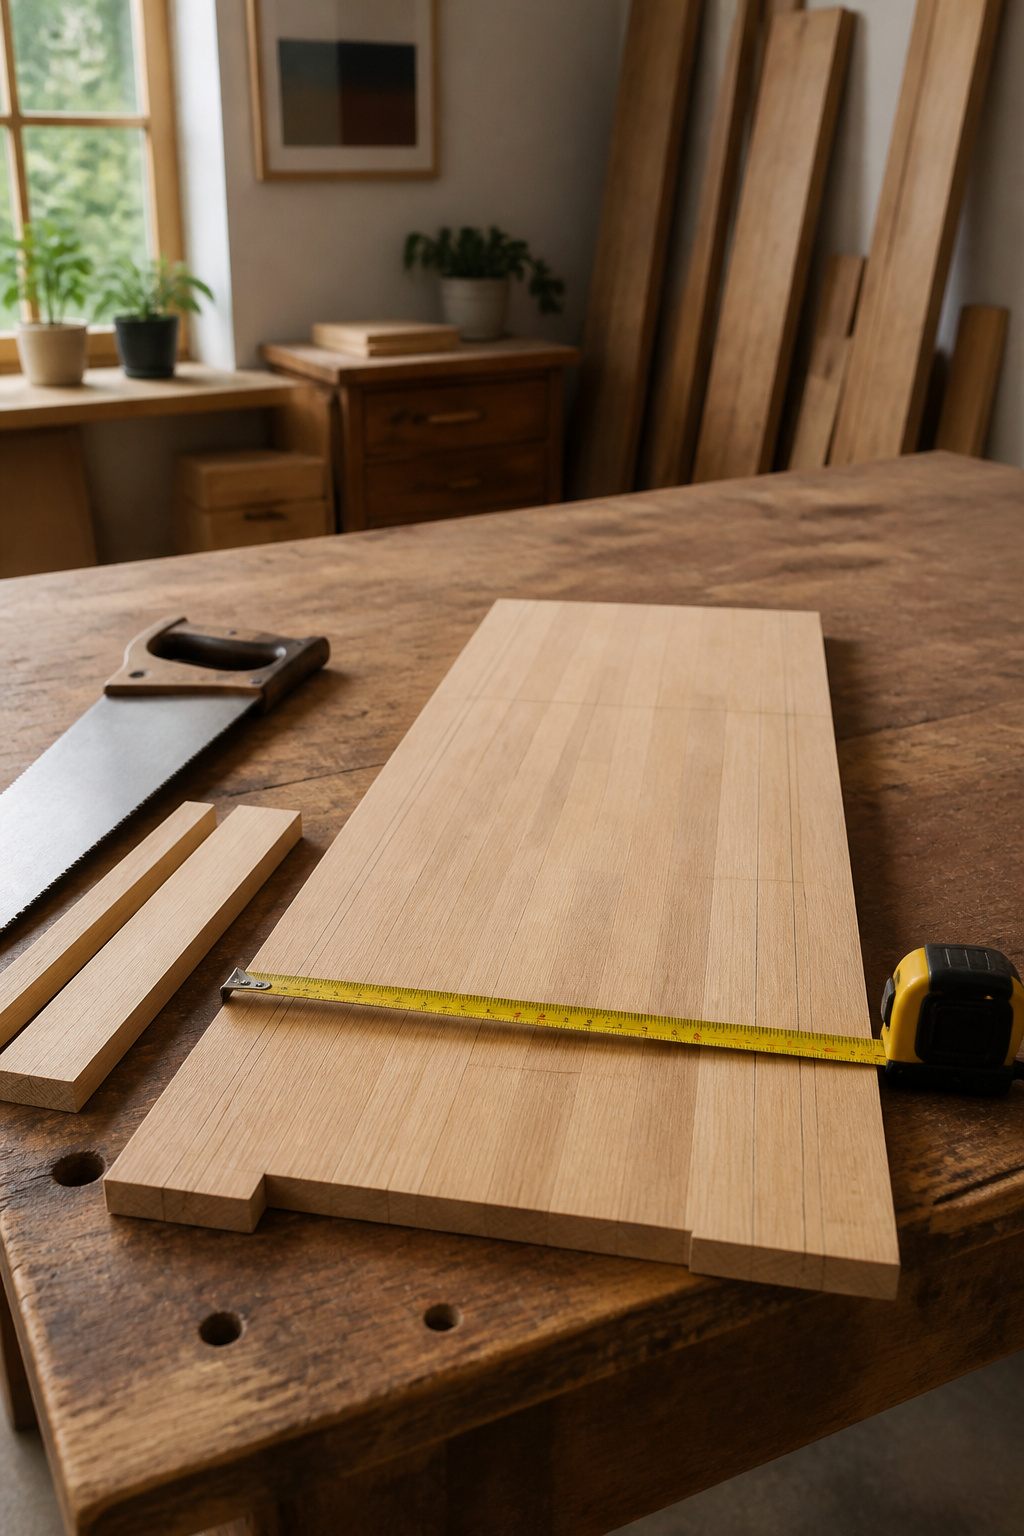
Wood moves, so cut every leg from the same face of the same board and let it sit overnight in the room where the stand will live. For a tiered stand, the proportions that feel right in most living rooms run 16 3/4″ deep by 16 3/4″ wide by 33 1/2″ tall, with 2x2s for legs and tops sized to whatever sits on them. Standard pot diameters land at 6, 8, 10, 12, and 14 inches, which means you can plan a cut list before you own a single plant. I add one inch of overhang past the pot rim minimum, two if the pot tapers hard and the soil line sits high. Measure the pot at its widest point, not the lip; the bulge is what catches on a too-small shelf when you lift it out to water.
Assemble the Base
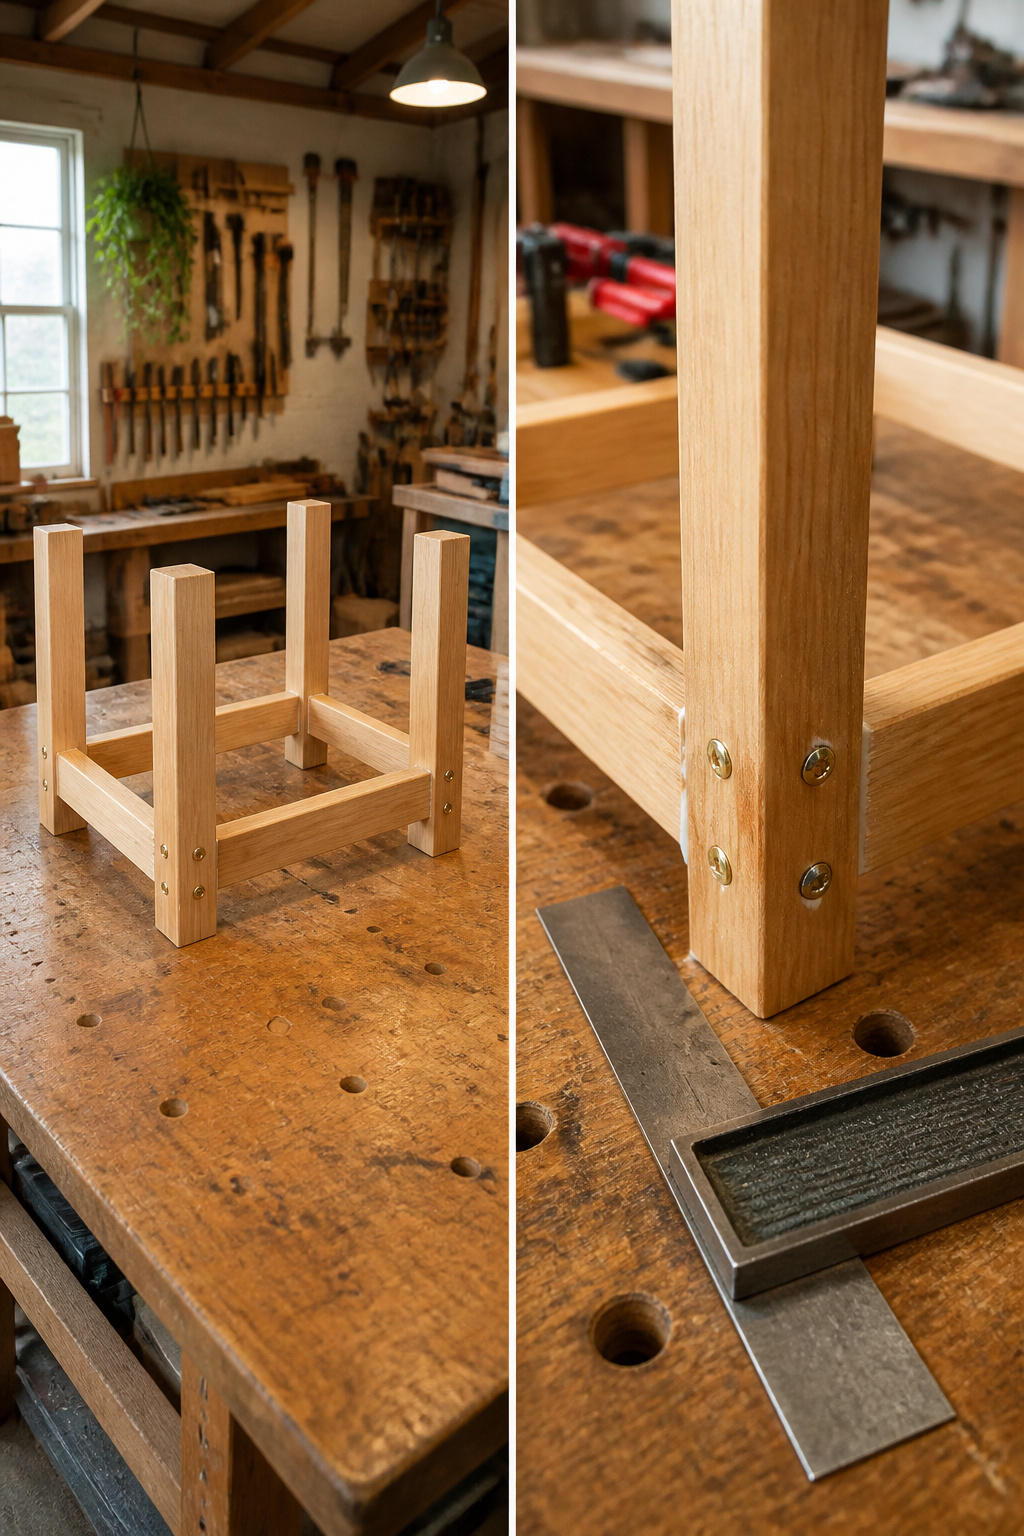
The base needs to stay put, because a wobble here turns every tier above it into a slow-motion disaster. I start by joining the legs to the lower rails with 2 1/2″ wood screws, but never without pre-drilling first. The 2×2 stock splits clean in half if you drive a screw straight in, and a cracked leg means starting over.
Wood glue at every joint is what carries the real load long-term. The screw holds things tight while the glue cures; six months from now, the glue is doing almost all the work. Spread it thin and clamp or hold for a few minutes so it doesn’t slide apart while you drive the screw.
Before the glue sets, check for square. Measure corner to corner diagonally in both directions, or set a carpenter’s square in each corner if you have one. Those two diagonal measurements need to match exactly. A base even 1/4″ out of square will rock on flat floors and rack sideways under weight. I fix it now with a gentle tap or by loosening one screw and re-clamping, because nothing above this frame sits level if the base doesn’t.
Add Shelves or Tiers
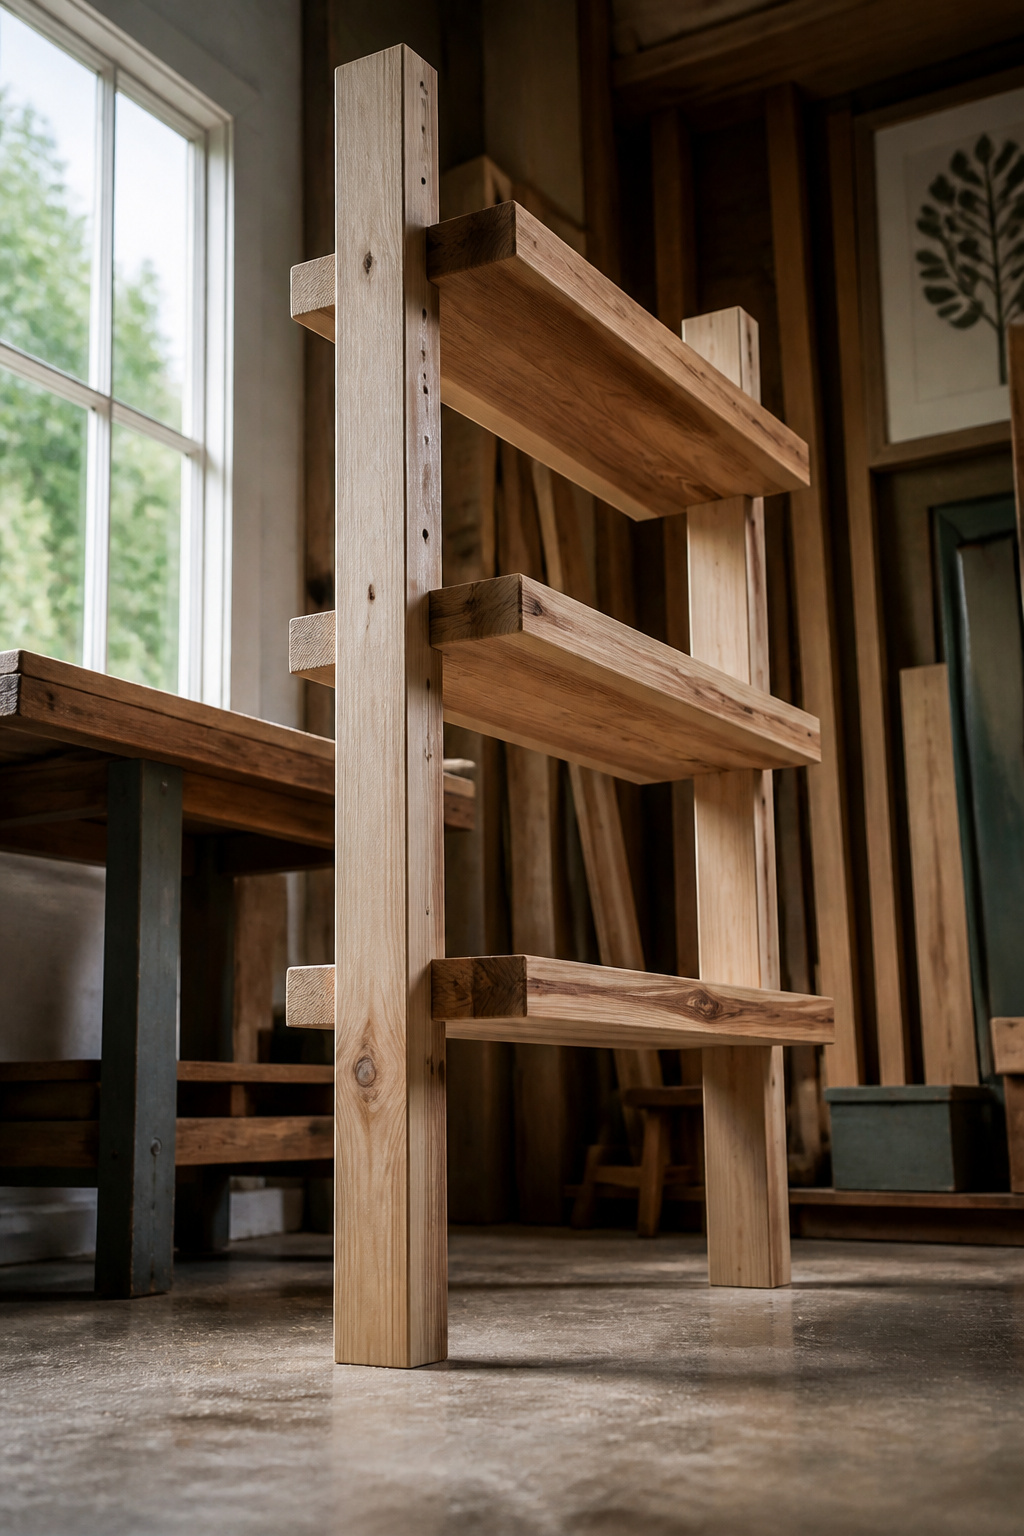
Horizontal pieces go on last, and the order of work matters more than it looks. I mark every shelf height on the inside face of each leg before anything gets fastened; pencil marks are easier to adjust than holes already drilled, and standing the legs together on a flat surface lets me sight down the pairs to catch a line that’s wandered. For the top surface, a 2×8 gives enough width for a hefty pot without the board feeling like a plank bridge. The thickness also hides the screw heads if you counterbore from underneath.
A middle tier needs blocking between the legs, not just end screws into the uprights. A short piece of the same stock, cut to fit snug between the legs and screwed through from the outside, carries the load straight down instead of levering against the fasteners. Leave the shelf overhanging the legs by at least an inch so the stand doesn’t rack sideways when you set weight near the corner, but keep the overhang under three inches or the whole thing gets tippy when a cat brushes past or you bump it with a hose.
Sand and Finish
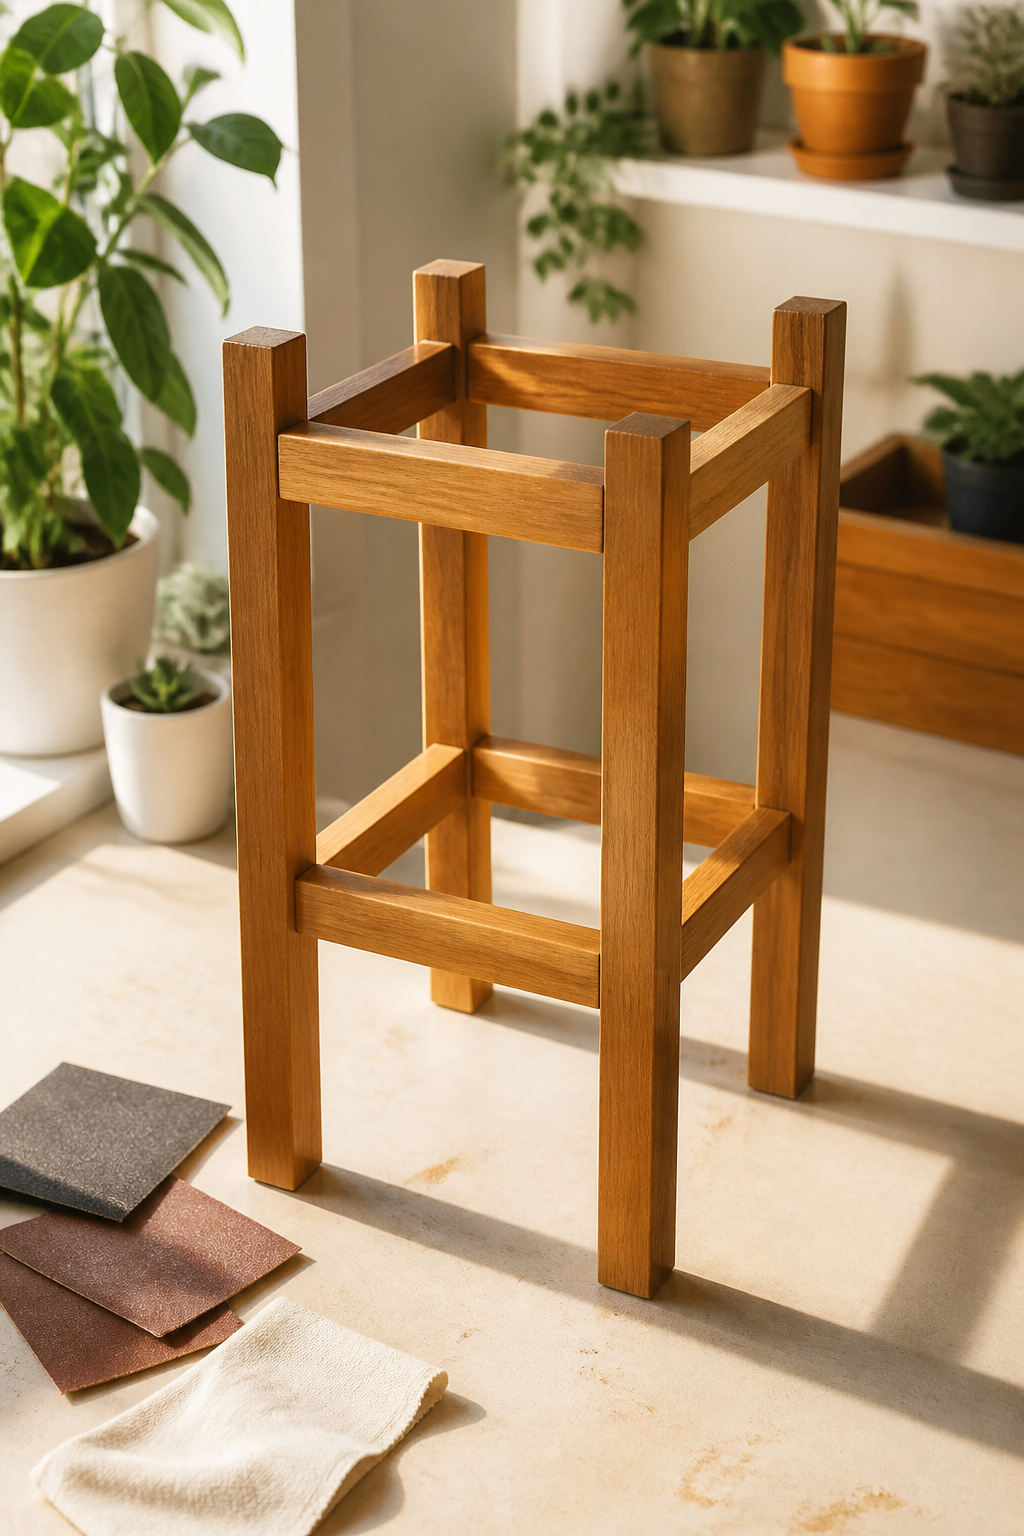
Sandpaper grit progression matters more than most weekend builders expect. Start at 120 to knock down saw marks and joint lines, then move to 180 and finish at 220 before any finish touches the wood. Skipping straight to fine grit only polishes the ridges instead of flattening them.
A tack cloth or vacuum hose between every grit change keeps scratches from becoming permanent dark lines under stain. The dust left behind is what creates those muddy patches that show up the next morning.
For the color itself, Minwax Golden Oak is what I’d reach for on a simple indoor stand. It warms up pine and soft maple without reading orange, and one coat often looks richer than two. If this stand lives outside, though, stain alone quits within a season. Polyurethane over the color layer, or a deck stain with sealant built in, buys you two to three years before water starts lifting corners.
Drying time is where weekend timelines live or die. Golden Oak needs six to eight hours before it stops tacky enough to trap dust; polyurethane doubles that and wants light sanding between coats. Plan for three days total if you’re sealing, or one long Saturday if you’re staining bare wood and calling it done indoors.
Final Assembly and Stability Check
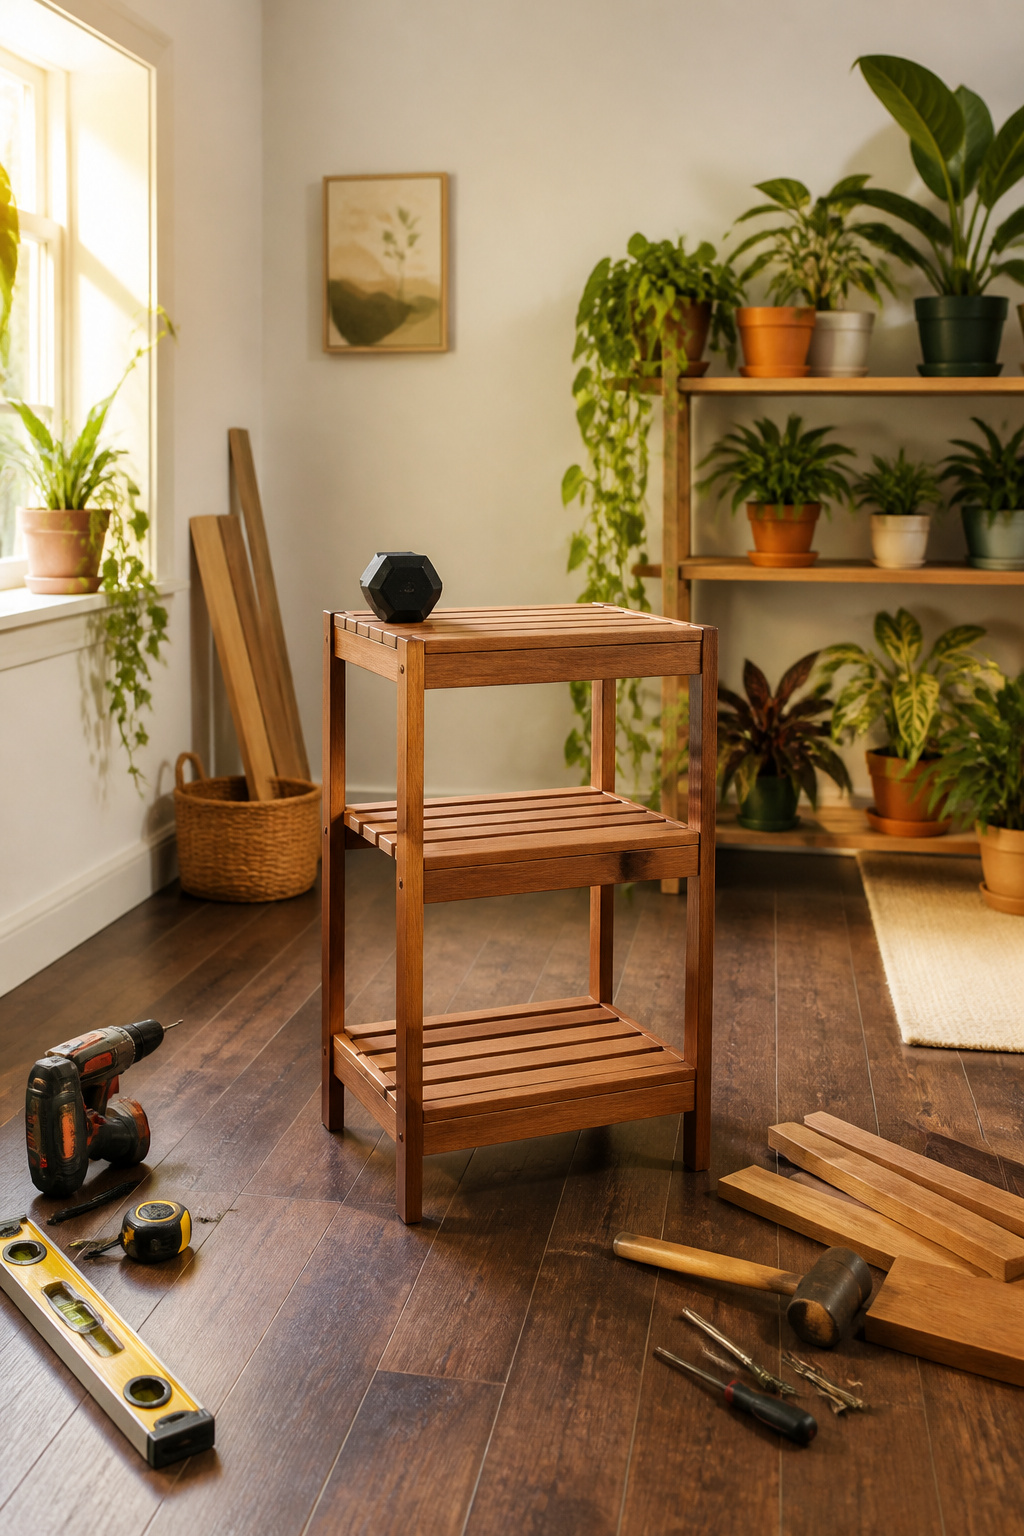
The last fasteners go in at the corners and along the back rail, where the stand takes the most stress when someone bumps it reaching for a watering can. I press down at each corner with my full weight before a single pot goes near it. Any wobble means the feet are not square or the floor is the culprit; a quick turn of one leg or a felt pad under the short corner fixes most of it.
Heavy pots belong on the lowest tier, period. The center of gravity stays low, and the lower shelf deflects less because its span is shorter. If you are building a single-tier stand instead of stacking shelves, Parsons table legs cut to 15-1/4 inches tall hit a workable proportion: low enough for a large pot to feel stable, high enough that the saucer clears most baseboards. I have seen shorter legs look stubby and taller ones start to teeter once the soil goes in.
Folding Plant Stand
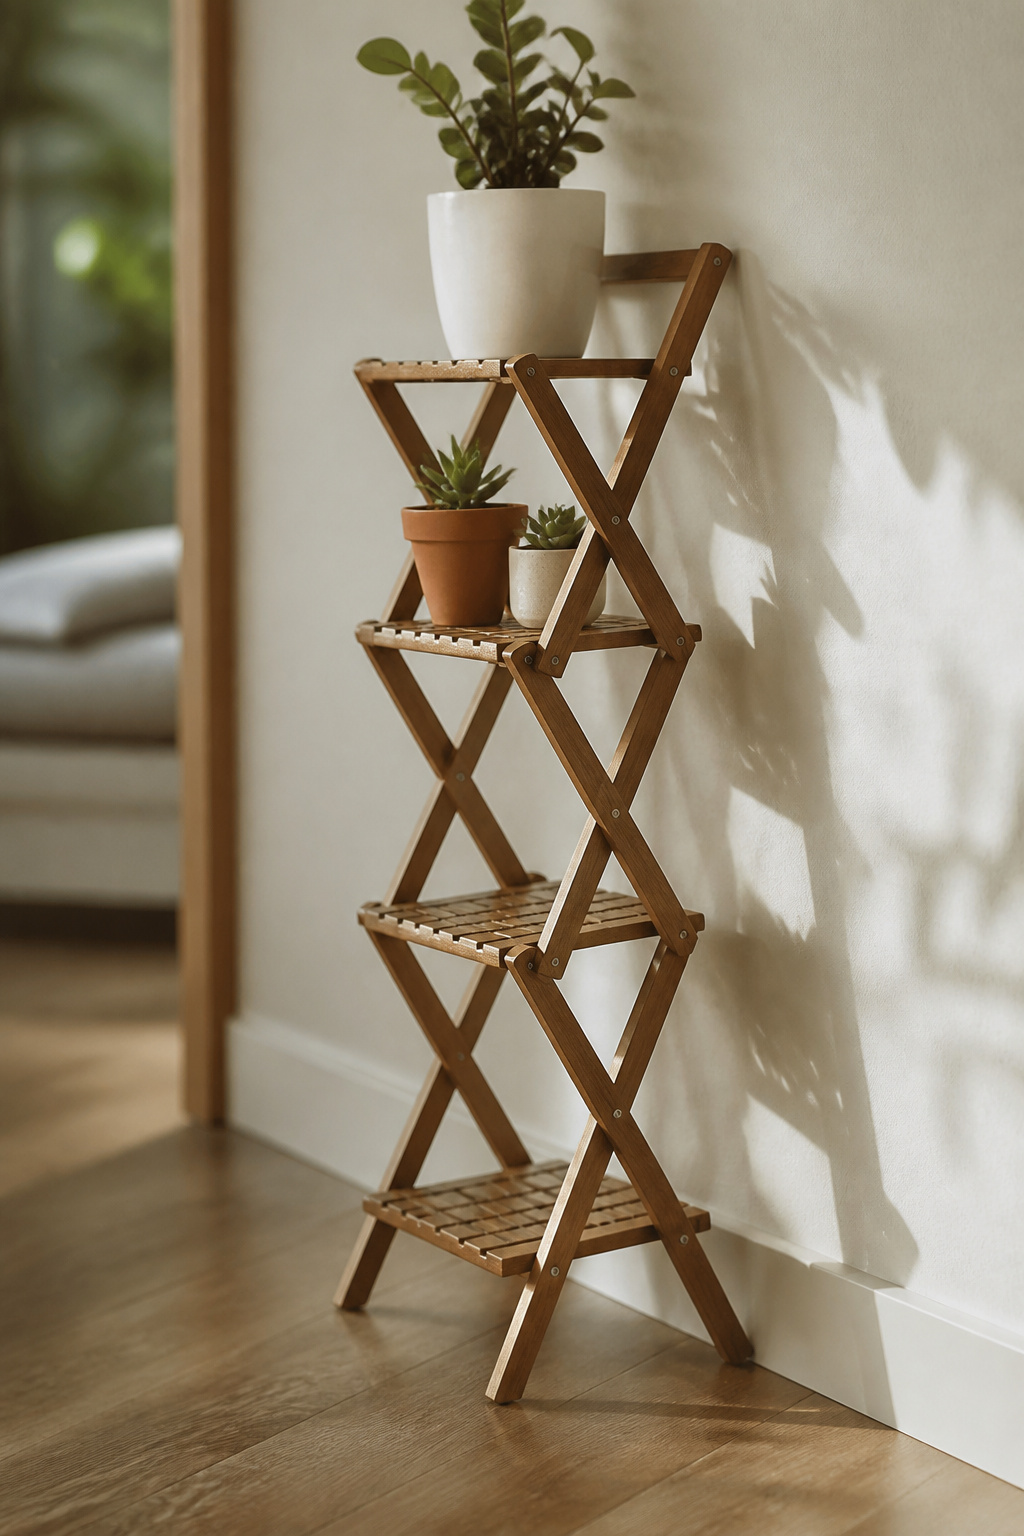
A folding plant stand collapses flat against a wall or slides behind a dresser when the lease ends, which matters more than most build guides admit. The compact ones use two pairs of legs joined with a central bolt so the whole frame scissors shut like a clothes drying rack. Hinge placement determines whether it stands steady or wobbles under a wet ceramic pot, and getting that right means marking and drilling four identical angles rather than eyeballing.
This design sits past true beginner work. A basic fixed stand asks you to cut square and drive screws. Here you are cutting tapering legs, setting barrel bolts or recessed hinges, and dialing in tension so the stand opens to a predictable width without flopping past it. The hardware runs past the ten-dollar bag of screws, too. Figure on a router or careful chisel work to recess hinges flush, otherwise the legs bind and the stand racks sideways.
For renters who move every year or two, the trade still clears. A three-tier fixed stand eats half a closet. This takes the space of a broom. The build asks more patience, but storage beats another piece of furniture to haul down stairs.
Tiered Plant Stand
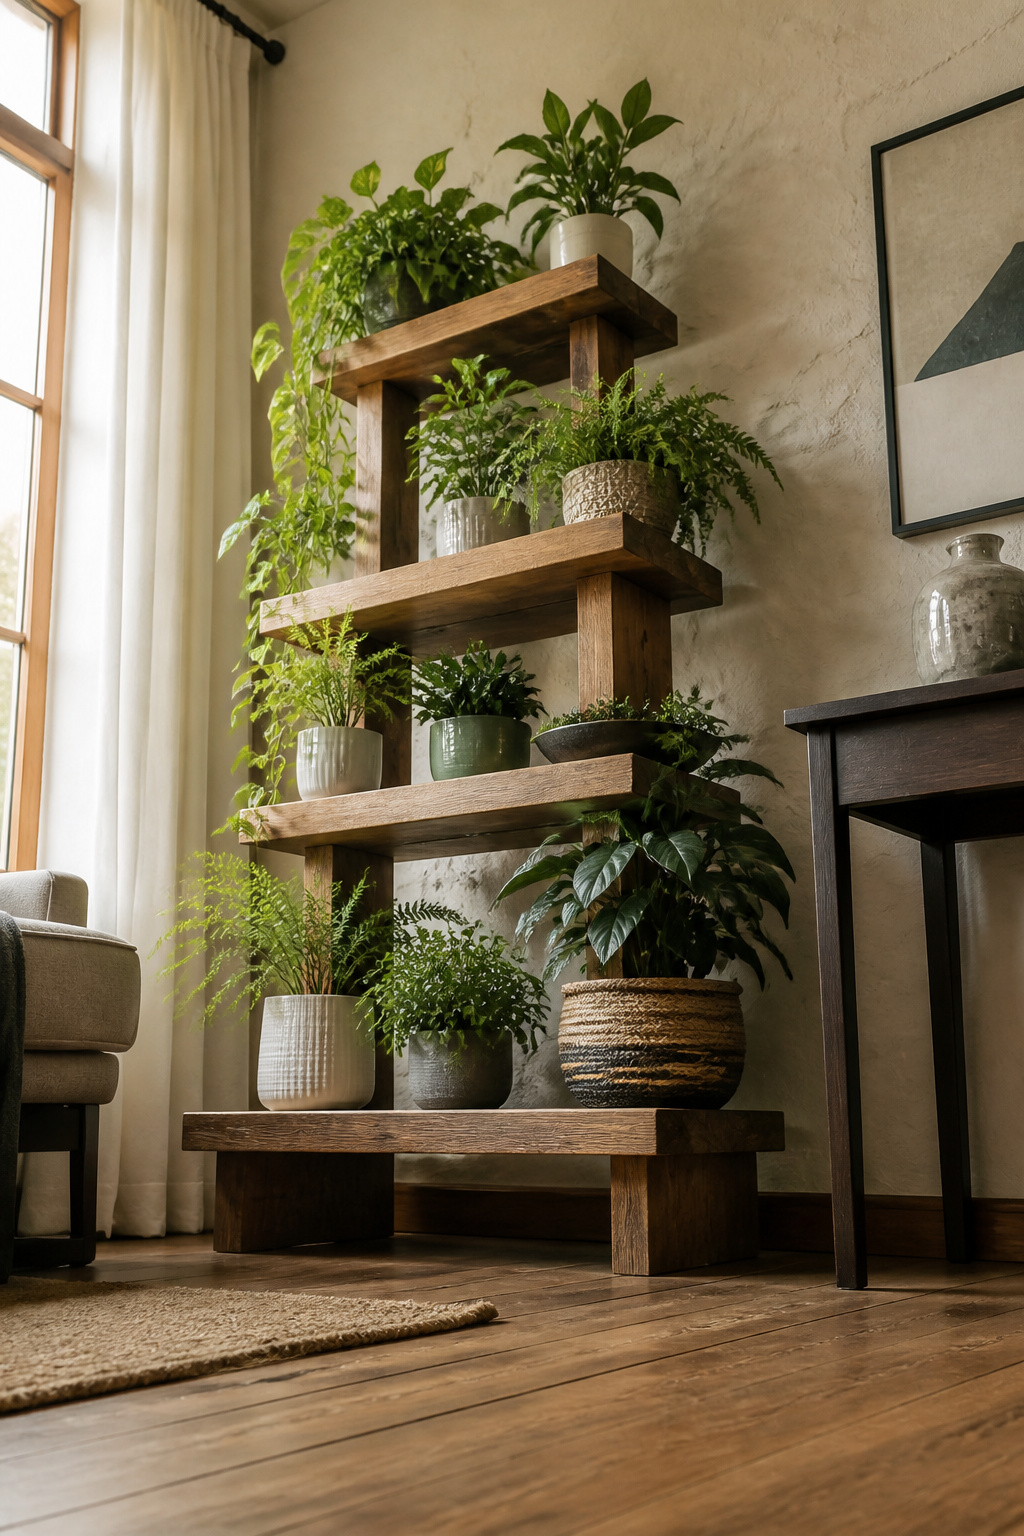
The tiered plant stand is what most people picture when they search diy plant stand, and for solid reason. Three shelves set at staggered heights let shorter pots sit below taller ones without anyone getting buried in shadow, which matters more than it sounds when half your collection is a light-hungry pothos and the other half is a snake plant that barely cares.
That 2×8 top spec from the build procedure above is sized for this exact style. A 2×8 gives enough depth for a six-inch nursery pot plus a little wiggle room, but not so much that the stand starts eating floor space. The whole thing tucks into a corner neatly, and the diagonal footprint means you’re using dead air rather than the middle of the room where people actually walk.
Some builds branch the tiers off a central post like a stripped-down tree, which is the scrap-wood approach. Others angle the shelves on a simple A-frame. Either way works; the post style saves a few cuts if your miter saw intimidates you, while the angled frame feels sturdier once you load it with terracotta. Both stay beginner-friendly, and both keep every plant within window reach.
Leaning Plant Shelves
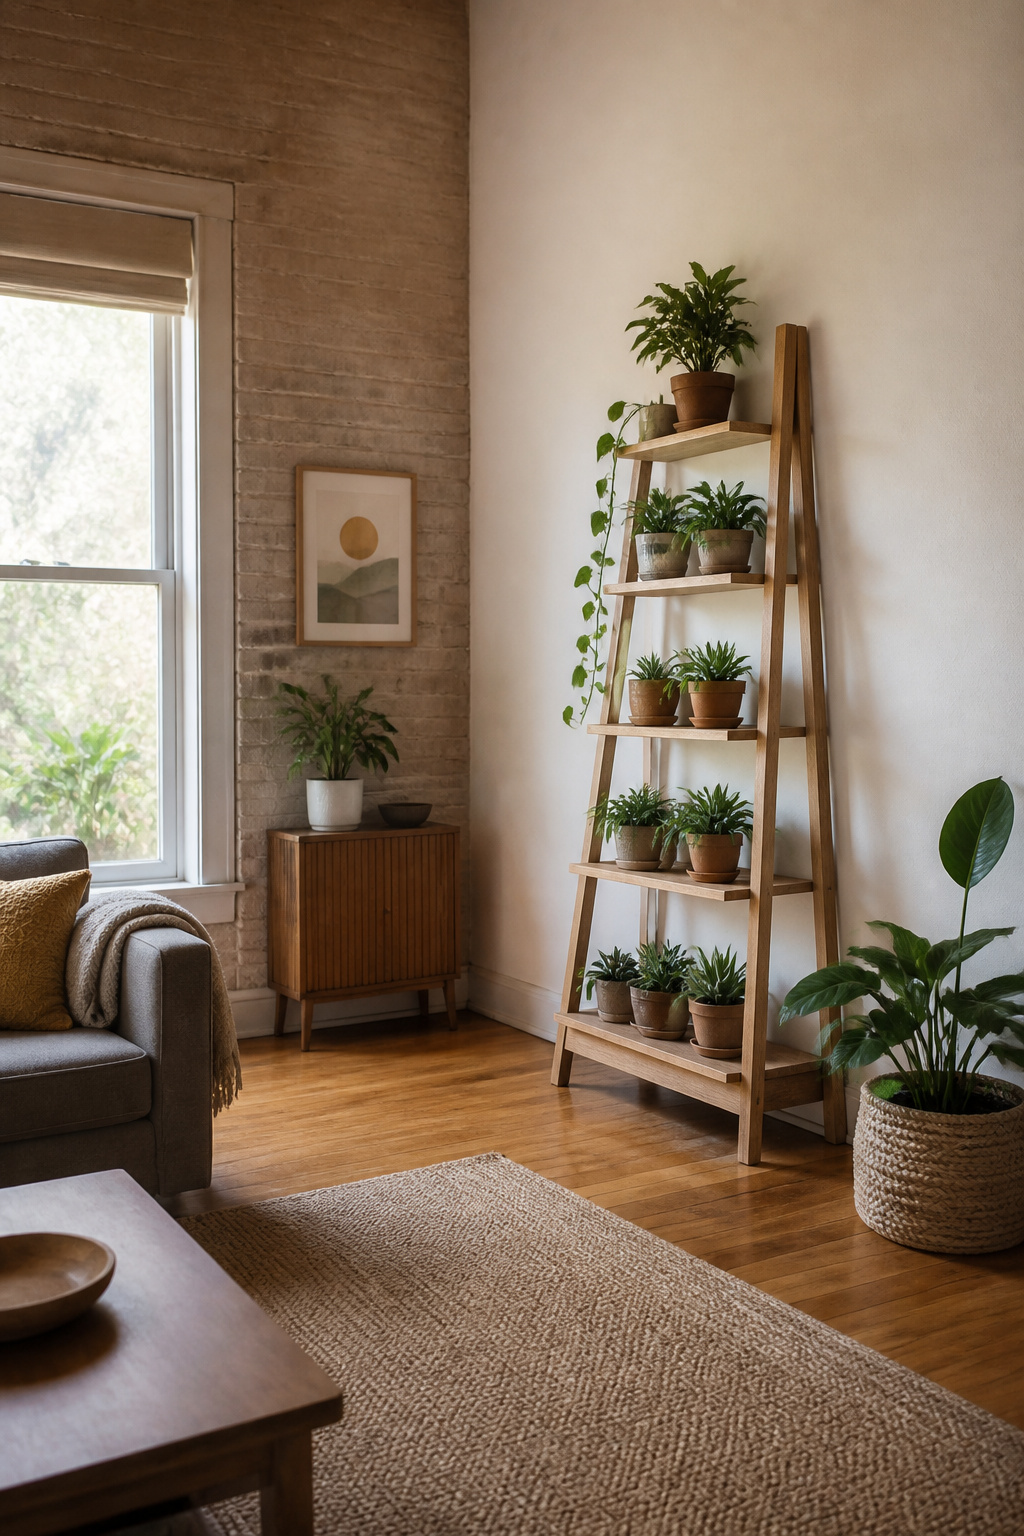
A leaning shelf frame works like a shallow ladder, with rungs replaced by flat boards that grow wider toward the base. The bottom shelf carries the heaviest pots, and that extra depth acts as ballast so the whole unit stays put against the wall without legs splaying into the room. In a small apartment, the footprint stays narrow enough to squeeze beside a sofa or into a corner that a freestanding unit would never fit.
The trade is that the frame needs wall contact or anti-tip hardware to be safe around children or pets. A cat scrambling up the rungs, or a toddler pulling on a trailing vine, can send a leaner tipping forward faster than you’d expect. A simple L-bracket into a stud at the top rail fixes it, or furniture straps if you’re renting and want to avoid holes. Without that anchor, the shelf belongs only in spaces where no one will climb it or bump it hard.
Simple Indoor Plant Shelf
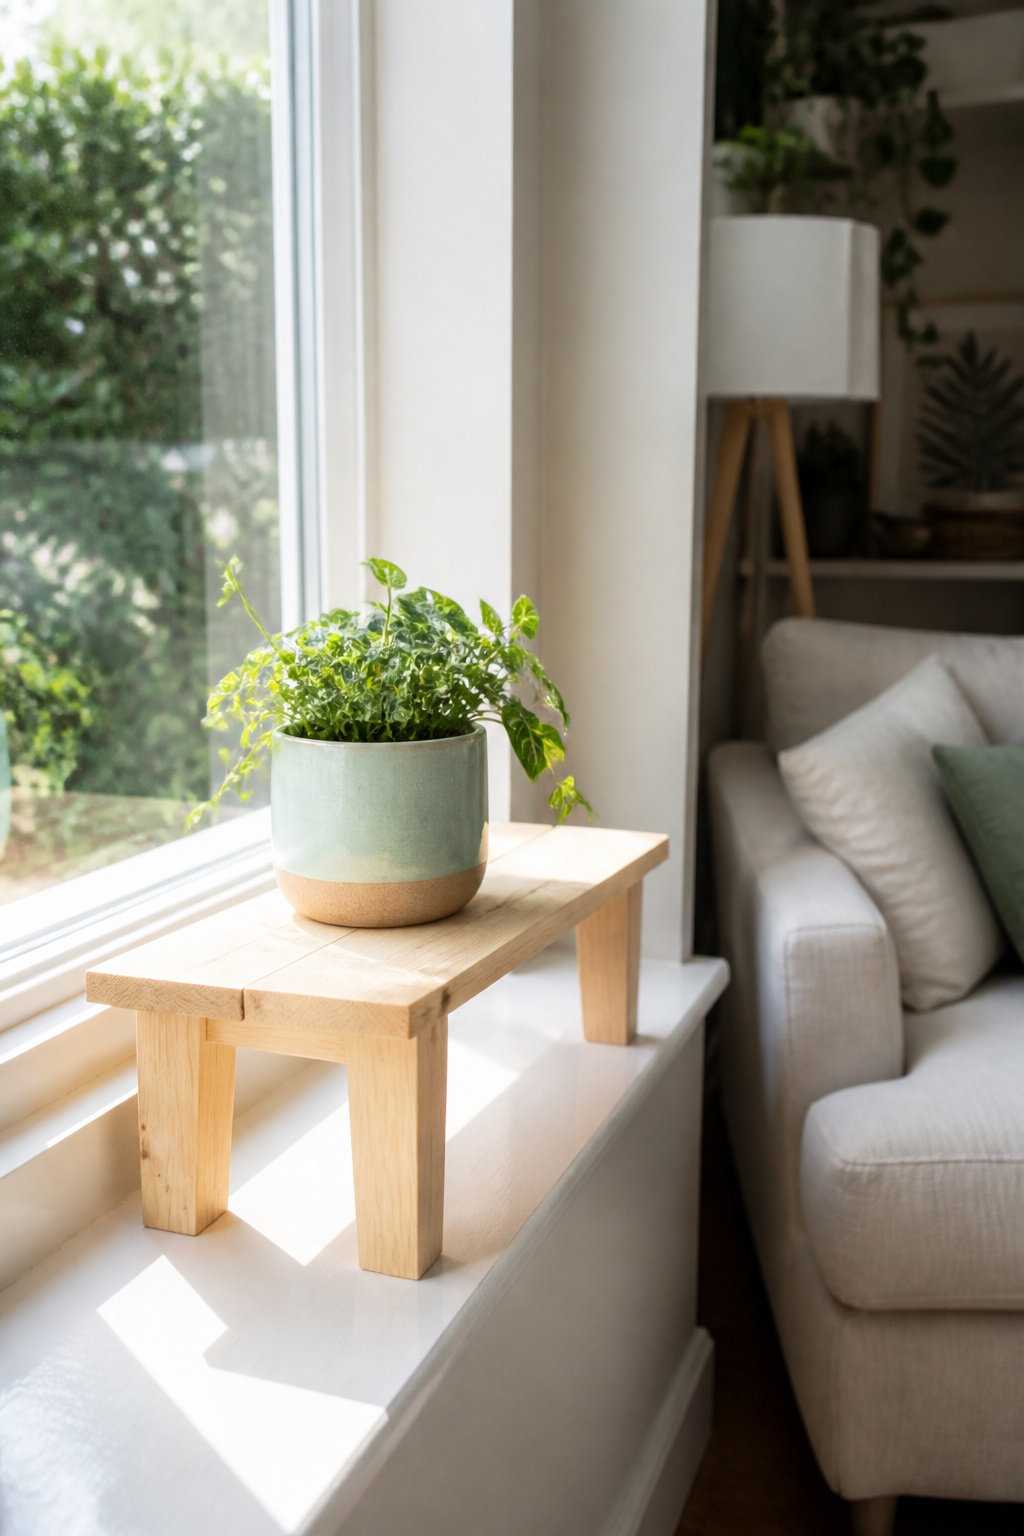
A single shelf built to pot height is the fastest way to turn scrap lumber into something you actually use. I started here because one 1x or 2x board and four short legs get you from a Saturday morning to a finished piece before dinner, and the whole thing costs less than a store-bought stand that wobbles.
The build is essentially a small table. Measure the pot you want to lift, add an inch or two for drainage space, and cut your top board to that length. Legs at roughly pot height, around twelve to sixteen inches depending on the window sill or floor space you’re working with, keep the plant at a level where it gets light without dominating the room. Parsons legs with hanger bolts already installed save you the trouble of figuring out joinery; home centers stock them in several heights and shapes if the standard tall version throws off your proportions.
This is where beginners should start before trying tiers or outdoor builds. One shelf teaches you whether your saw cuts square and whether you actually want to look at wood grain or would rather paint it, all without the compound angles and balance issues that make taller stands frustrating. Keep the pot light, though. A small ceramic container works fine, but a heavy glazed planter on a narrow single shelf turns into a tipping hazard the first time someone brushes past it.
Outdoor Plant Stand
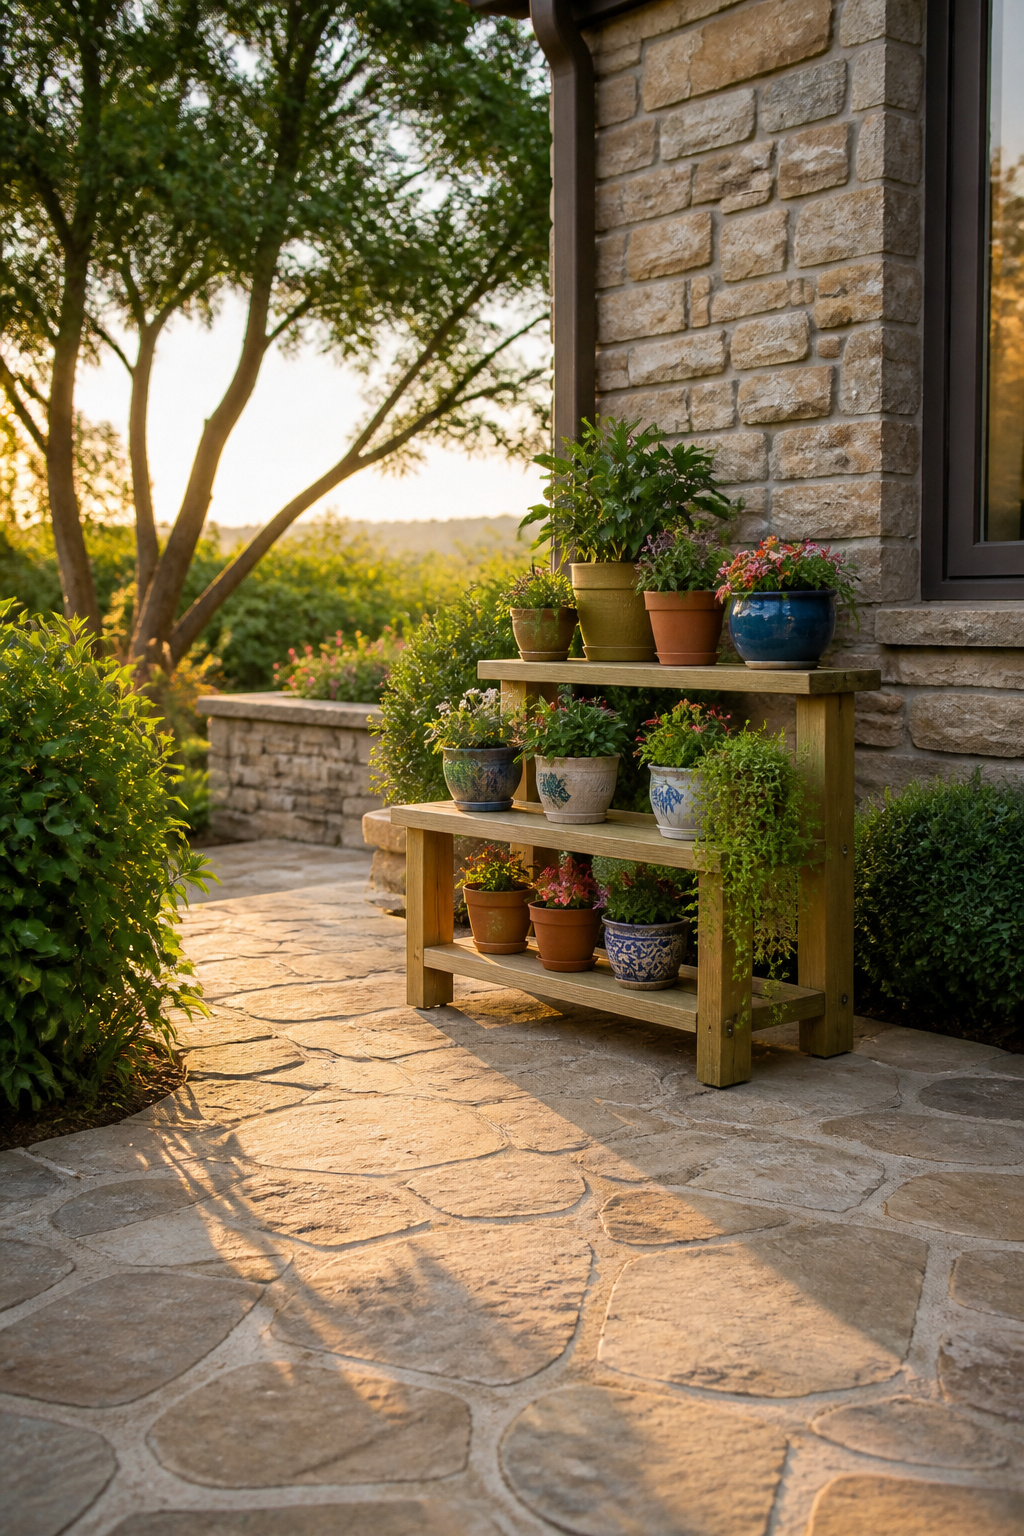
Exterior wood takes a beating that indoor stands never see. Pressure-treated or cedar lumber is the starting point, not an upgrade, because standard pine will rot where pot runoff sits. Galvanized or exterior-grade fasteners matter just as much; the zinc coating on deck screws buys you seasons before rust streaks start weeping down the legs.
Sealant on all end grain is the step most first builds skip, and it’s the one that costs a stand two years of life. Cut ends drink water like a straw, and once swelling starts, joints loosen even if the glue line looked tight in the garage. The same mortise-and-tenon or half-lap joinery you’d use indoors still applies, but wobble tolerances shrink fast. Wet soil in a terracotta pot runs heavy, and a frame that flexes on day one will rack itself apart by midsummer. I check corners with a framing square before the first plant goes up, because shimmed feet on uneven patio stones only hide a twist that gets worse.
Materials and Wood Types

Most builds pull from the same short list. 2x2s work well for legs, and 1x or 2x boards handle the tops and shelves. A few plans call for cedar fence pickets if you want a different look.
Wood glue plus 2 1/2″ wood screws is the standard joint. Sandpaper smooths the edges before finish, and a coat of stain or sealer keeps the grain from graying.
The wood type matters more than the grade:
- Pine is the cheapest option and holds up fine indoors
- Cedar or treated lumber lasts outside through wet seasons
- 2x8s work for wide pot bases if your plants need the room
I used to grab whatever was on the rack, but an indoor stand in pine and an outdoor stand in pine are two different projects three years later.
Tools for the Build
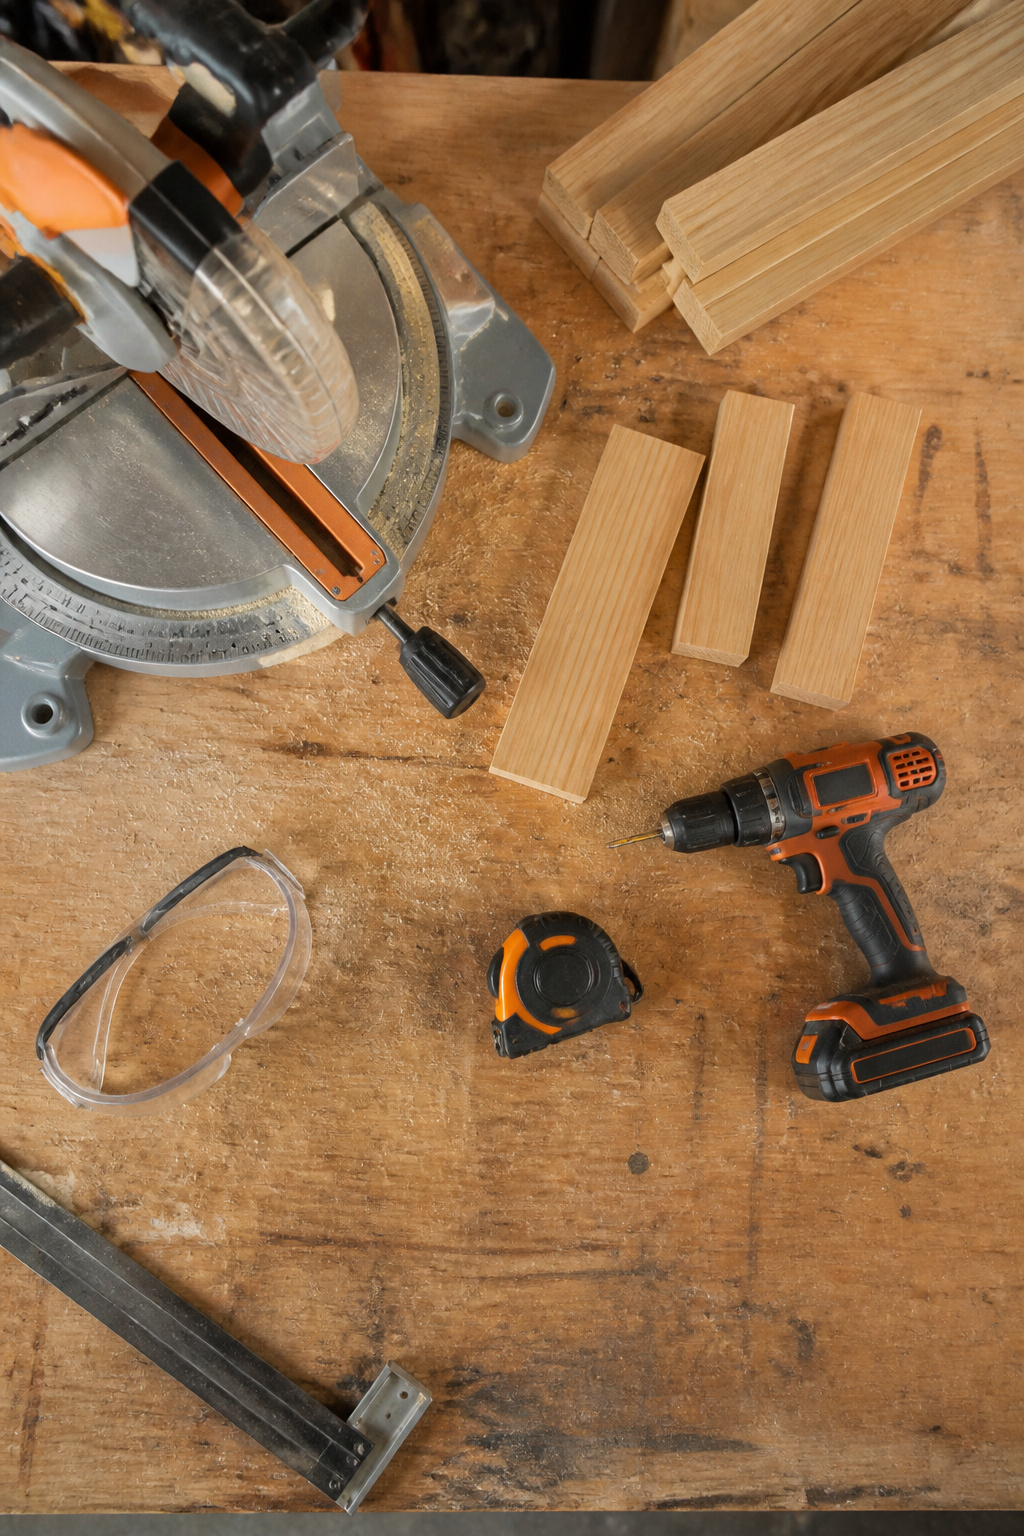
A hand saw gets the job done for a single stand, but repeat cuts for tiered builds go faster with a miter saw. A circular saw paired with a straightedge guide works too, and it is what most renters already own.
- Measuring tape, for marking cuts and checking that legs end up the same length
- Drill/driver, for driving screws through legs into shelves or aprons
- Sander or sanding block, for knocking down splinters before assembly; a palm sander saves time on multiple stands, though a block and 120-grit paper handle one-off builds fine
- Safety glasses, non-negotiable when cutting or sanding
Some plans call for a Kreg jig for pocket holes, and one build I read through notched the top pieces with a hand saw and chisel instead. The jig gives cleaner joints; the chisel works if you are borrowing tools or keeping the buy-in low.
Skill Levels and Where to Start
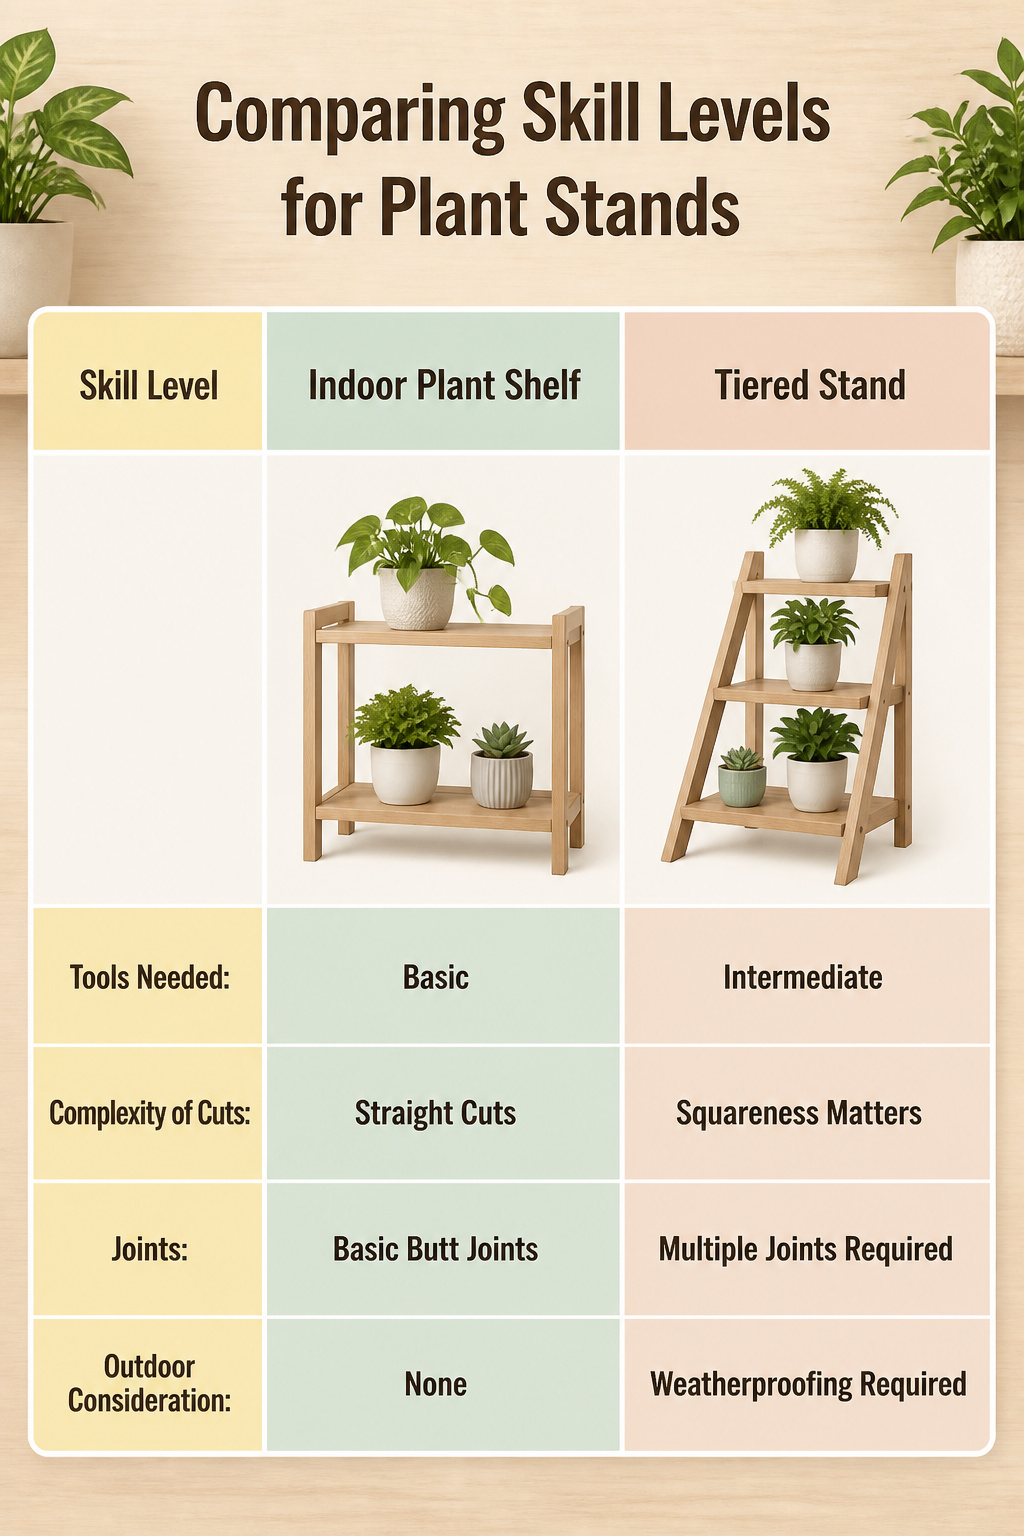
A simple indoor plant shelf sits at beginner level, asking only for straight cuts and basic butt joints. The tiered stand moves into intermediate territory because squareness matters; if those shelves rack even slightly, the whole thing lists and the pots slide. Multiple joints mean multiple chances for that error to compound, so a speed square and patience become tools as important as the drill. Folding stands or anything built for outdoors push toward advanced. Hardware adds failure points that glue and screws do not, and outdoor stands need weatherproofing decisions that indoor projects skip entirely. Match the project to the experience you already have, not the one you hope to gain in a weekend; a wobbly tiered stand in the living room teaches less than a solid shelf that actually holds your plants.
Frequently Asked Questions
What materials do I need to build a plant stand?
Most builds use 2x2s for legs and 1x or 2x boards for tops and shelves, plus wood glue and 2 1/2" wood screws for joints. Cedar fence pickets work if you want a different look, and you’ll need sandpaper plus stain or sealer to finish. Outdoor stands call for pressure-treated or cedar lumber and galvanized fasteners, not standard pine.
How do I ensure my plant stand is stable?
Check the base for square before the glue sets by measuring corner to corner diagonally in both directions; those two measurements must match exactly. Spread wood glue thin at every joint and clamp while driving screws, since the glue carries the load long-term. Heavy pots belong on the lowest tier to keep the center of gravity low, and press down at each corner with your full weight to test for wobble before loading it with plants.
What tools do I need for a DIY plant stand?
A measuring tape, saw, drill/driver, and sander or sanding block handle most builds, plus safety glasses for cutting and sanding. A miter speeds up repeat cuts for tiered stands, while a circular saw with a straightedge guide works fine for renters who already own one. Some plans call for a Kreg jig for pocket holes, or you can notch pieces with a hand saw and chisel instead if you’re keeping tool costs down.