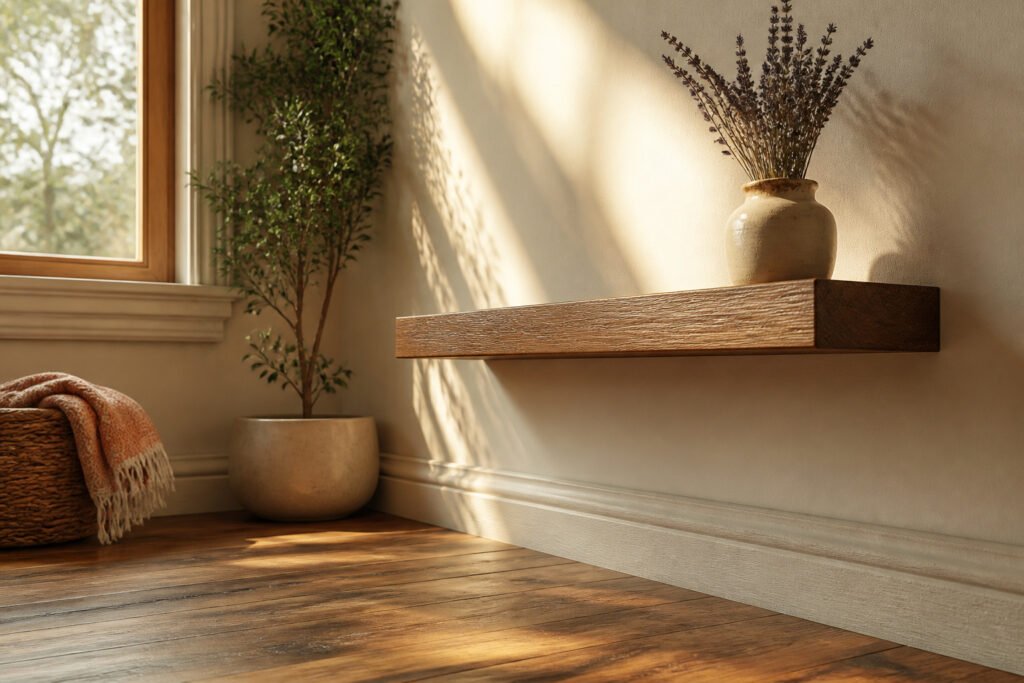
A floating shelf hides its bracket inside the shelf itself, so the wood seems to hang on the wall with no visible support. The catch is that the box has to be built hollow around the hardware, and the fit must be snug enough that a mallet is sometimes required to seat it flush. You will start by cutting two sheets of ½-inch plywood for the top and bottom, each sized 1½ inches shorter and ¾ inch narrower than the finished shelf you want.
1. Choose Wood and Dimensions
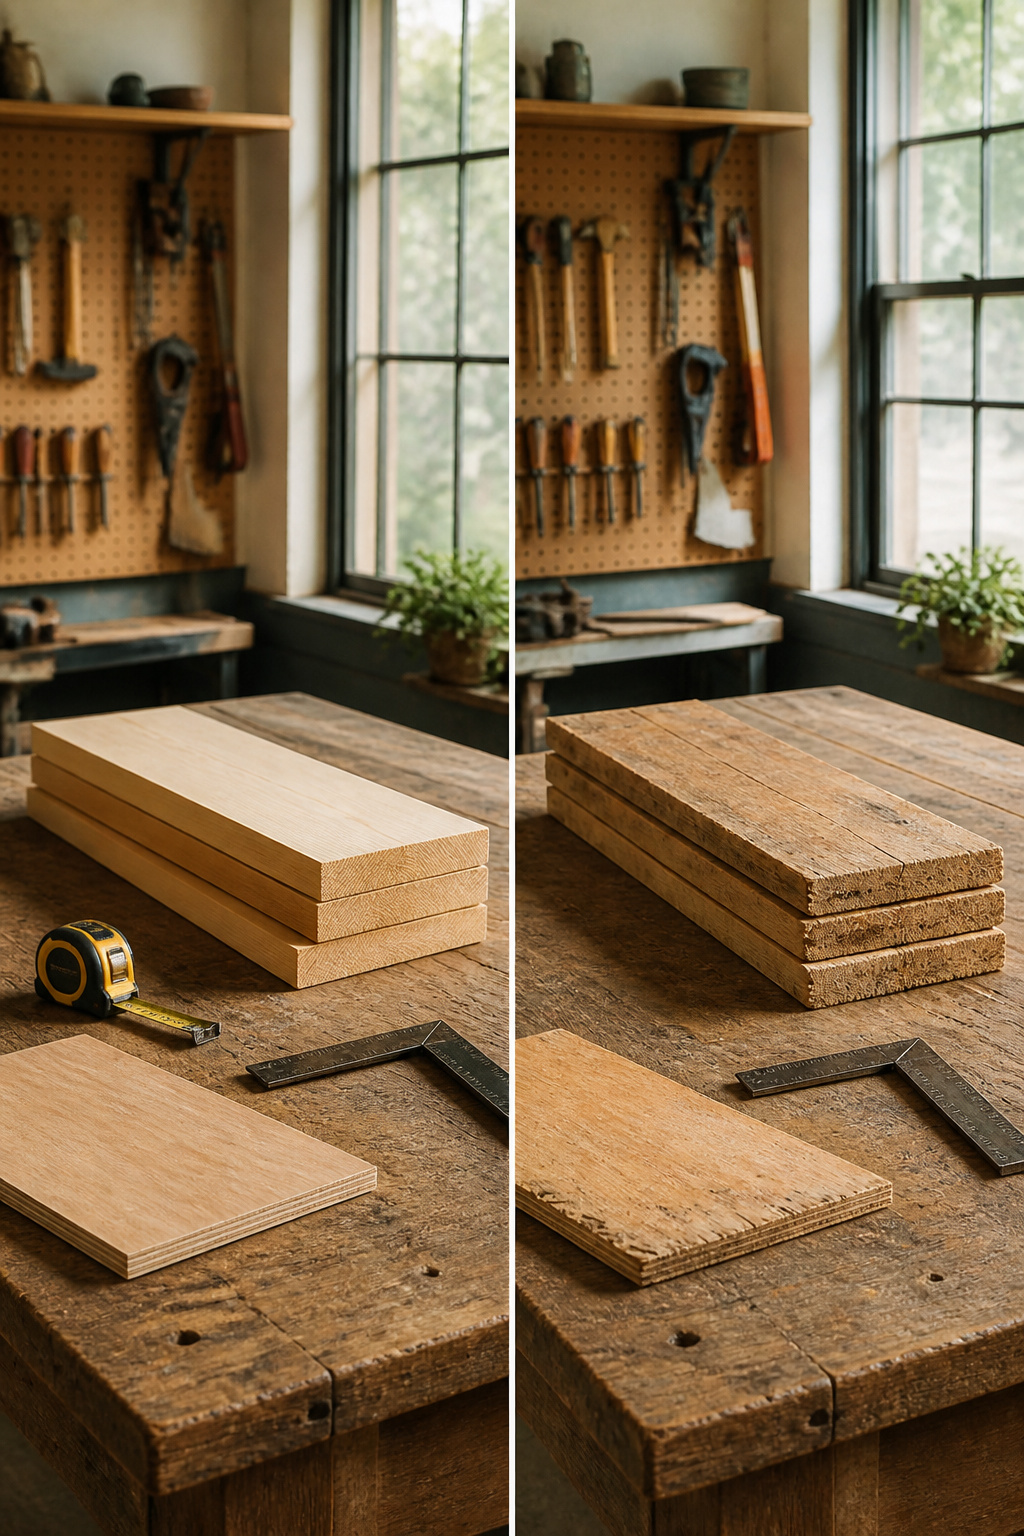
Pine boards and birch plywood both work for a floating shelf diy, and checking the scrap pile first is worth the trip. I have used pine for painted shelves and birch plywood where the grain shows, though oak or maple hold up better in a kitchen that sees steam and heavy mugs.
Thickness is where shelves fail quietly. A shelf up to three feet long needs 3/4-inch-thick wood for ordinary loads. At four to six feet, step up to 1-inch material. Past six feet, or anywhere a shelf takes real weight, 2-by lumber at 1.5 inches or even full 2-inch stock keeps the surface from bowing over time.
Depth narrows the choice fast. Twelve inches handles books, dishes, the usual living-room load. A bathroom calls for ten inches, enough for a hand towel stack without stealing clearance in tight quarters.
For shelves up to 3 feet long, 3/4-inch-thick wood is sufficient for light to moderate loads. For shelves over 6 feet, or bearing heavy loads, use 1.5 inch (2x material) or even 2 inch thick wood.
That range covers most home projects without overbuilding. I would rather add an inch to depth than to thickness; the wood cost is lower and the shelf still looks light on the wall.
2. Cut to Length
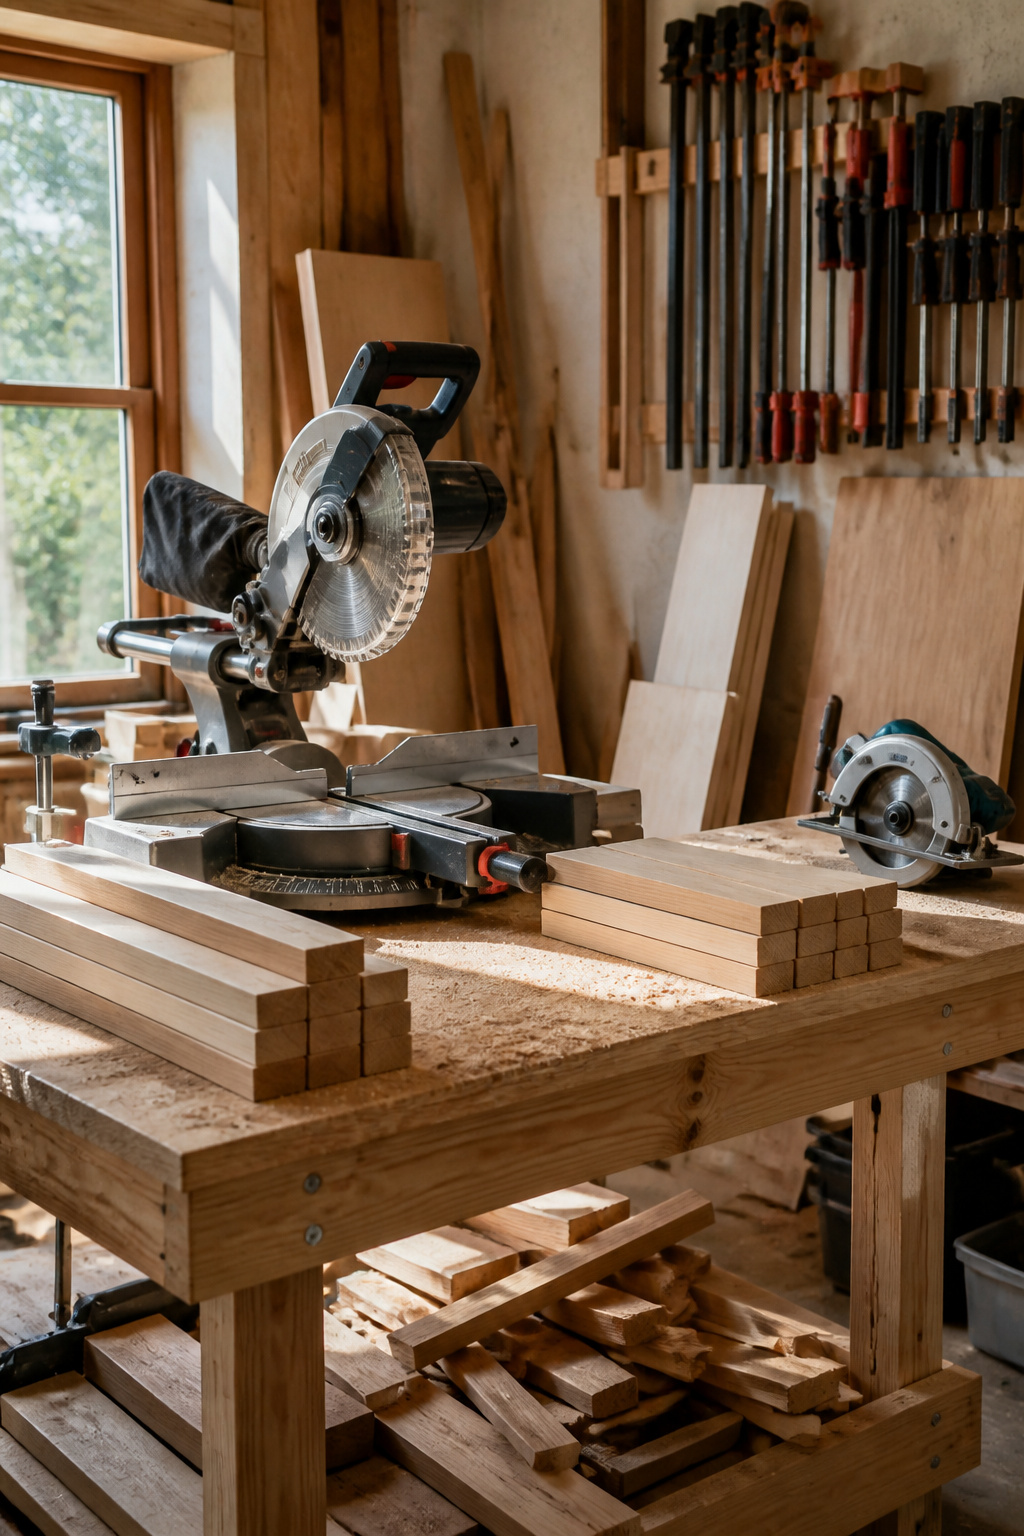
A miter saw handles this cleanest, though a circular saw with a steady fence works if that is what you have on hand. The box itself needs a top and bottom cut from ½-inch plywood, each piece 1½ inches shorter and ¾ inch narrower than the finished shelf size you want. These two have to match exactly, so cut them together or measure against each other before you move on.
For the frame that actually carries the load, 2x2s are the usual starting point. One long piece runs the full back length, sitting just inside the box opening, with shorter crosspieces screwed in for the supports. If you prefer a lighter look or your wall cannot take the weight, 1x3s work for the box wrap instead, though they will not carry the same load. The side and front pieces of the box get mitered at 45 degrees if you want to hide end grain, but square butt joints hold fine and save time. Dry-fit everything before glue touches wood; once adhesive is involved, a bad cut becomes a permanent mistake rather than a quick re-cut.
3. Build the Shelf Box
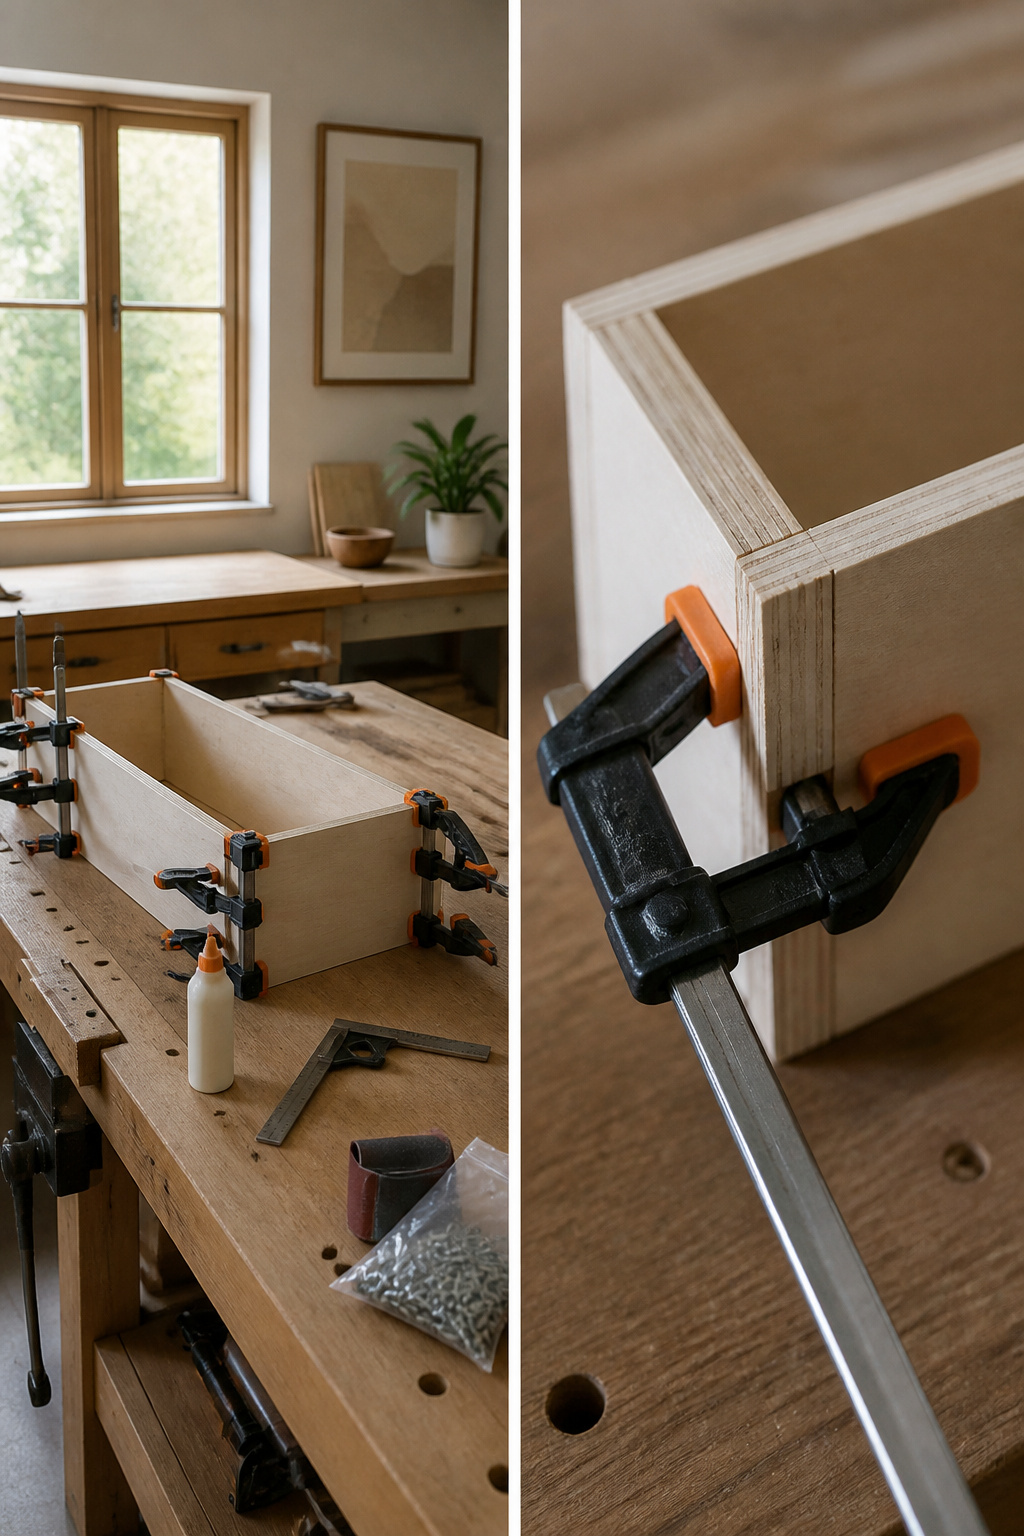
A hollow box construction gives these shelves the rigidity that a single board simply cannot match. The method that saved me from gap-ridden corners is to miter only the two short front edges of 1x side pieces at 45 degrees, leaving the long top and bottom joints as straightforward butt joints against a front-facing strip. That strip acts as built-in edge banding and hides the plywood core from every visible angle.
For the box itself, cut two pieces of ½-inch plywood exactly equal for top and bottom, then dimension them 1½ inches shorter and ¾ inch narrower than your finished shelf size. Wrap the sides and front with 1x material, test-fitting dry before any glue touches the joint. Wood glue plus screws through the top and bottom into that front strip lock the assembly square without the headache of full-length miters that never quite close.
4. Install Brackets to the Wall
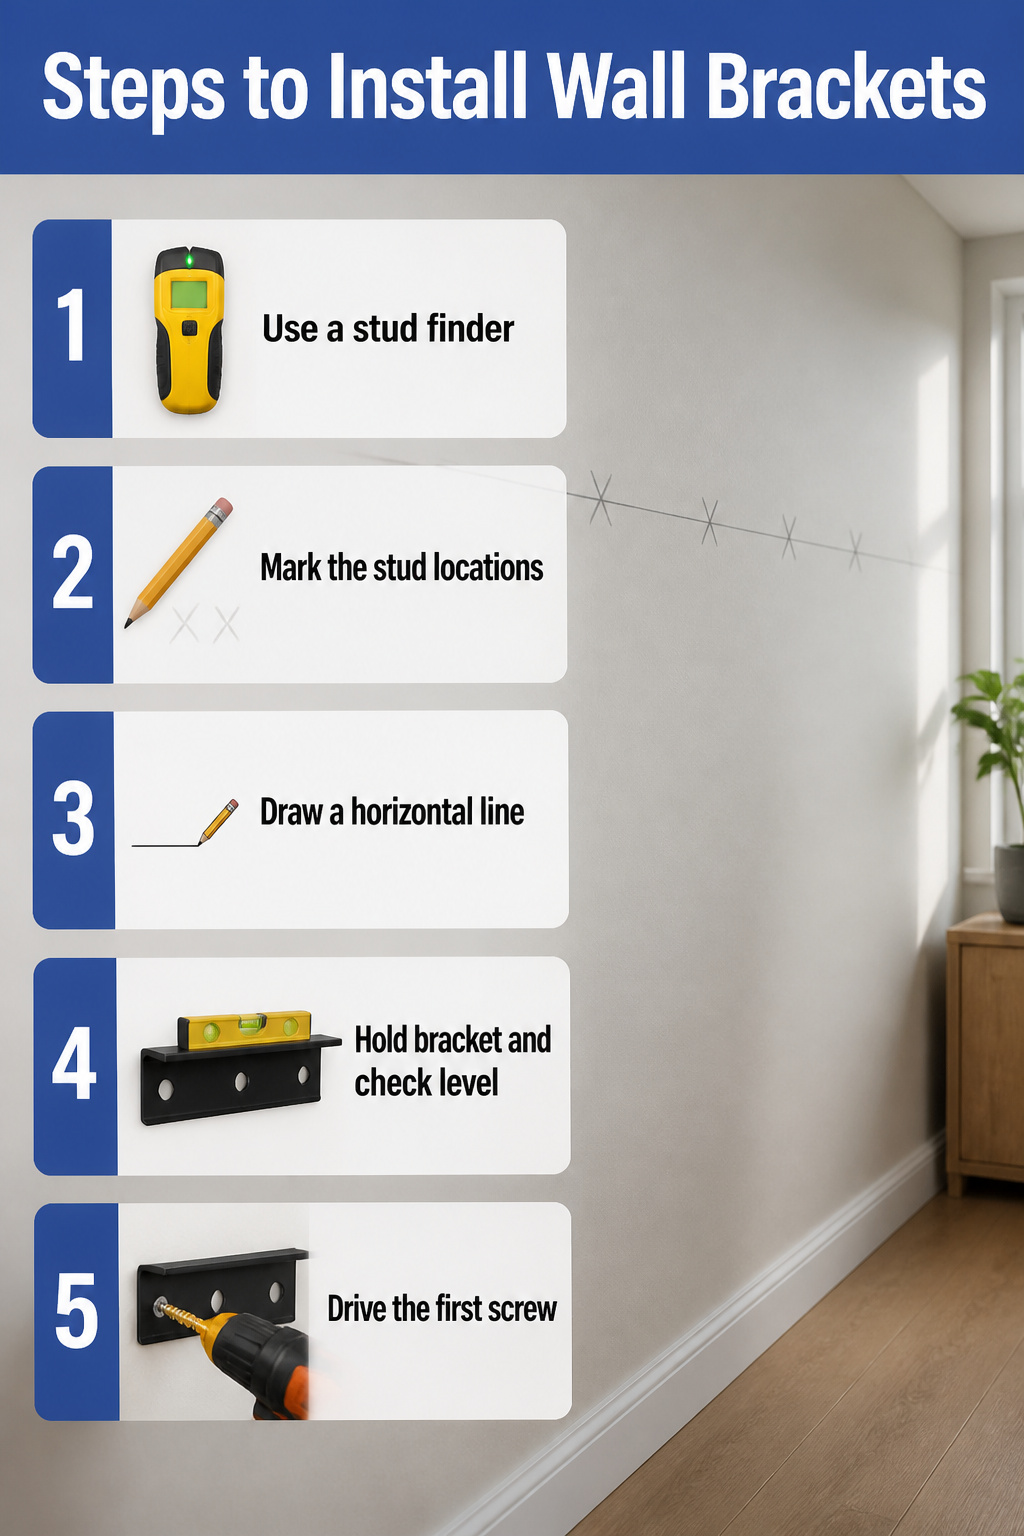
A stud finder saves more time than it costs. I ran one along the wall, marked each stud in pencil, then used a level to draw a light horizontal line where the bracket would sit. Drywall anchors can hold a picture frame, but for shelves loaded with books or kitchenware, anchoring directly into studs is the only way to get real strength.
The Aksel HD Floating Shelf Bracket is rated to 400 lbs when properly stud-mounted, which is serious overkill for a display shelf but exactly the margin you want if you are stacking cast iron or a microwave. Two-inch screws are the minimum; three-inch bites deeper into the stud and costs nothing extra. Hold the bracket against your marks, check that the bubble sits dead center, and drive the first screw by hand so you feel whether it grabs solid wood or starts to spin. If it spins, you missed the stud. Back out, remeasure, and try again. A bracket that spans at least two studs will not torque loose over time, and that is the difference between a shelf that lasts and one that sags by spring.
5. Slide the Shelf On
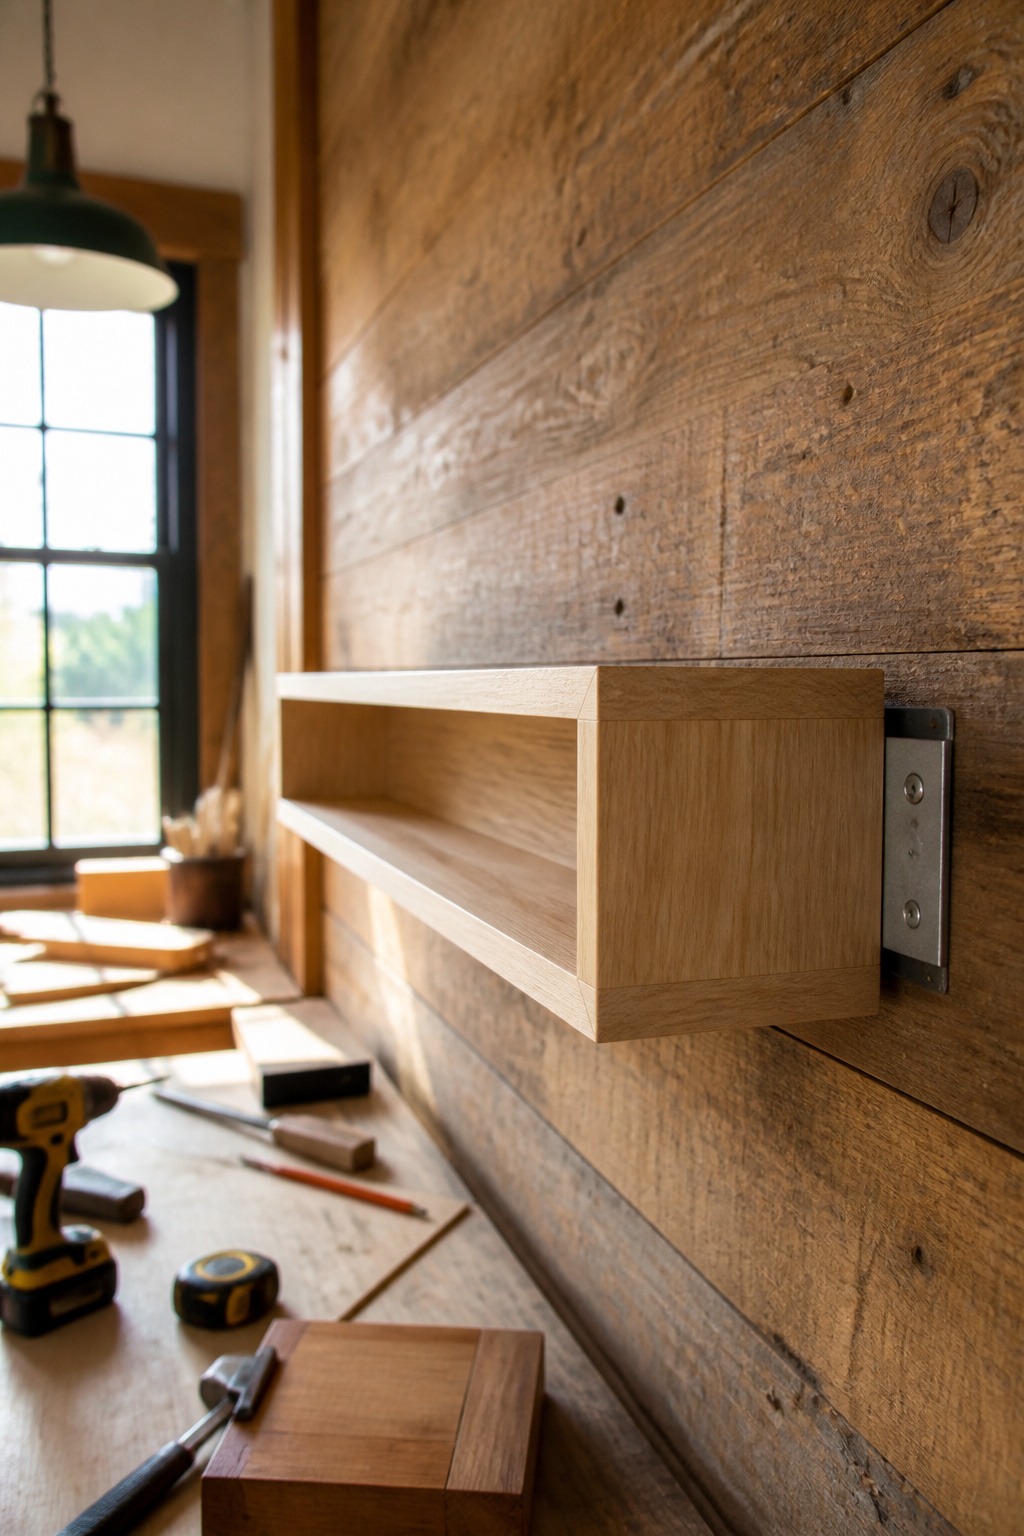
The shelf box slides onto the bracket from one end, not down from above. That distinction matters because a true floating shelf hides its hardware entirely; the bracket rods run into matching holes drilled lengthwise into the shelf body, so the finished face shows no screws or brackets at all.
A little persuasion is normal here. The fit should be snug, not sloppy. Tap the shelf gently along its length with a mallet and a scrap of wood to protect the face from dings. Work it until the back edge sits flush against the wall.
For extra safety, add a couple screws through the top at the back where they are least visible. Two-inch screws minimum through the bracket into the stud keep the bracket anchored; shorter screws risk pulling out under load. Locking the shelf to the bracket with screws from above prevents the shelf from sliding off the rods if someone bumps it upward, which is the failure mode most people do not picture until it happens.
6. Sand and Finish
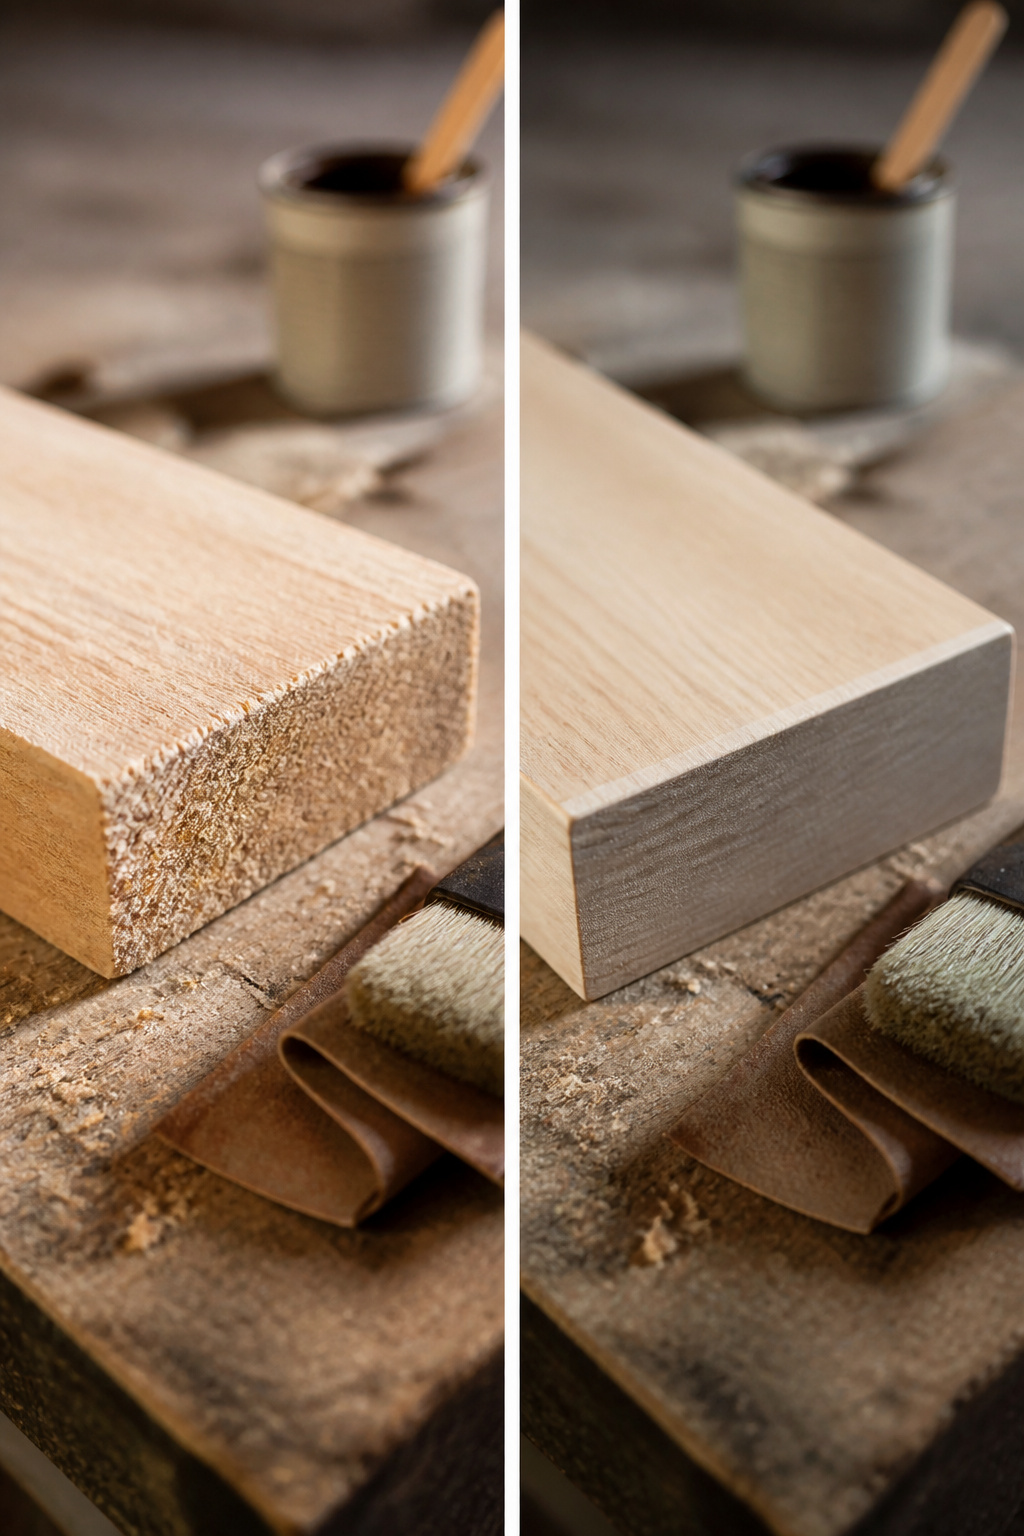
Sanding starts at 120 grit on plywood edges and steps up to 220 before any finish touches the surface. Skip the in-between grits and the stain will catch every swirl mark, especially on the end grain where the layers show. I learned that the hard way on a desk build years back; the fix was always more sanding, never less.
For stain, a pre-stain conditioner is non-negotiable on plywood if you want even color without blotching. One builder I follow uses a 2:1 mix of Varathane provincial and antique white, which gives a warm tone that reads more custom than off-the-shelf. Others layer a custom stain over wood conditioner to pull red or orange out of cheaper lumber and match existing floors. Exact recipes for those custom mixes are hard to come by; most makers treat them as house secrets and link out rather than print ratios.
Paint works too, and hides the plywood edges entirely if that fits your room better. Either way, finish before assembly. Once the box is built, the inside faces become nearly impossible to coat without drips collecting in corners.
Tools and Materials
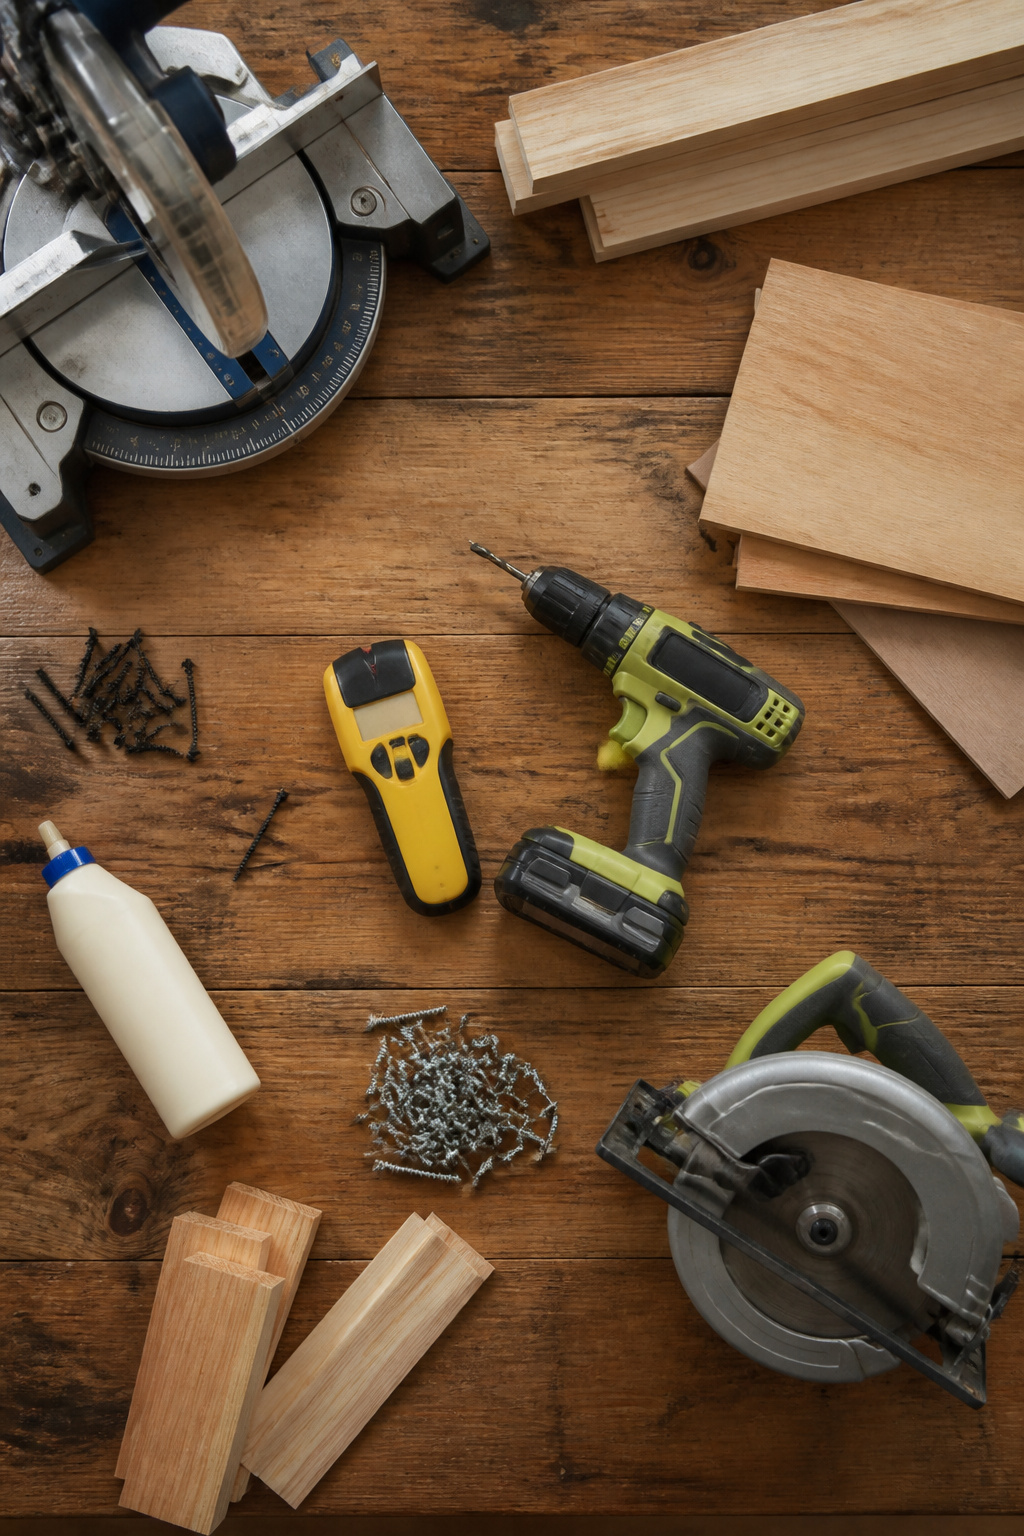
A drill/driver and a stud finder are the two tools that separate a weekend build from a wall full of regret. Everything else can be borrowed or improvised, but those two earn their keep fast.
For the frame, a miter saw saves time, though a circular saw with a straightedge gets the same cut. Clamps matter more than most lists suggest; holding a joint square while the glue sets is half the battle. A pocket hole jig turns the corner supports into something that actually stays rigid, and a brad nailer pins the plywood skin on without splitting the edges.
Materials stay simple: one 1×3 and one 2×2, each 48 inches, plus a quarter sheet of ½-inch plywood. Wood glue at every joint, pocket hole screws for the frame, and three-inch wood screws to bite into the studs. Some builds add a 2½-inch screw through the front support for insurance, which I would not skip after seeing how much weight these end up holding.
Weight Capacity by System
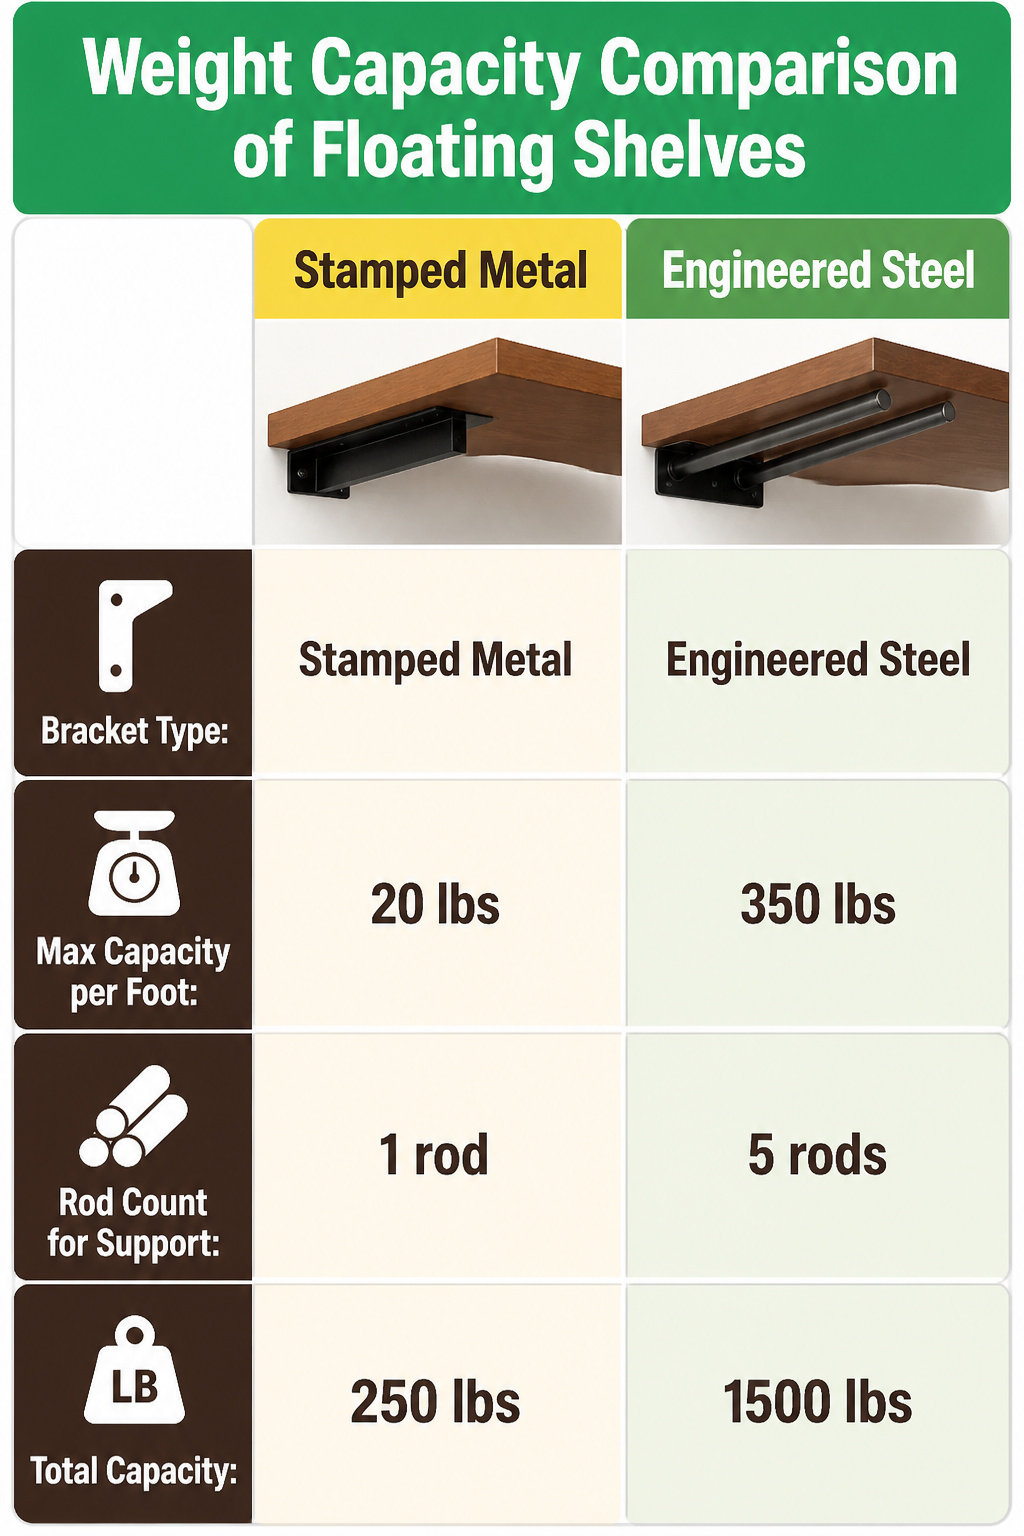
Most floating shelves hold somewhere between 15 and 50 pounds per linear foot, but that spread depends almost entirely on what is hidden inside. The stamped metal brackets sold with big-box kits often fail well below that range, sometimes at 20 pounds or less, while engineered steel rod systems can scale into the hundreds of pounds when anchored properly into studs or blocking.
Stud anchoring is what makes the upper end possible. Each rod screwed into solid wood backing adds capacity, and longer shelves typically run more rods across more studs. A 36-inch shelf might carry two rods; stretch past six feet and you are looking at five. The bracket itself matters too: light-duty hidden hardware tops out around 250 pounds total, while heavy-duty mantel brackets can reach 1,500 pounds in extreme configurations.
Without blocking or stud contact, even the best bracket drops to whatever drywall anchors can manage. For anything beyond framed photos, hitting structure is non-negotiable.
Level and Mark Before Drilling
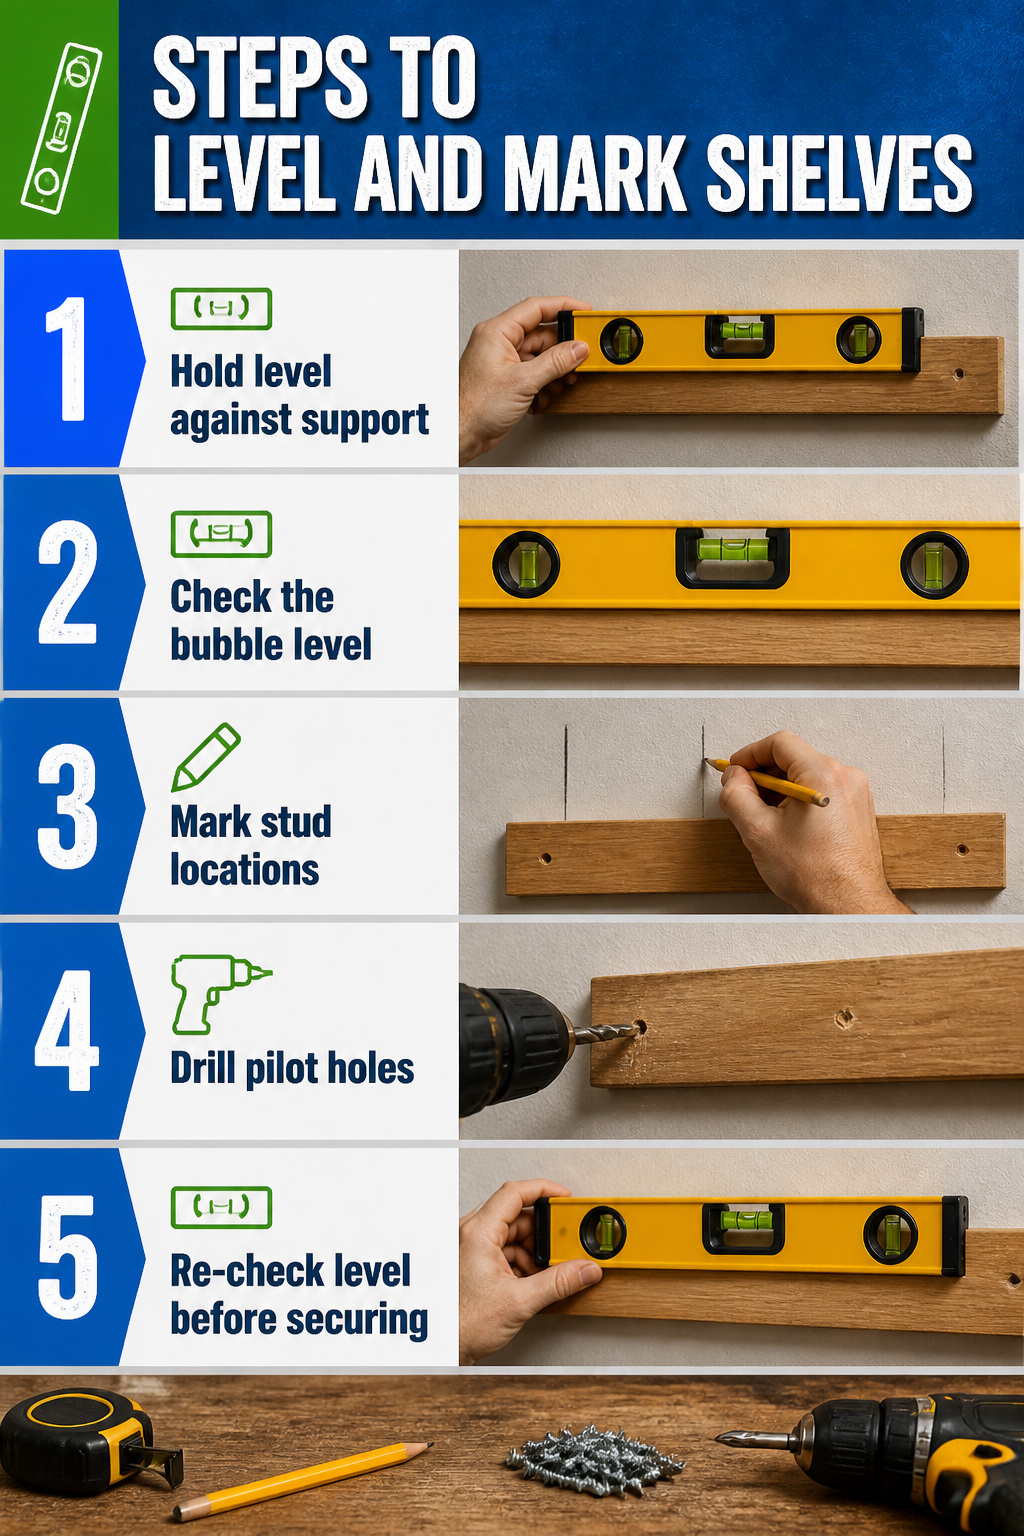
A level is the only way to keep a floating shelf from looking like a mistake. I hold it against the back support piece while the board is still loose, check the bubble, and only then mark where the studs sit. Drywall makes this simple: a standard stud finder, a pencil, and you are done. Tiled walls take more patience. The deep-sensor stud finders that promise to read through porcelain are hit or miss in practice, so I mark the stud locations above or below the tile and snap a plumb line straight up. Pilot holes drilled through the support piece first let you transfer those marks exactly, stepping back to re-check the level after every screw because the board shifts as it tightens. Two studs is the minimum anchor point; anything less and you are trusting the wall more than the hardware.
Built-In and LED Variations
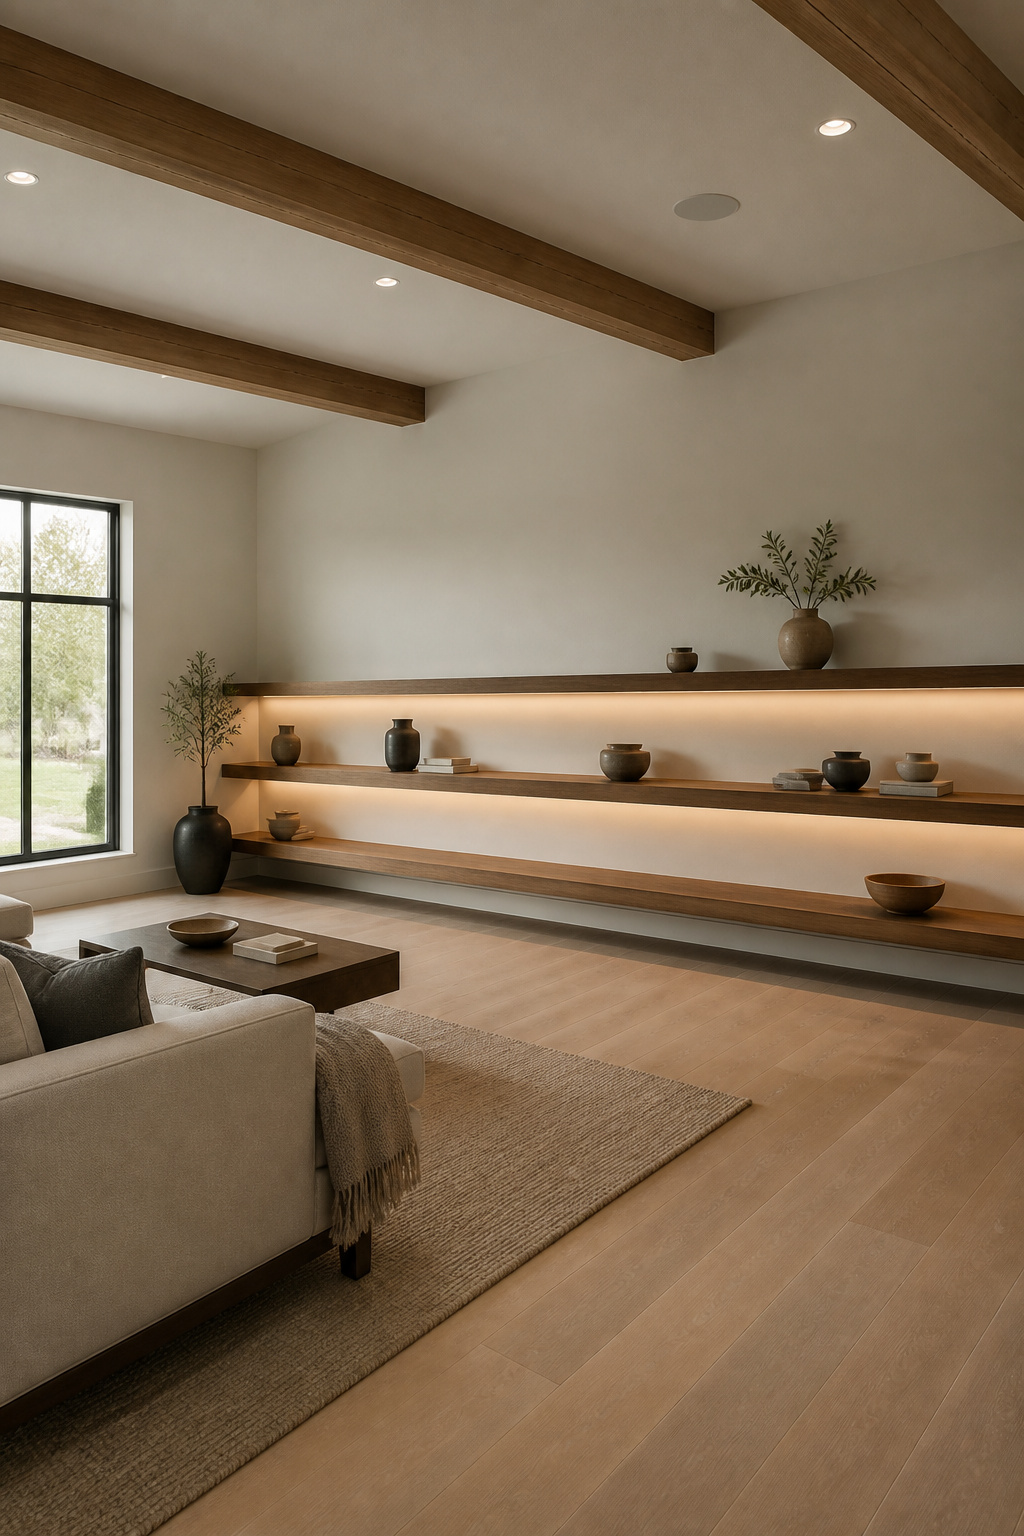
Custom built-ins and LED strip floating shelves sit at the far end of what most weekend builders attempt, though the ideas show up constantly in pantry and bar photos. A wrap-around pantry shelf I watched someone build took the standard box method and pushed it to 11 inches deep, running full-width above a countertop and continuing around the side wall. That depth creates real leverage against standard brackets surface-mounted through drywall, so the builder stripped a thin strip of drywall all the way around to reach studs directly instead. The dust was substantial enough that covering everything below beforehand saved hours of cleanup.
LED strips underneath do brighten the space, but every guide I found that mentioned them stopped at the concept. No source walked through wiring, switch placement, or how to hide the transformer in a finished box. If you are already running new outlet circuits or have a cabinet nearby to steal power from, the lighting makes sense. Otherwise the shelf itself is enough project for one weekend.
Frequently Asked Questions
What wood should I use for DIY floating shelves?
Pine boards and birch plywood both work well for a floating shelf DIY project. Pine takes paint nicely, birch plywood shows off the grain, and oak or maple hold up better in kitchens where steam and heavy mugs are common. Checking your scrap pile first can save money before you buy new stock.
How much weight can a DIY floating shelf hold?
Most floating shelves hold between 15 and 50 pounds per linear foot, though engineered steel rod systems properly anchored into studs can scale into the hundreds of pounds. Light-duty hidden hardware tops out around 250 pounds total, while heavy-duty mantel brackets can reach 1,500 pounds in extreme configurations. The bracket quality and whether you hit studs or rely on drywall anchors make the real difference.
Do floating shelves need to be installed into studs?
Yes, anchoring directly into studs is the only way to get real strength for shelves loaded with books or kitchenware. Drywall anchors work for picture frames, but anything beyond very light decorative loads needs stud contact. A bracket that spans at least two studs will not torque loose over time.
How thick should wood be for floating shelves?
For a floating shelf DIY, use 3/4-inch-thick wood for shelves up to three feet long under ordinary loads. Step up to 1-inch material at four to six feet, and use 2-by lumber at 1.5 inches or even full 2-inch stock past six feet or anywhere the shelf takes real weight. Thickness is where shelves fail quietly, so this matters more than most first-time builders expect.