

A refinished wood desk takes most of a weekend plus two to three days of drying time that impatient builders skip. The mistake that ruins the finish happens right at the start, when the surface looks clean enough but still holds enough old oil and silicone to wreck two coats later. Gentle grease remover, not a damp rag, is what buys you the uniform surface that stain can actually grip.
1. Clean the Desk First
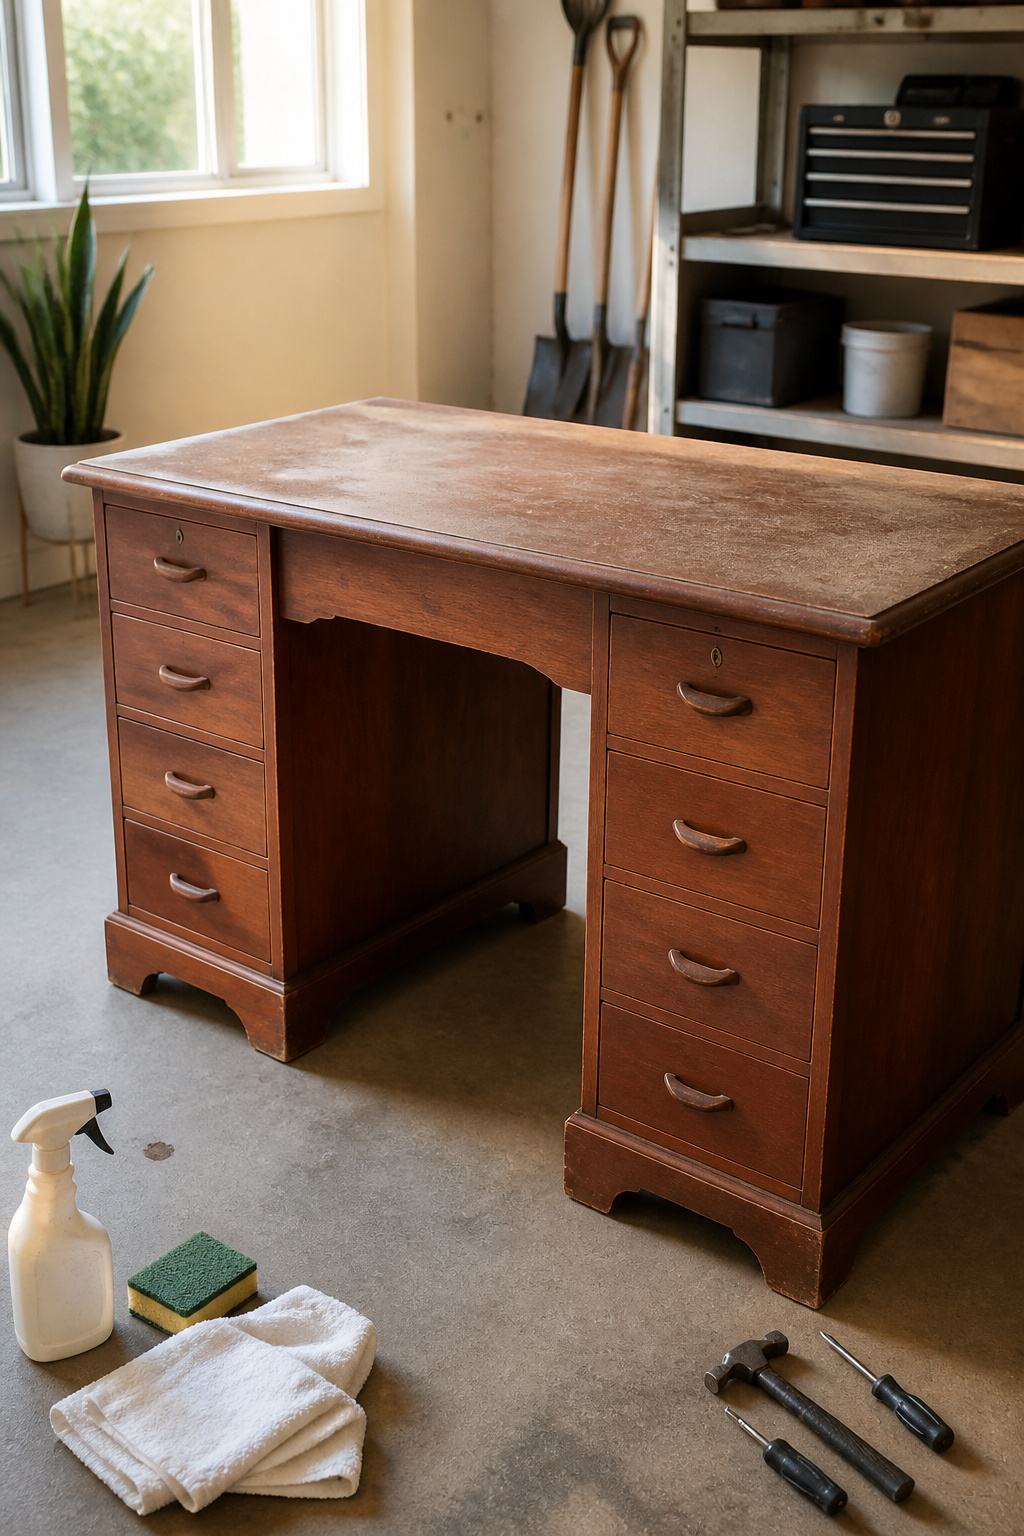
A desk headed for refinishing can look clean enough in the garage light and still carry enough grime to wreck the next step. Dust, skin oil, and whatever polish or silicone spray the last owner used will lodge under fresh stain and leave fish-eye spots or streaks that show up two coats later, when backing out costs hours. A gentle grease remover is the right first move, not a garden hose or a quick wipe with a damp rag. Work it over the whole surface, follow with a damp sponge to lift the residue, then towel the piece dry and let any remaining dampness air out.
That last part is where weekend timelines usually collapse. Rushing to sand while the wood still holds moisture drives dust into open grain and traps water under whatever finish follows. Two to three days of drying after cleaning is ordinary for a desk that has lived in a kitchen or basement, and starting early enough to allow that wait saves the do-over that would cost the whole following weekend.
2. Remove the Old Finish
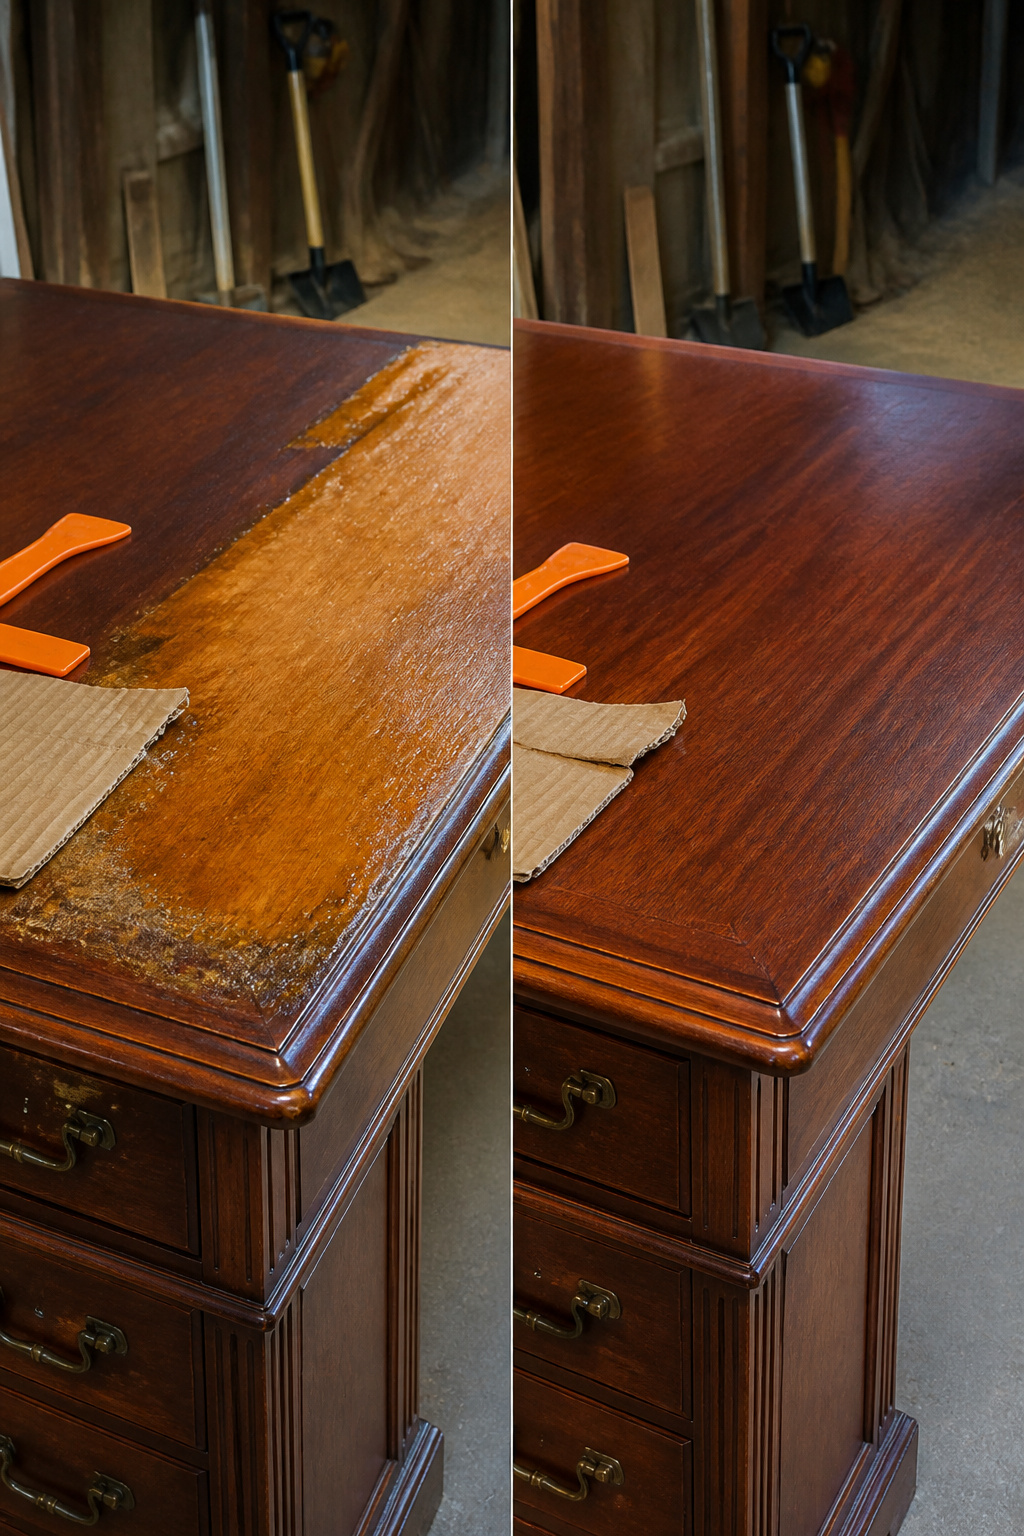
Two paths lead to bare wood, and the desk itself usually decides which one you take. Flat planes like a tabletop answer well to 120-grit paper on a random-orbit sander. The dust gets everywhere, though. A respirator and sealed goggles are non-negotiable; the finish coming off older furniture can carry lead, and the fine particles hang in garage air longer than you’d think.
Curved legs, carved aprons, or any detail work shift the choice toward chemical stripping. Citristrip has the gentler smell and stays safer than the methylene-chloride strippers your grandfather used, but the residue is stubborn to clean without another round of solvent or mineral spirits. Slop it on, wait thirty minutes, and scrape with a plastic blade moving with the grain. The mess looks like orange jelly carrying brown varnish; have cardboard down and a trash bag ready.
Sanding risks rounding over sharp edges and can erase the aged surface character that made you pick the desk in the first place. Chemical stripping saves that patina but adds steps: washing with slightly soapy water, drying fast so the wood does not swell, then hitting remaining spots with furniture refinisher and steel wool. I lean toward starting with the stripper on anything built before 1980. You can always sand after if the grain is not clean enough; going back the other way costs you the original surface you were trying to keep.
3. Sand to Bare Wood
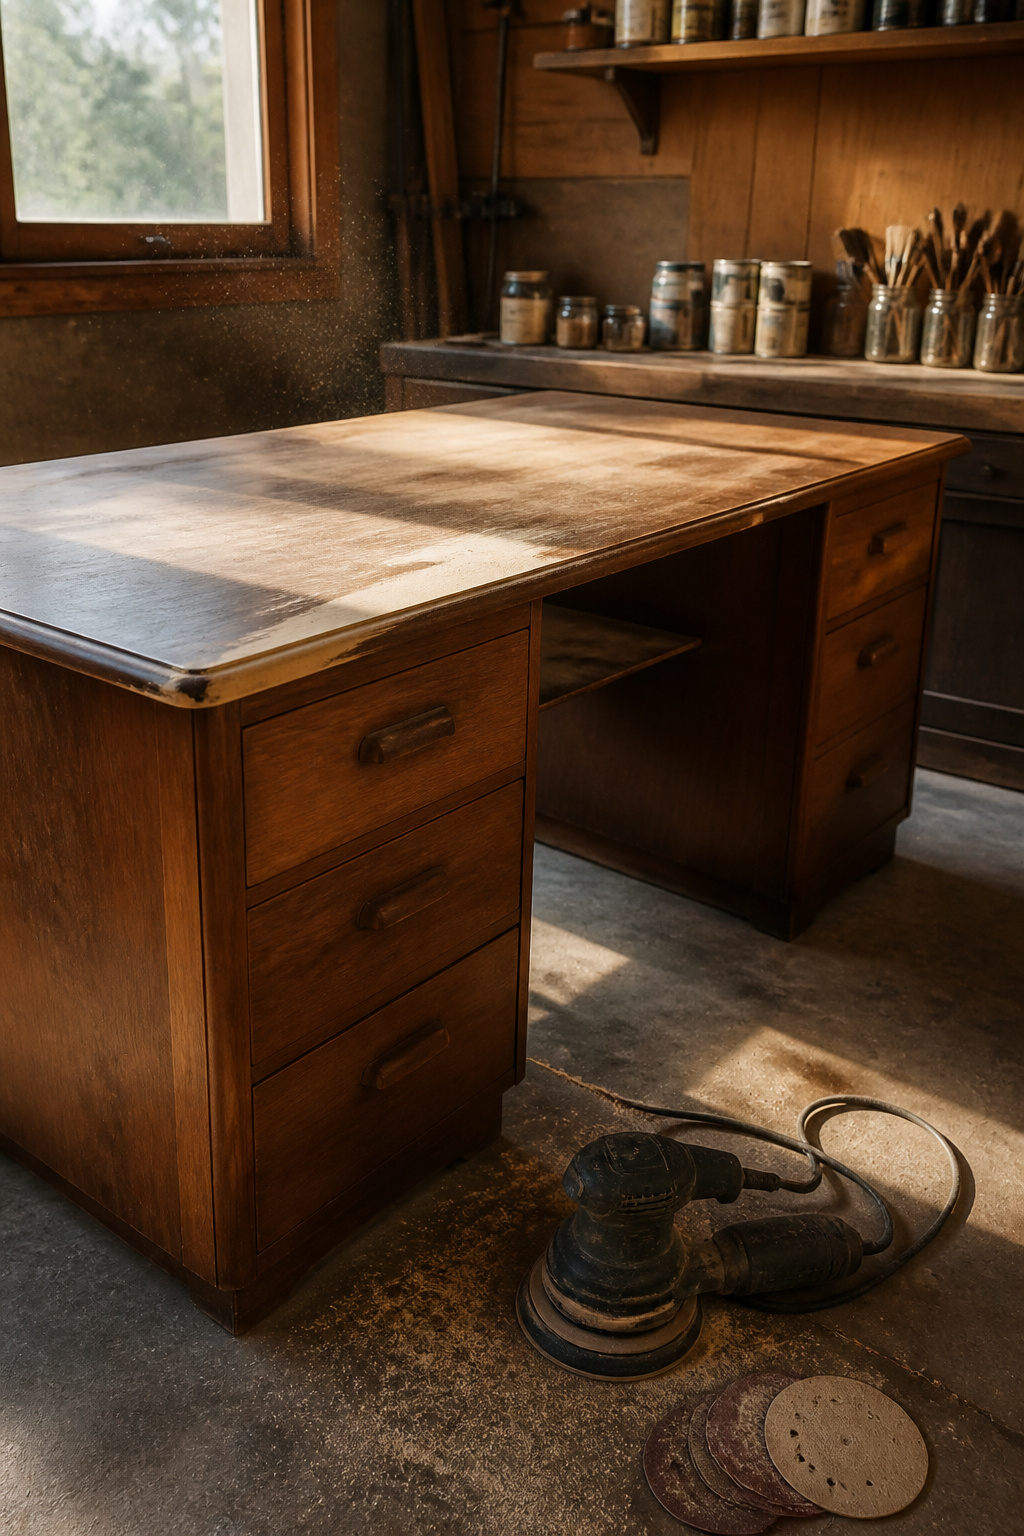
Sanding a desk back to bare wood means moving through grits in order. Start with 150-grit to strip whatever remains of the old finish, then switch to 220-grit, which removes the last traces of old polish and evens the surface. The final pass before stain calls for 320-grit, though sources warn against going any finer. Sand higher than 320 and the wood closes up too tight to hold stain properly.
Don’t sand with a grit higher than 320, which can reduce the wood’s ability to retain stain.
That upper limit matters because stain needs some tooth to grab. Skip straight from 150 to 320 and you’ll leave scratches the fine grit can’t reach; the stain settles dark in those grooves and the finish looks blotched. Always sand with the grain, never across it, or the scratches show through clear as day. The stopping point is simple: when the surface looks uniform in color and feels smooth to a dry hand, you’re there. Check carved edges and corners by hand, since power sanders miss the residue that hides in recesses. A crevice with old finish left behind will drink stain differently and stand out once the piece is done.
4. Fill Damage If Needed

Not every desk needs filler, and the quickest way to tell is to run a hand across the surface after stripping. If a scratch catches a fingernail or a gouge sits deeper than the thickness of a dime, it needs filling. Nail holes from a previous hardware swap are usually obvious.
Epoxy putty or standard wood filler both work, though epoxy holds better in a deep gouge that might flex. Press it in with a putty knife and leave a slight mound above the surface, because filler shrinks as it dries. Sanding it flush comes after the cure time on the label, not before.
The real catch is that filler takes stain differently than surrounding wood, almost always lighter. One option is to flip a board if the damage is on a back edge, hiding the patch entirely. Where that will not work, a wood marker dabbed and blotted to match can pull the color close enough. A second coat of stain over the whole top often evens things out more than spot-fixing ever will.
5. Apply Wood Stain

A foam brush or a clean cloth both work for laying stain, as long as you move with the grain and keep the coat wet enough to read as a single pass, not a patchwork. Wet-laying lets the color build evenly; going back over half-dried spots drags the pigment and leaves lap marks. After about five to fifteen minutes, wipe the excess with a fresh cloth before the surface starts to tack. The longer the stain sits, the darker it gets, though pools that dry in place will stay sticky and uneven.
On oil-based versus water-based, oil gives more working time and deeper color, which matters on a large desk surface where you cannot race from one end to the other. Cleanup means mineral spirits. Water-based dries faster between coats, sometimes four hours versus overnight, and soap and water handles the rags. I have used Minwax Golden Pecan on a desk I wanted slightly darker than its original tone; the oil formula bought me enough time to cover the full top before wiping back. A second coat goes on after the first is fully dry, and testing on the underside of a leaf or apron first still beats guessing on the visible face.
6. Seal the Surface

A water-based polyurethane goes on with a sponge brush in thin coats, each one drying before the next. I sand between passes with 220 or 300 grit, just enough to knock the grain raised by the previous layer. Two coats work for legs; three for the desktop that takes the actual abuse.
Polyurethane wins on durability, but it is not the only way to protect a desk that sees real use. Beeswax polish sits on the surface instead of forming a film, which means it will not survive a coffee ring the way polyurethane will. The tradeoff is repairability: nicks in wax buff out with a fresh application, while polyurethane needs a full sand-back once water gets under it. For a desk that gets opened laptops and resting elbows daily, polyurethane is the practical seal. Beeswax works as a finishing touch over the top, adding sheen and smoothing the feel, but it is not a standalone choice for a working surface.
What You Need Before Starting
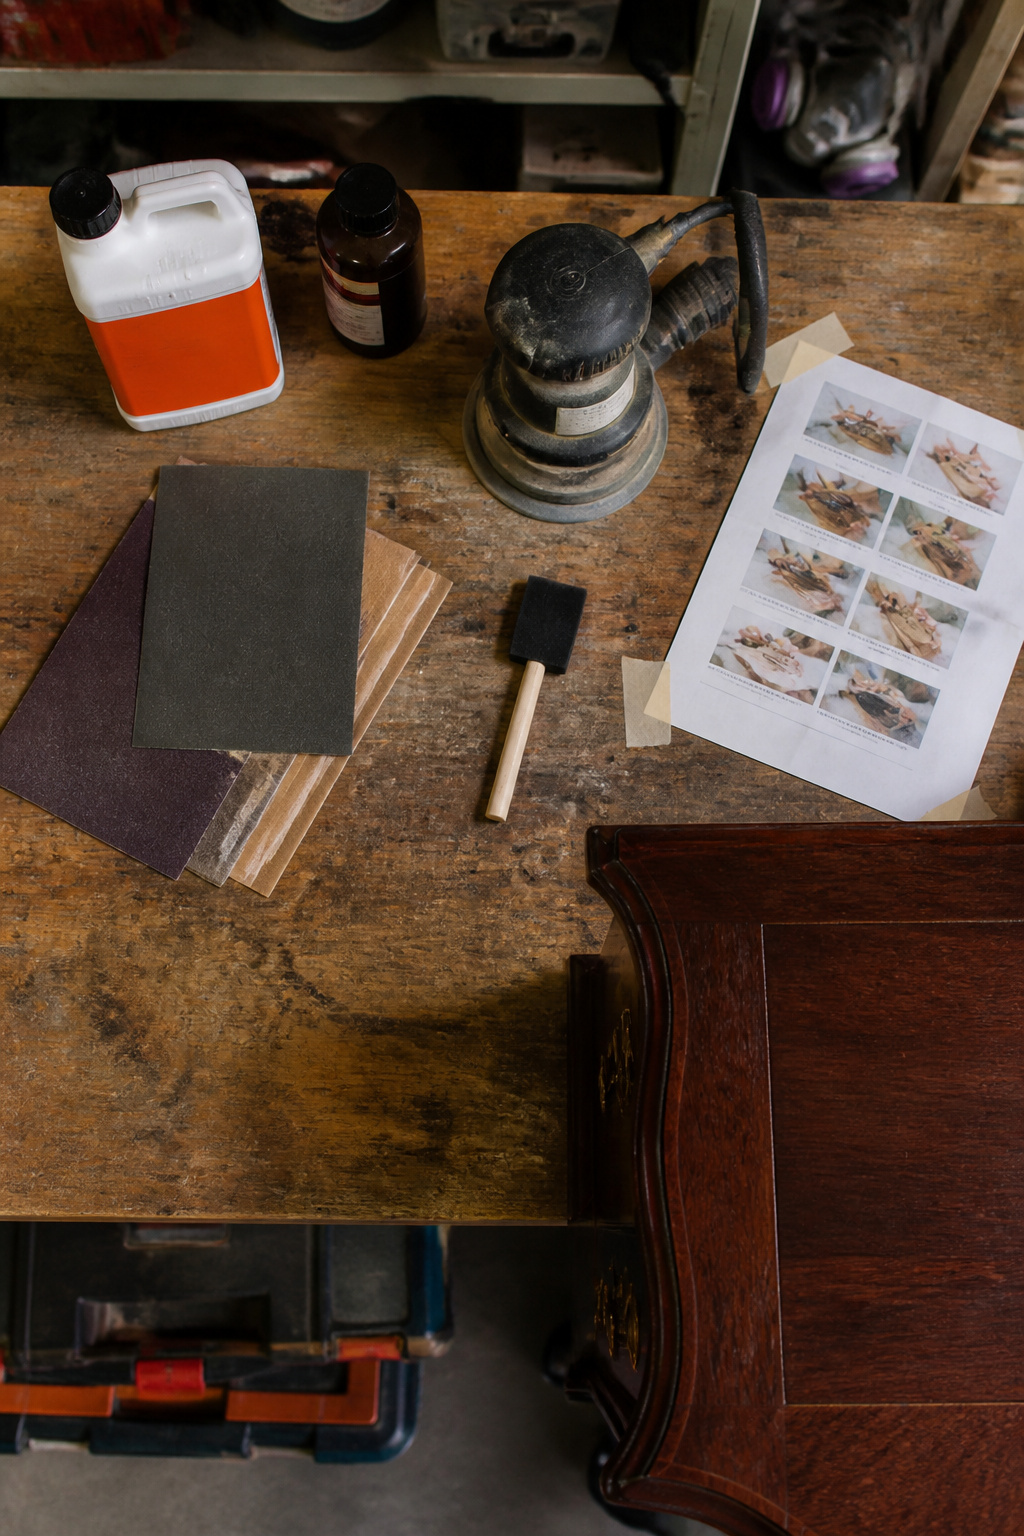
Gather materials in two batches and you will not have a garage full of supplies for a one-weekend job. For stripping, pick up Citristrip, a plastic putty knife, and soapy water with a soft brush to clean the residue after it sits. A palm sander helps, though hand sanding works for a single desk; load it with 120 and 150 grit to start, then move to 220 and finish with 320. Wood filler comes in after that first sanding, once you can see which gouges actually need filling. Stain calls for Minwax or a comparable brand, a stir stick, and rags or a foam brush. Two final coats: polyurethane as your sealer, then beeswax polish after the last coat cures. Safety gear runs the whole job: mask, goggles, and gloves from the first scrape to the last wipe.
Oil-Based or Water-Based Stain
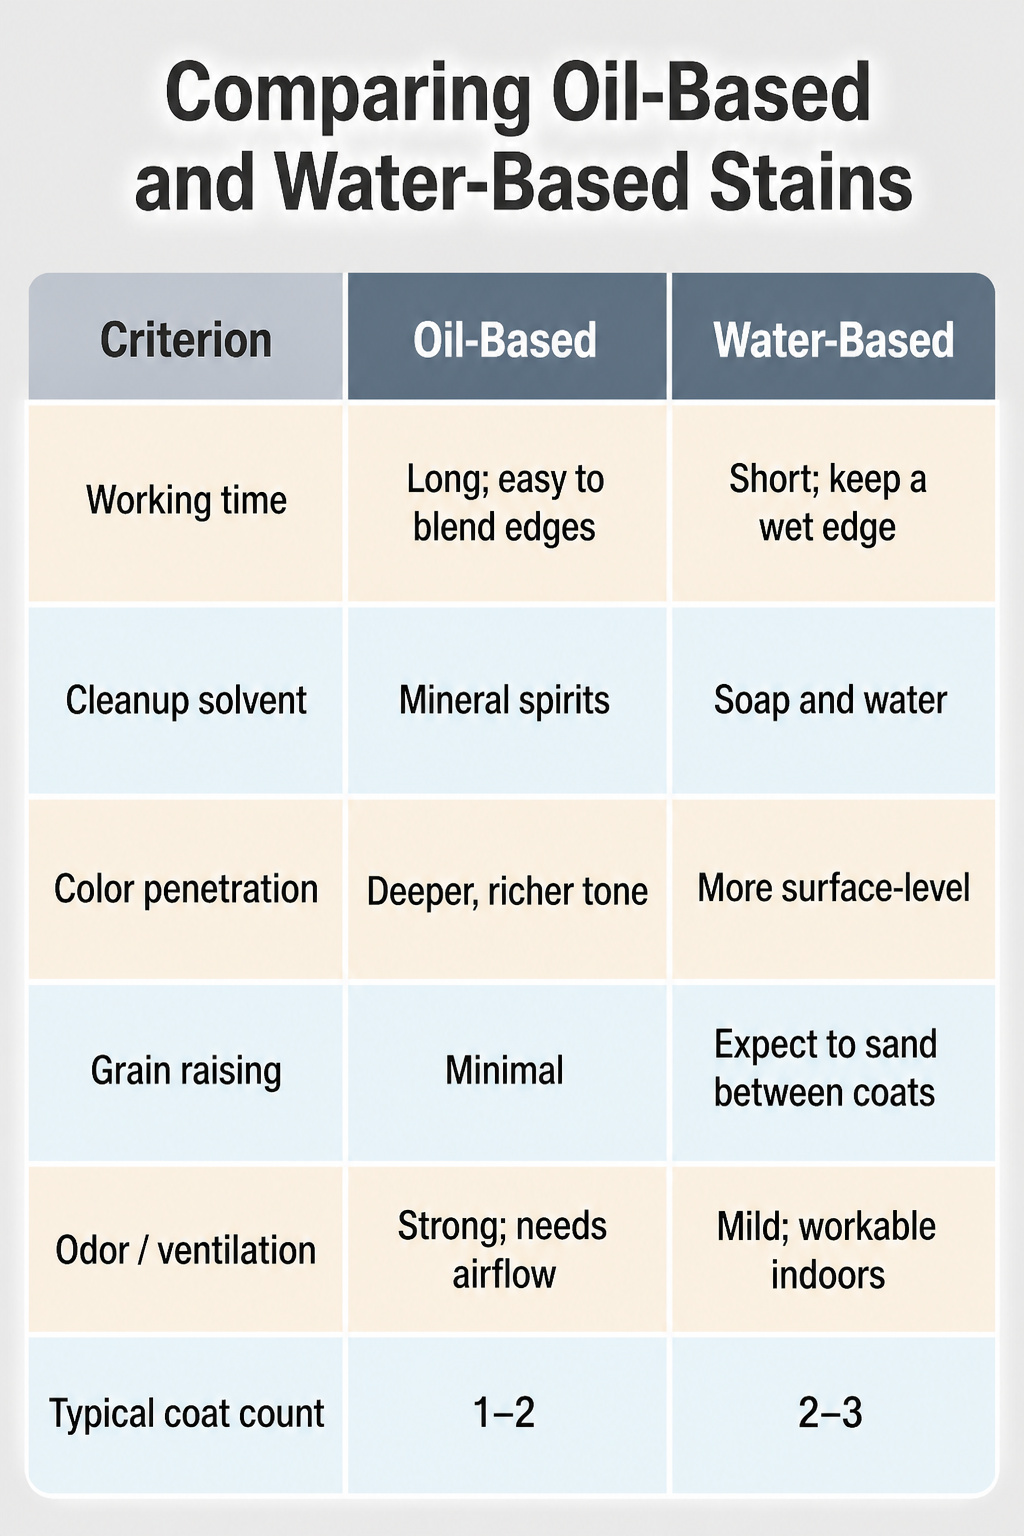
Oil-based stain buys you time to work, which matters when a desk top is this large. The slower dry lets you brush a section, feather the edges, and step back before the color locks in. Water-based dries fast enough that a pause in mid-panel can leave a lap mark, though the cleanup is just soap and water instead of mineral spirits. Grain raises more with water-based, so you are sanding between coats whether you planned to or not. Odor is the real divider: oil needs windows open and a day before the house smells normal, while water-based lets you work in a basement apartment without complaints from the neighbors.
| Oil-Based | Water-Based | |
|---|---|---|
| Working time | Long; easy to blend edges | Short; keep a wet edge |
| Cleanup solvent | Mineral spirits | Soap and water |
| Color penetration | Deeper, richer tone | More surface-level |
| Grain raising | Minimal | Expect to sand between coats |
| Odor / ventilation | Strong; needs airflow | Mild; workable indoors |
| Typical coat count | 1–2 | 2–3 |
For a first-timer with only a Saturday, oil-based forgives hesitation. I reach for water-based when I need the desk back in service by Sunday night and the weather is warm enough to dry it fast.
What I Wear and Why

A respirator mask with organic vapor cartridges sits higher on my face than the cheap dust masks I used to grab from the hardware store bin. Stripping chemicals like methylene chloride climb right through those paper loops; I learned that the first time my throat burned for two hours after working a desk in what I thought was a well-ventilated garage. The respirator is for the stripper phase and for any sanding that follows old lead varnish. Safety goggles matter because stripper splashes upward when you scrape, and gloves keep the solvent from pulling oils out of your skin over a long afternoon.
Fine wood dust from sanding is a different hazard than chemical vapor. An open window and a box fan sometimes move enough air for light sanding with 220 grit. The respirator goes back on when I sand down to bare wood or when I am working for more than a few minutes at a time, because dust hangs in the air longer than you notice.
Fixing Scratches and Gouges
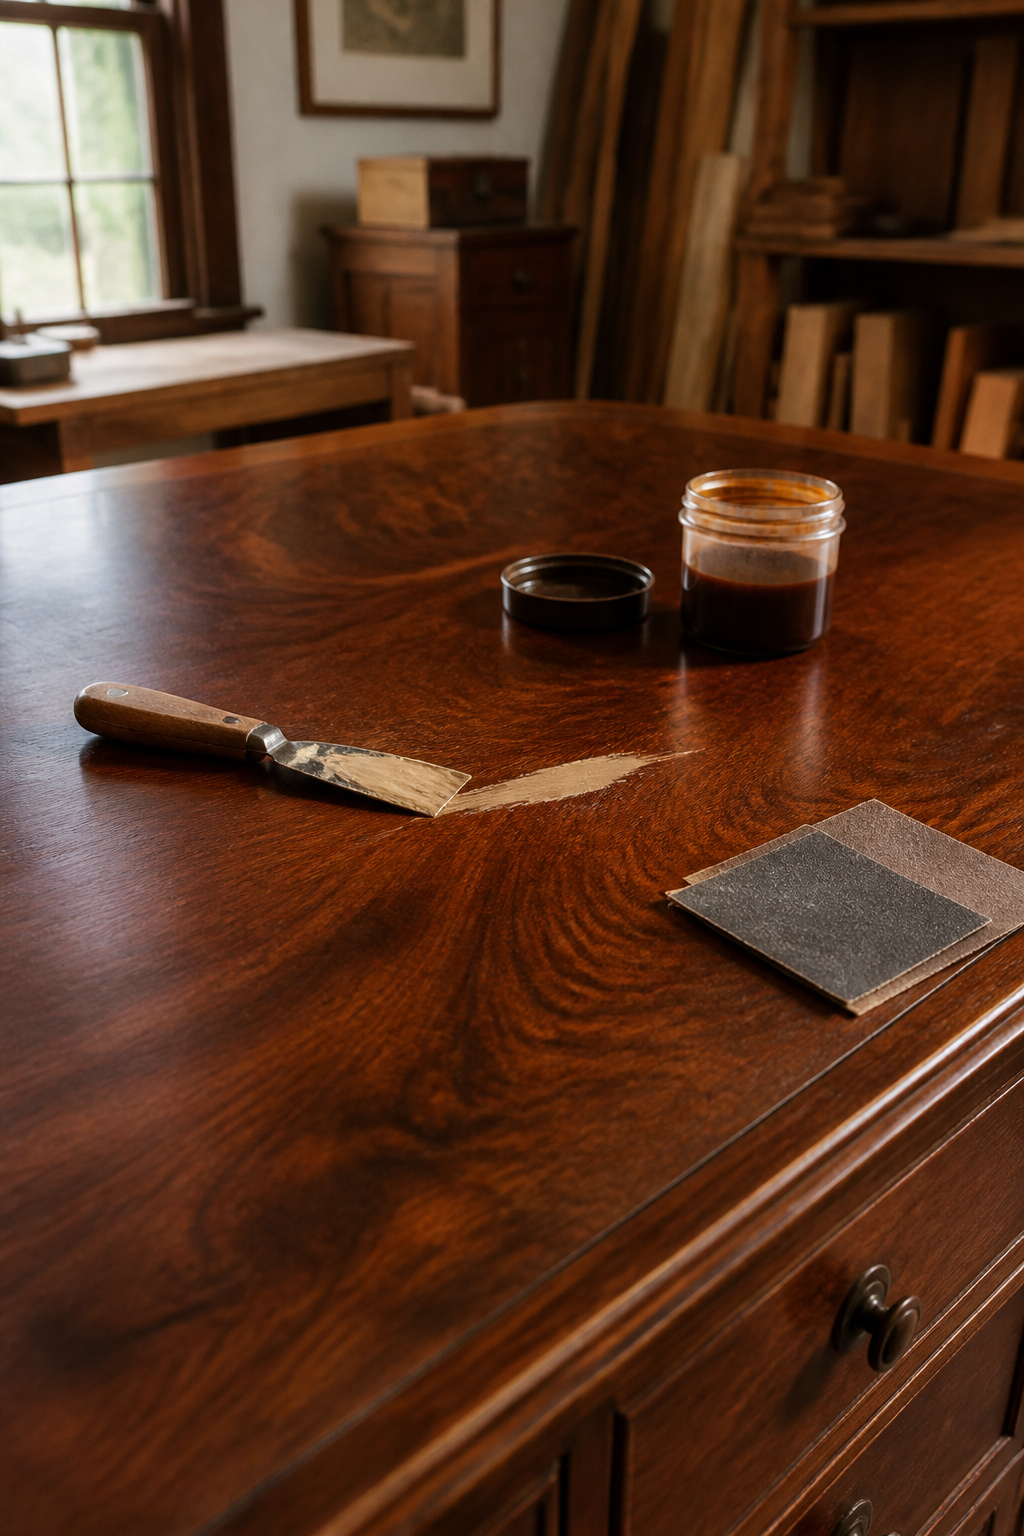
Epoxy putty and standard wood filler solve different problems on a desk top. Shallow scratches that sit above the veneer layer get standard wood filler, which sands flush and takes stain well enough if you test it first. Deep gouges that punch through the veneer or threaten the structural surface need epoxy putty, the harder compound that cures fast enough to sand the same afternoon.
The stain-mismatch problem is real and predictable. Wood filler does not absorb stain the way surrounding wood does, so the patched spot reads lighter or chalkier once the finish goes on. I learned to keep scrap from the same desk, or a hidden underside corner, and patch that first with the same filler I plan to use. If the color match is off, the scrap shows it before the visible surface does.
Some damage is too deep to fill and still look right. A gouge wider than a pencil eraser or longer than a few inches will always telegraph through stain as a flat, lifeless island. In that case, the honest options are paint over the whole top or learn to live with the scar.
Frequently Asked Questions
How do you prepare a desk for refinishing?
Clean the whole surface with a gentle grease remover, lift the residue with a damp sponge, then towel it dry and let it air out for two to three days. Rushing into sanding while the wood still holds moisture traps water and dust under the new finish, which usually forces a complete do-over later.
Can I refinish a desk without sanding?
Not if you want the finish to last. Sanding gives the stain something to grip, and skipping it leaves you with poor adhesion that will show up as peeling or uneven wear. The article recommends starting at 150 grit and moving through 220 to 320 grit before any stain touches the wood.
How long does desk refinishing take?
Expect the full process to run about two to three days, mostly because of drying time after cleaning and between coats. A desk that has lived in a kitchen or basement needs two to three days just to dry out after its first wash, and oil-based stain means overnight drying before you can seal.