A finished wall of wallpaper takes four to eight hours for a single accent wall and somewhere between $80 and $400 in materials, depending on whether you picked a basic vinyl or something with a two-foot pattern repeat. Most first-timers lose their afternoon on the first seam, not the whole job. The real cost is the wall prep: thirty to sixty days of waiting if the paint is fresh, plus primer, before the paste ever opens. Skip that, and the bubbles show up within the hour.
1. Prepare the Walls
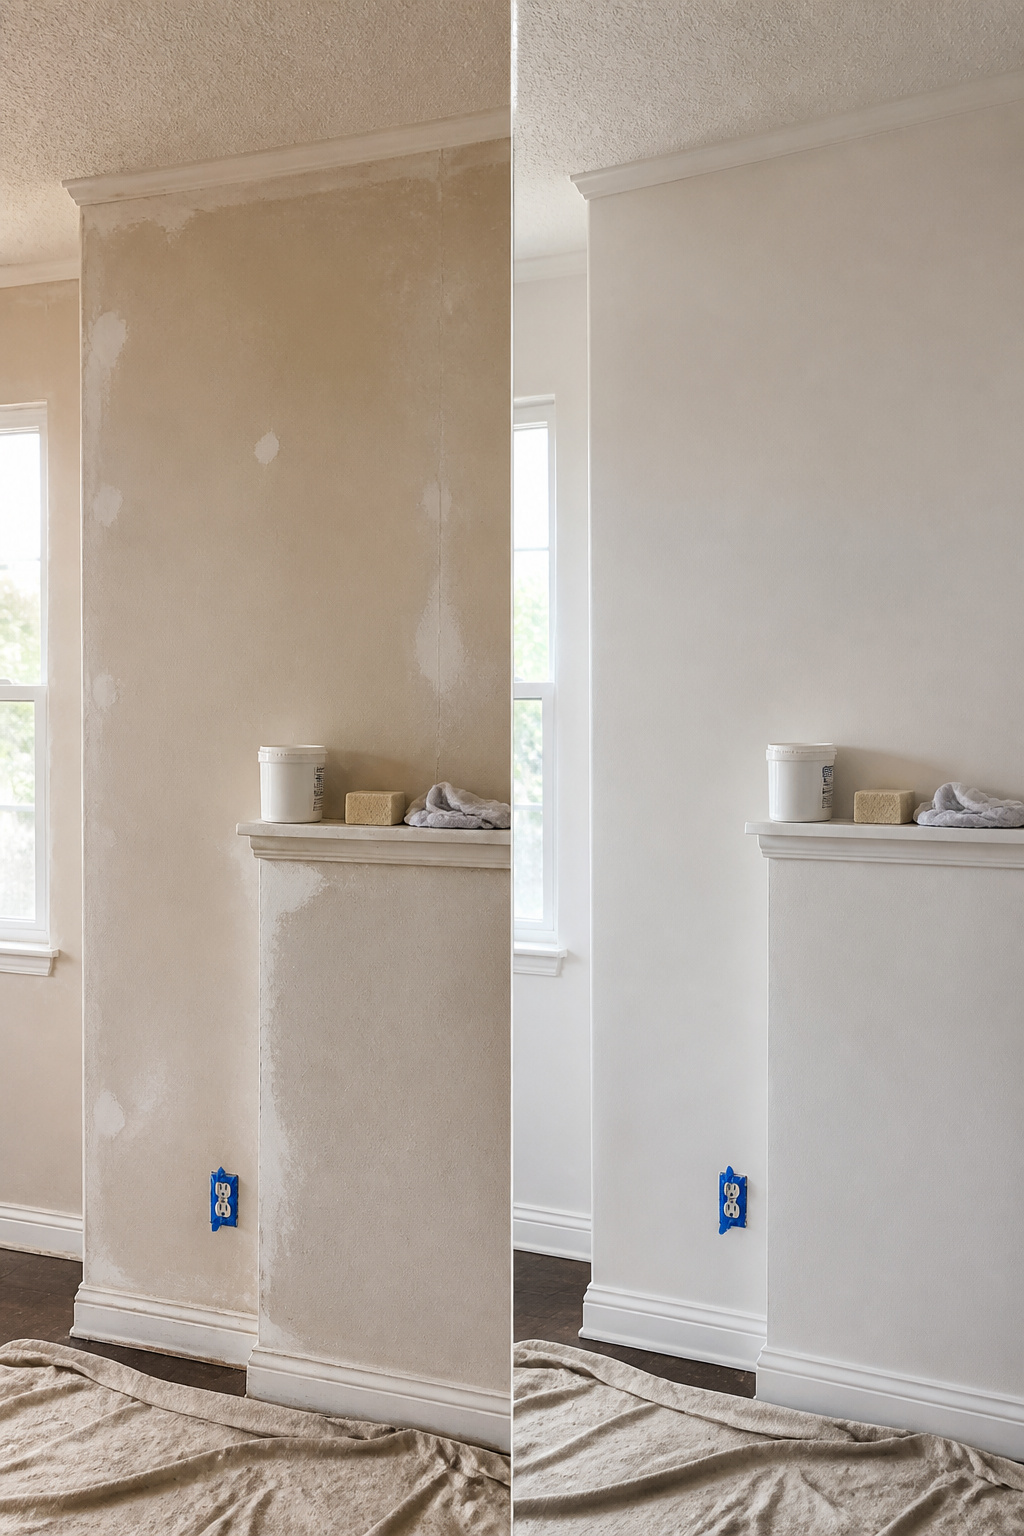
Smooth walls make the difference between wallpaper that looks installed and wallpaper that looks like an accident. Start by pulling off every faceplate and outlet cover, then tape over the sockets so adhesive does not slip inside. Fill nail holes and cracks with spackle, sand until the surface feels uniform under your palm, and wash away dust or grease with warm water and ordinary soap. The whole cleaning and patching stretch takes roughly four to eight hours, depending on how much repair the wall needs.
Fresh paint needs time to outgas before paper goes over it. Give newly painted walls thirty to sixty days, or three to four weeks if you just rolled on a coat to cover a dark color. Either way, a coat of wallpaper primer after that waiting period is worth the small extra step. The acrylic-based sizing helps the adhesive bond evenly and pays off later when you want to strip the paper without destroying the wall underneath. Some people skip it; on a newly painted surface, I would not.
2. Gather Tools and Materials
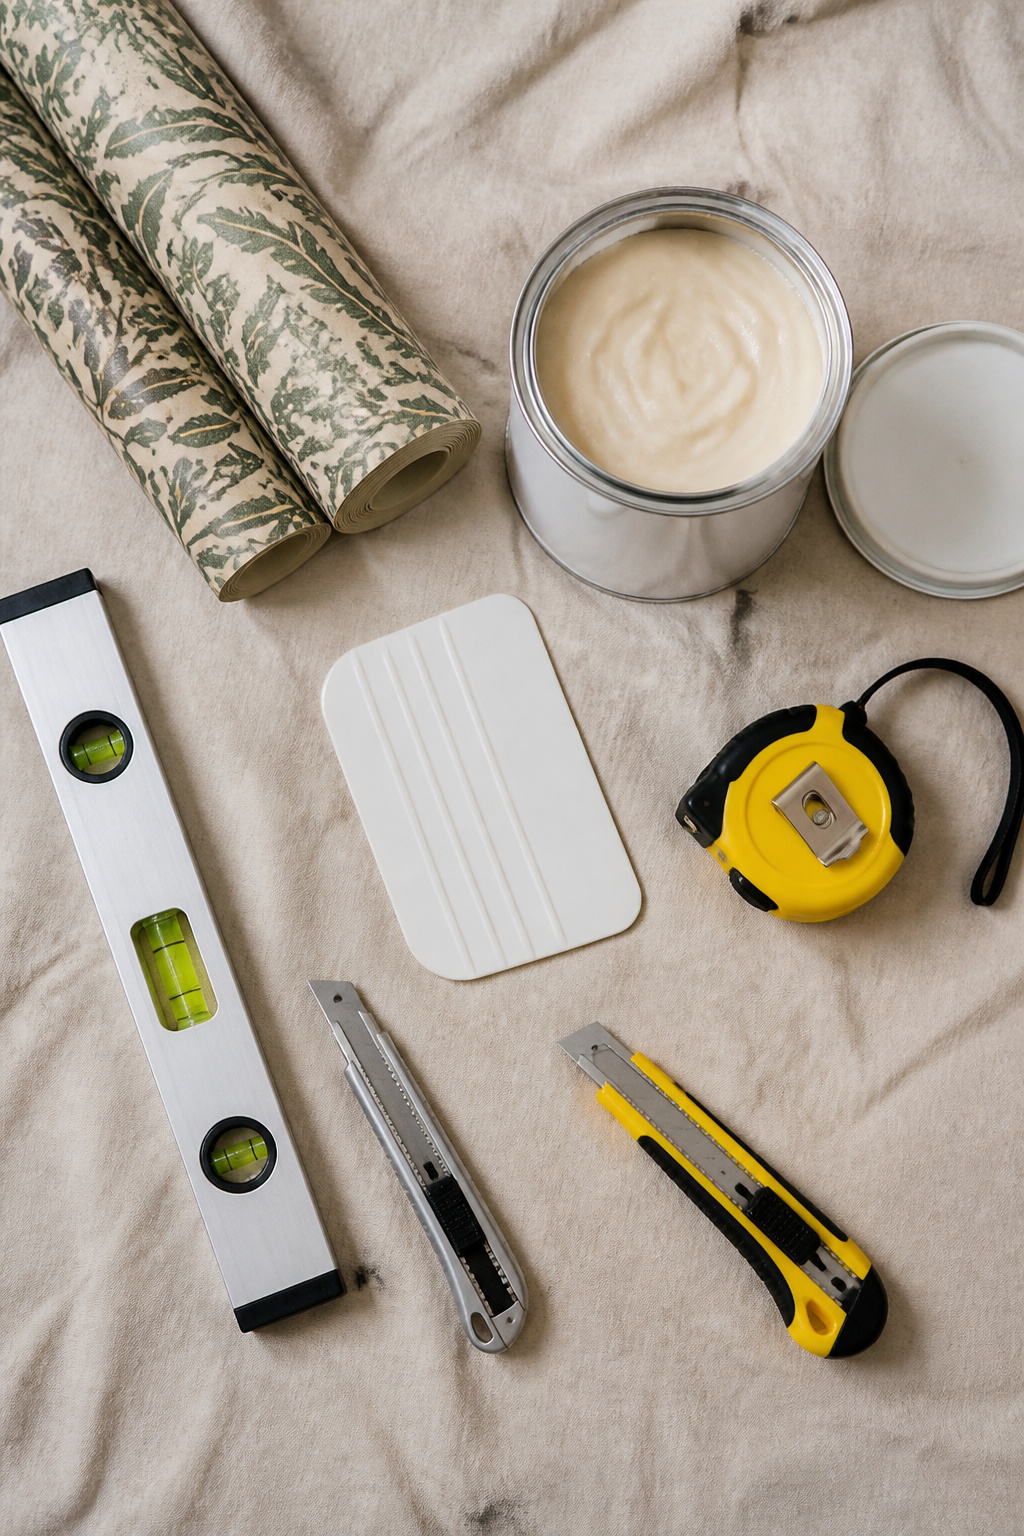
Wallpaper paste sits at the center of this job, and the type matters more than the label. Roman 543 Adhesive came up again and again in what I read as a solid pick, though brands shift and the real test is matching paste to your paper. Vinyl needs something different from standard pulp, so check that label before you buy.
A smoothing brush or plastic tool, a sharp utility knife with fresh blades, a level, tape measure, scissors, sponge, and drop cloth round out the core kit. Some guides push a seam roller too; others skip it. I’d grab one. They’re cheap insurance against lifted edges, and one source noted her seams peeled back where adhesive missed.
A putty knife or straight edge helps with the initial cut, and clean water in a bucket keeps paste off your finish as you work. Step stools and ladders are obvious but easy to forget until you’re stretching for that last inch of ceiling. Buy extra blades. A dull knife tears paper rather than cutting it, and the mistake shows.
3. Measure and Cut Wallpaper
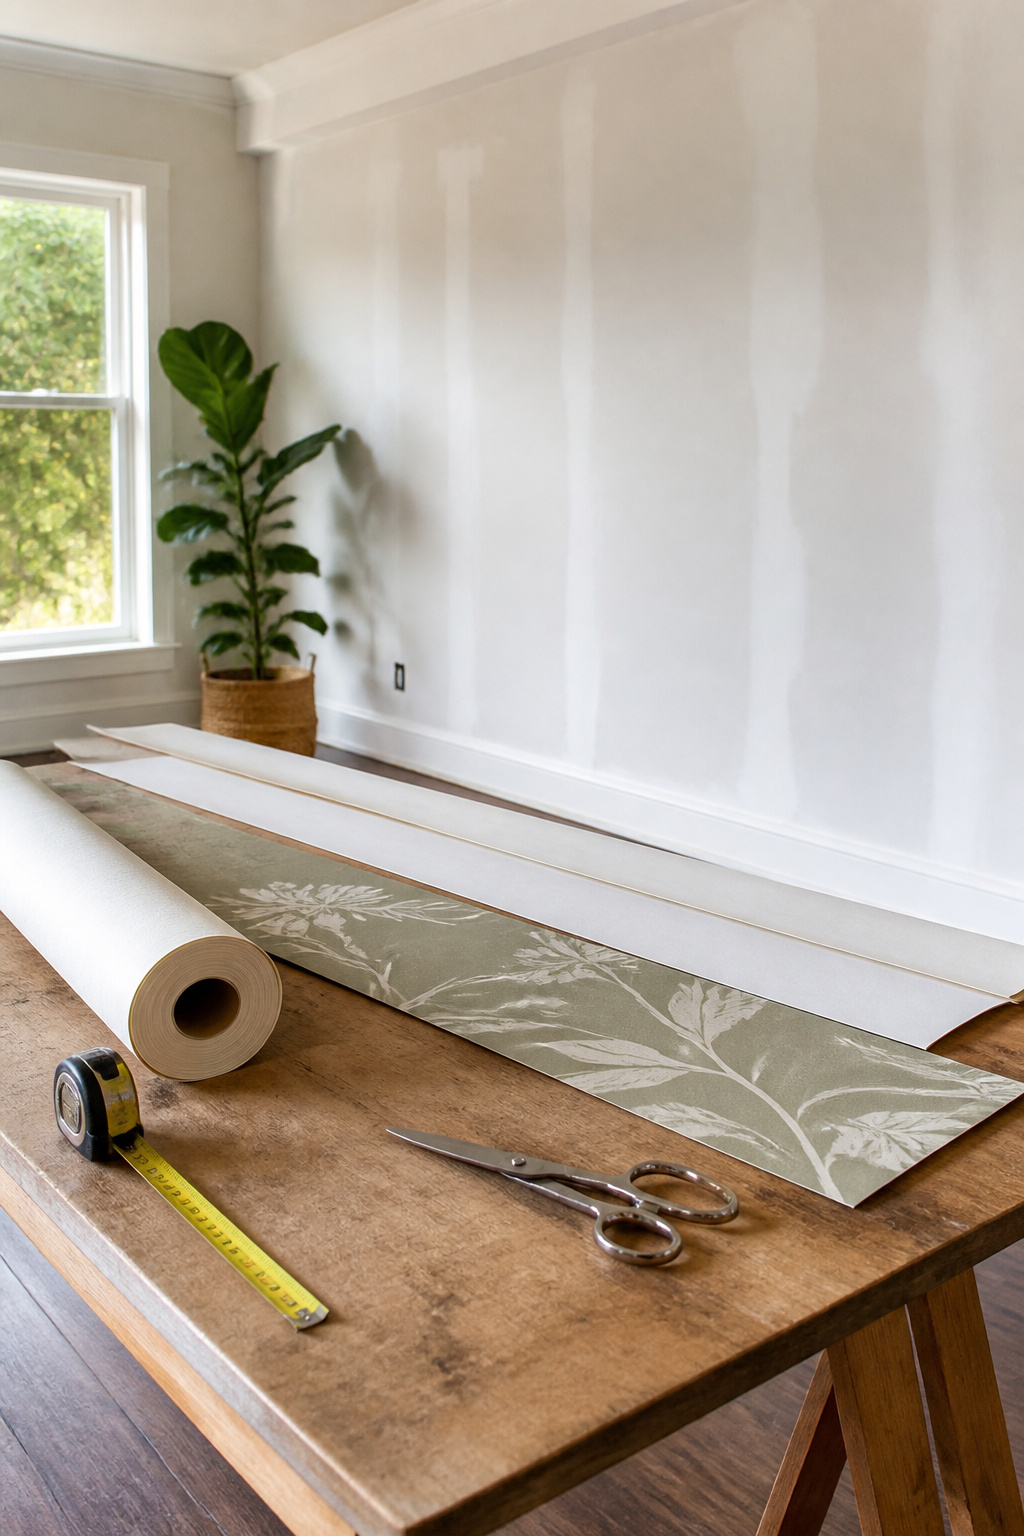
Wallpaper comes off the roll longer than you need, and that extra length is not waste. Add 5 to 10 cm at both top and bottom for trimming, which gives you wiggle room when the ceiling line drifts or the baseboard sits a little off. Measure the wall height once, write it down, and cut your first strip before moving to the next.
Pattern changes everything. A random match lets you cut strip after strip without thinking, but a straight match or drop match means the design has to line up at every seam. The repeat, the vertical distance before the pattern starts over, might run as small as two inches or stretch to two feet. You will cut off more paper to get those edges to meet without overlapping, so the strip that looked generous suddenly looks tight. Unroll a second length beside the first, hold the pattern up to the light, and find where the motif repeats before you slice. That extra paper you trimmed from the top of one strip becomes the guide for where the next one starts.
4. Apply Paste
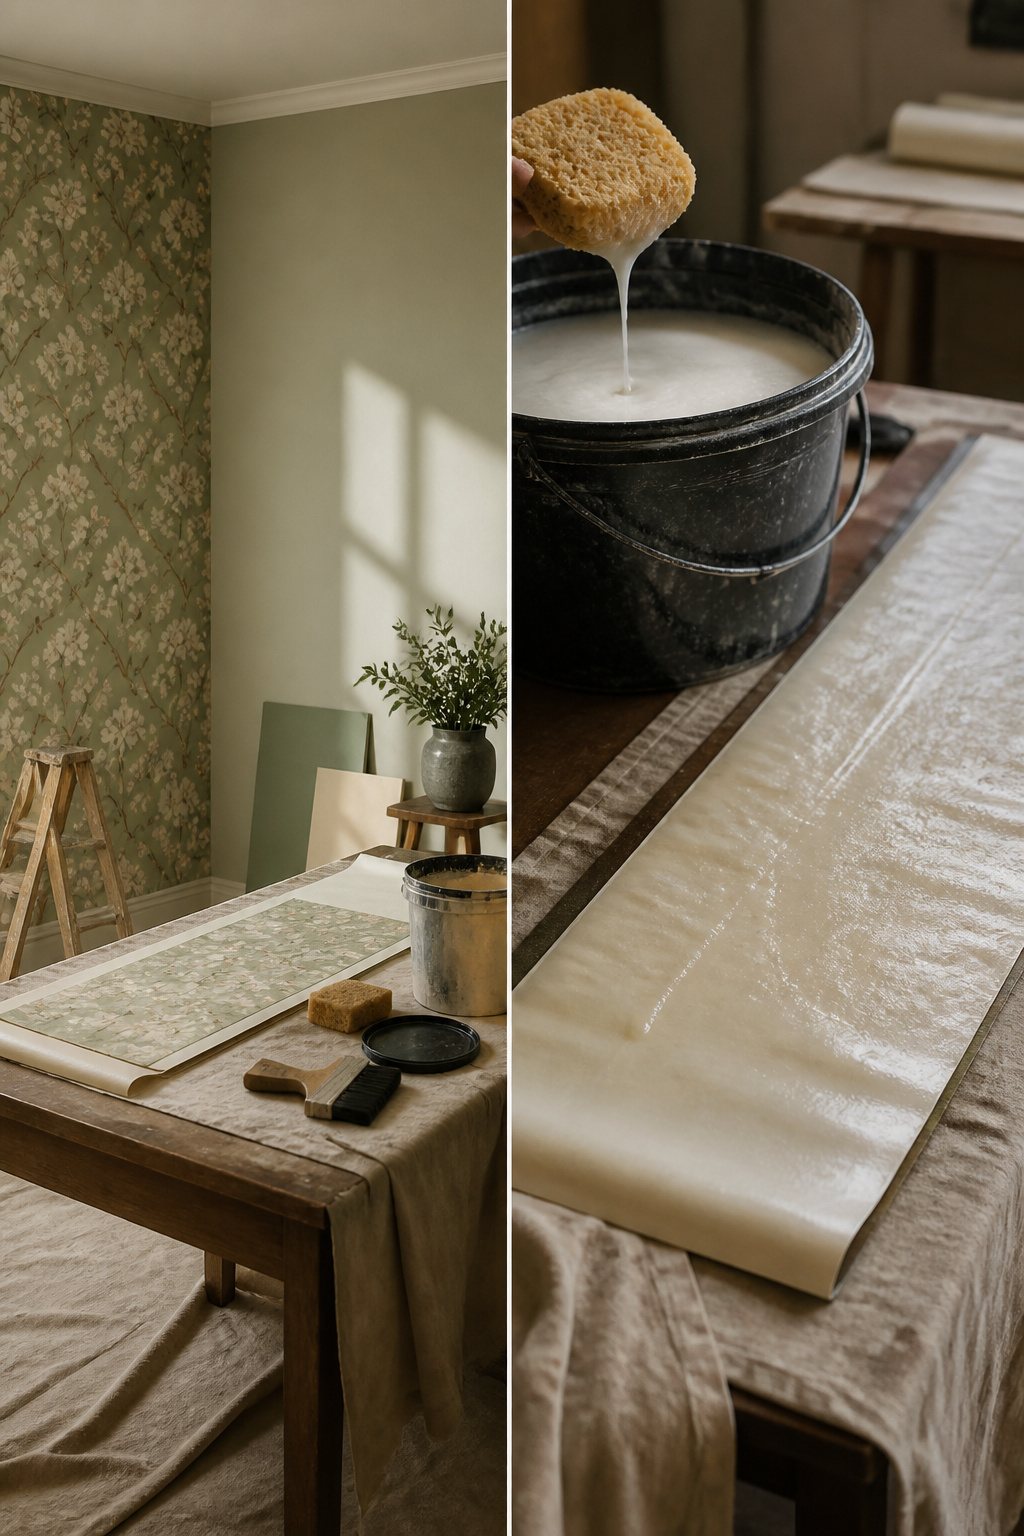
Wallpaper paste goes either on the wall or on the paper itself, and the wrong choice for your type means bubbles within the hour. Paste-the-paper varieties, often called woven wallpaper, need adhesive brushed across the back side while they lie face-down on a clean work surface. I cover the top half first, fold that section inward to the middle, then paste the remaining half and fold the bottom up to meet it. This folded position is what installers call "booking," and it matters because some papers expand as much as a quarter inch after the adhesive hits them. Letting the paper rest in that loose book fold gives it those few minutes to absorb and swell before it ever touches the wall. Manufacturers typically recommend anywhere from two to five minutes, though I have seen ten minutes suggested for certain weights. Skip the booking step and the expansion happens against the wall instead, which is where those wrinkles and bubbles come from. Not every wallpaper needs this. Prepasted or paste-the-wall products go up without the fold-and-wait routine, so the booking technique is one detail to confirm before you open the paste bucket.
5. Hang the First Strip
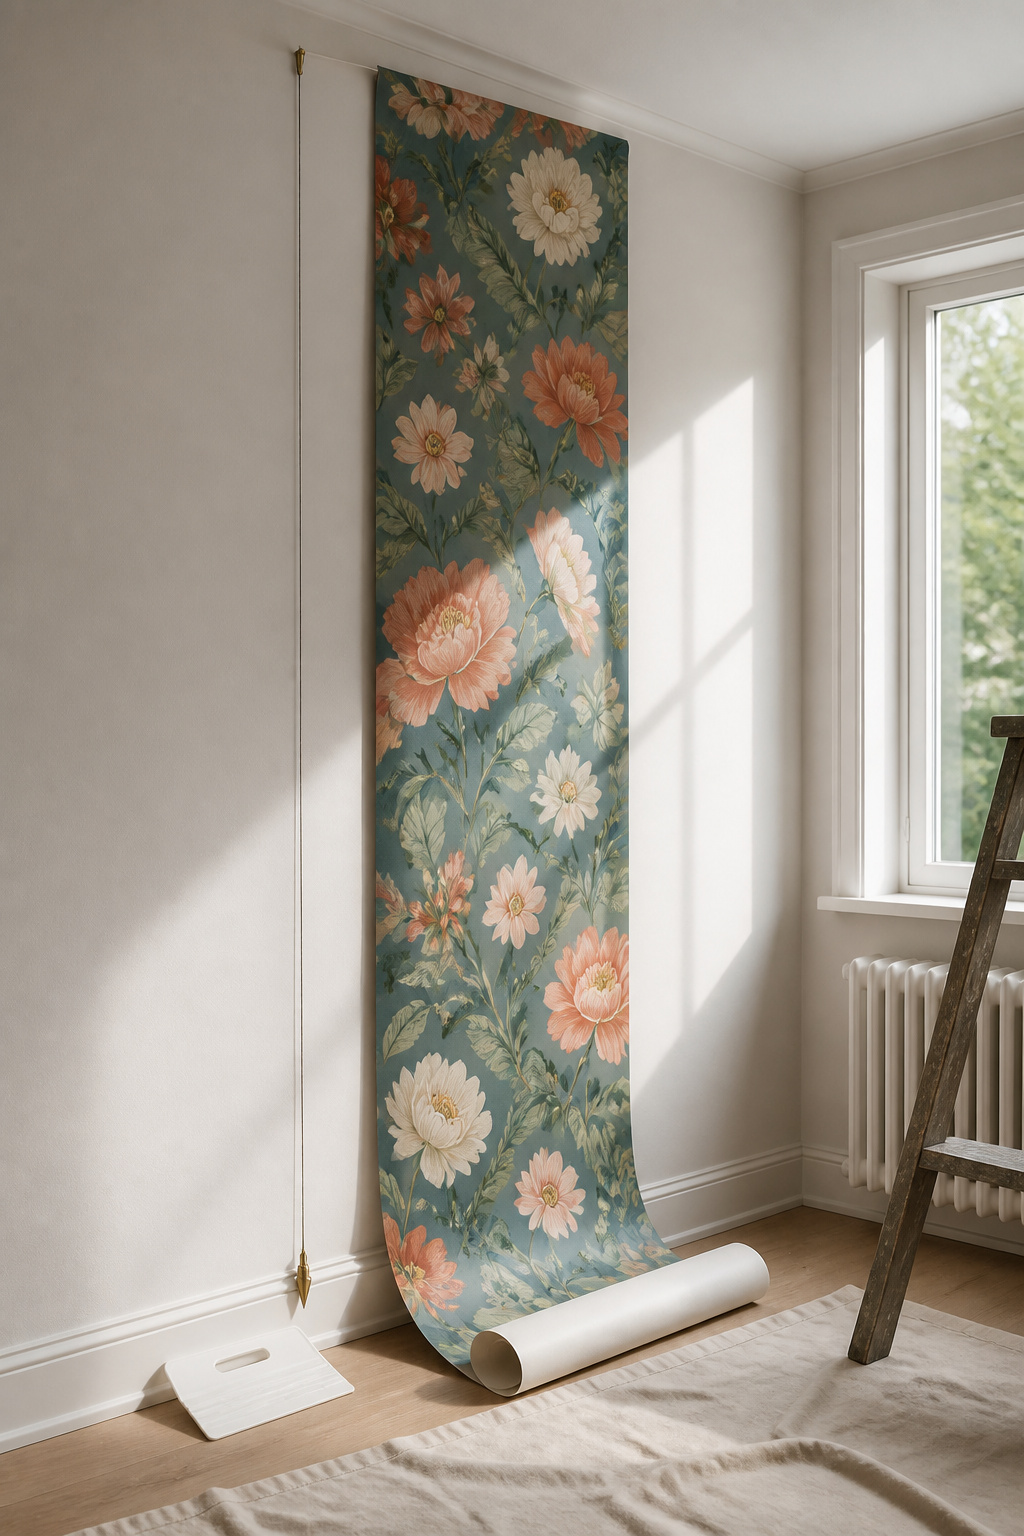
A plumb line or level is the only way to trust where that first strip lands. Walls look straight until you measure them; corners especially run off true, so starting from one without checking is the mistake that throws off every strip after. I mark my vertical guide about 20 inches in from the corner, hang the paper’s edge dead on that line, and smooth from the center outward with my hand before any tool touches it.
This first strip sets the standard for all the rest. If it leans even slightly, the error compounds strip by strip until the pattern looks drunk and the last piece meets the corner at an angle that no trim will hide. The sources I read all stressed the same thing: some start from the center of a wall with a center plumb line, others work from a measured point near a corner. Either works if the line is true and the edge follows it exactly. Leave the excess at top and bottom alone for now; trimming comes after the whole wall is hung and the paste has set.
6. Smooth and Trim

Air bubbles trapped under the paper will telegraph through every seam if you leave them. A plastic smoothing tool, pressed from the center of the strip outward, pushes the paste and any air toward the edges where it can escape. Work in overlapping strokes, not random jabs; the motion matters more than the pressure.
That extra 5–10 cm you left at top and bottom now becomes your trimming allowance. Hold a metal straightedge flush against the ceiling or baseboard, run a fresh breakaway blade along it in one continuous stroke, and resist the urge to lift the knife mid-cut. A snapped blade every few strips keeps the edge clean; a dull one tears the paper instead of cutting it. Some guides suggest waiting for the paste to stiffen before trimming, others trim wet. Wet paste slides easier under the blade, but dried paste gives you a firmer edge to follow. For a first wall, trimming while the paper is still workable tends to forgive a wavering hand. Wipe paste residue from the ceiling and trim with a damp sponge before it sets.
7. Hang Remaining Strips
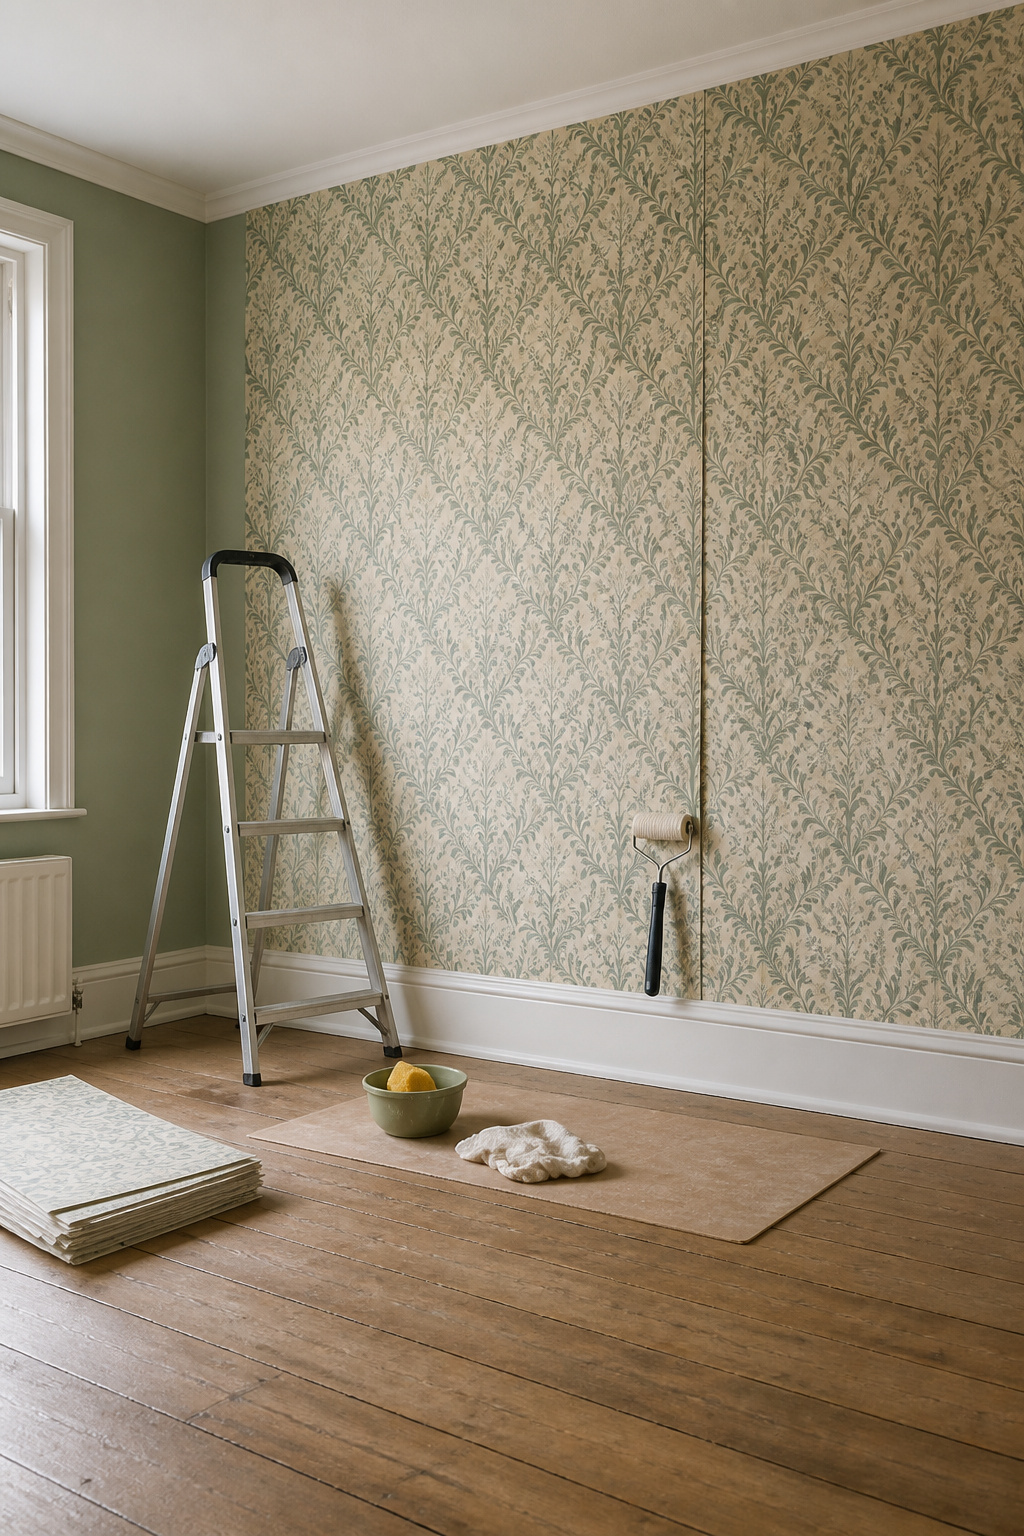
Each new strip starts with the pattern match. Hold the next length beside the one you just hung and shift it until the repeat lines up; the waste is real, and cutting for alignment eats more paper than you expect. Butt the edge to the previous strip without overlapping, then smooth and trim the excess top and bottom with a putty knife as your guide and a fresh blade.
Corners need a diagonal snip so the paper folds flat without bunching, then trim to the crease. Windows work the same way: blade against the frame, cut gently. For outlets, turn the power off first, hang the paper loosely over the face, cut from the center outward in small diagonals, and trim neatly to the edges. A seam roller pressed along each join keeps the edges from lifting while the paste sets. Check earlier strips as you go; air bubbles rise as things dry, and a pinprick with pressure frees them.
8. Final Touches
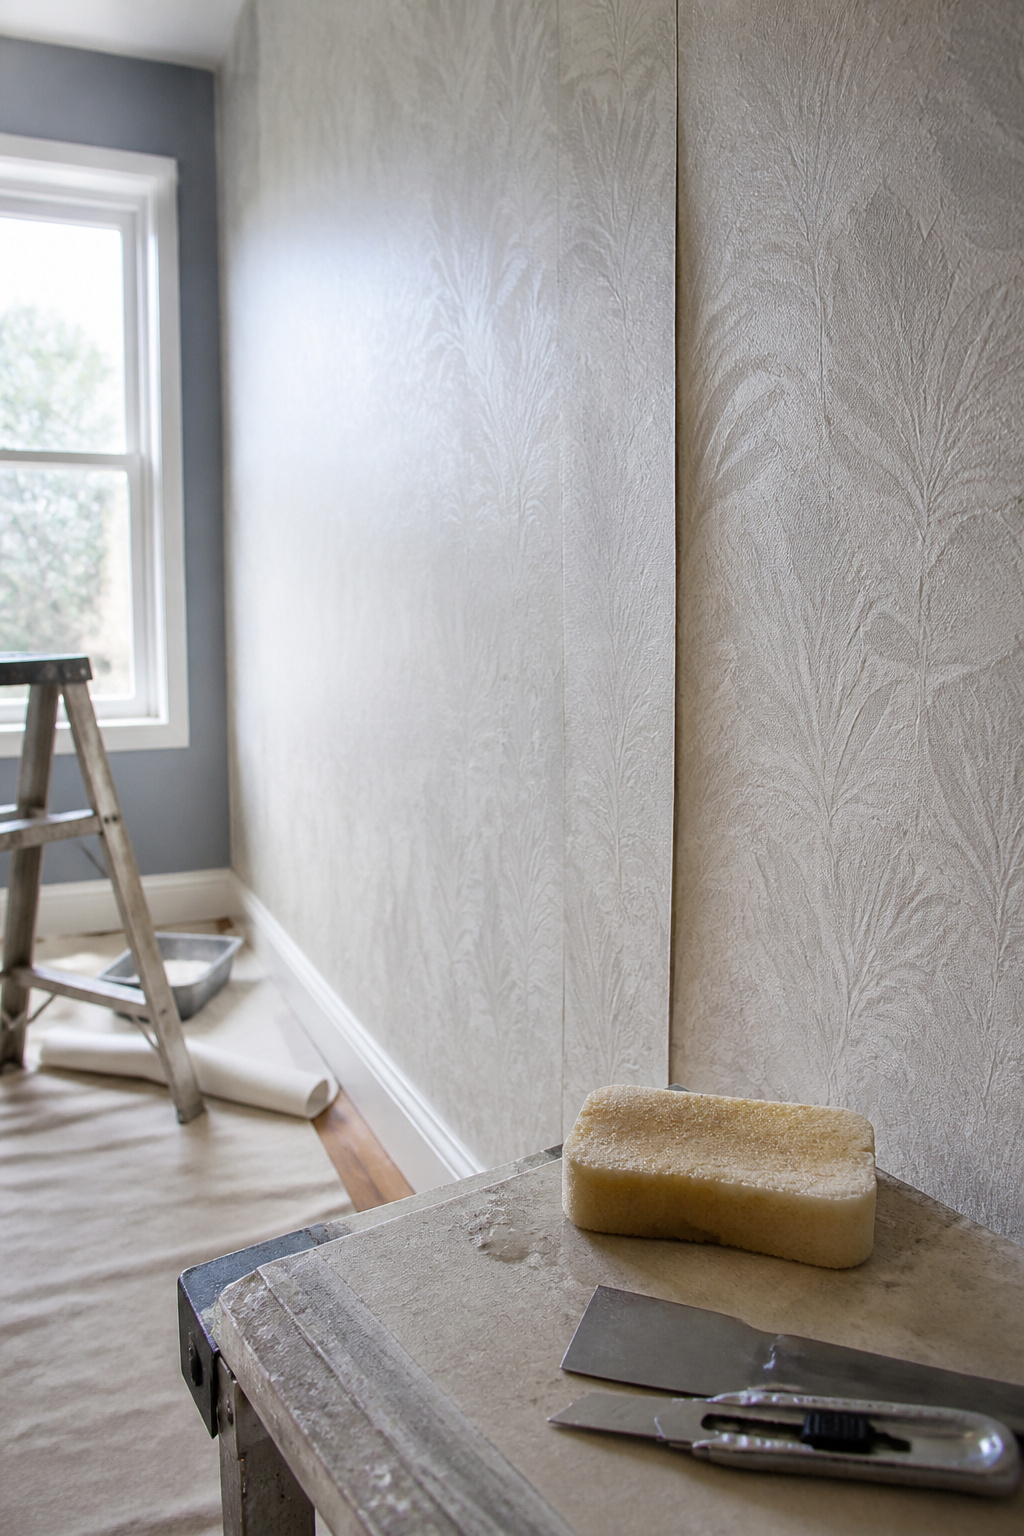
Paste dries on the surface faster than it cures underneath, which is where most finish problems hide. A line of dried paste along the ceiling reads as a raised ridge once the paper fully sets, so wipe seams and edges while the adhesive is still wet with a damp sponge and clean water. The same pass catches the smears that telegraph through lighter papers.
Bubbles that show up after smoothing usually mean air trapped under the face, not paste shortage. A small pinhole at the center lets the air out without tearing the paper; press the spot flat with a smoothing brush before the adhesive skins over. If a strip drifts a quarter inch off the plumb line, the fix depends on timing. Wet paper slides back into register with gentle pressure; once it starts to tack, trying to reposition it risks stretching the pattern or creasing the edge. In that case, a fresh cut at the seam line is the cleaner option.
Trimming at ceiling and baseboard wants a sharp breakaway blade changed often; a dulled edge tears rather than slices, and jagged cuts are hard to hide. Run the knife against a 6-inch putty knife or taping knife as a straightedge, and keep the blade low and continuous for the full length of the cut. Some guides advise waiting until the paste dries for a stiffer, easier trim; others trim wet to settle the paper into its final position. Wet trimming gives a tighter fit at the cost of a slightly softer edge; dry trimming is cleaner but leaves no room to correct if the paper has shifted.
Types of Wallpaper
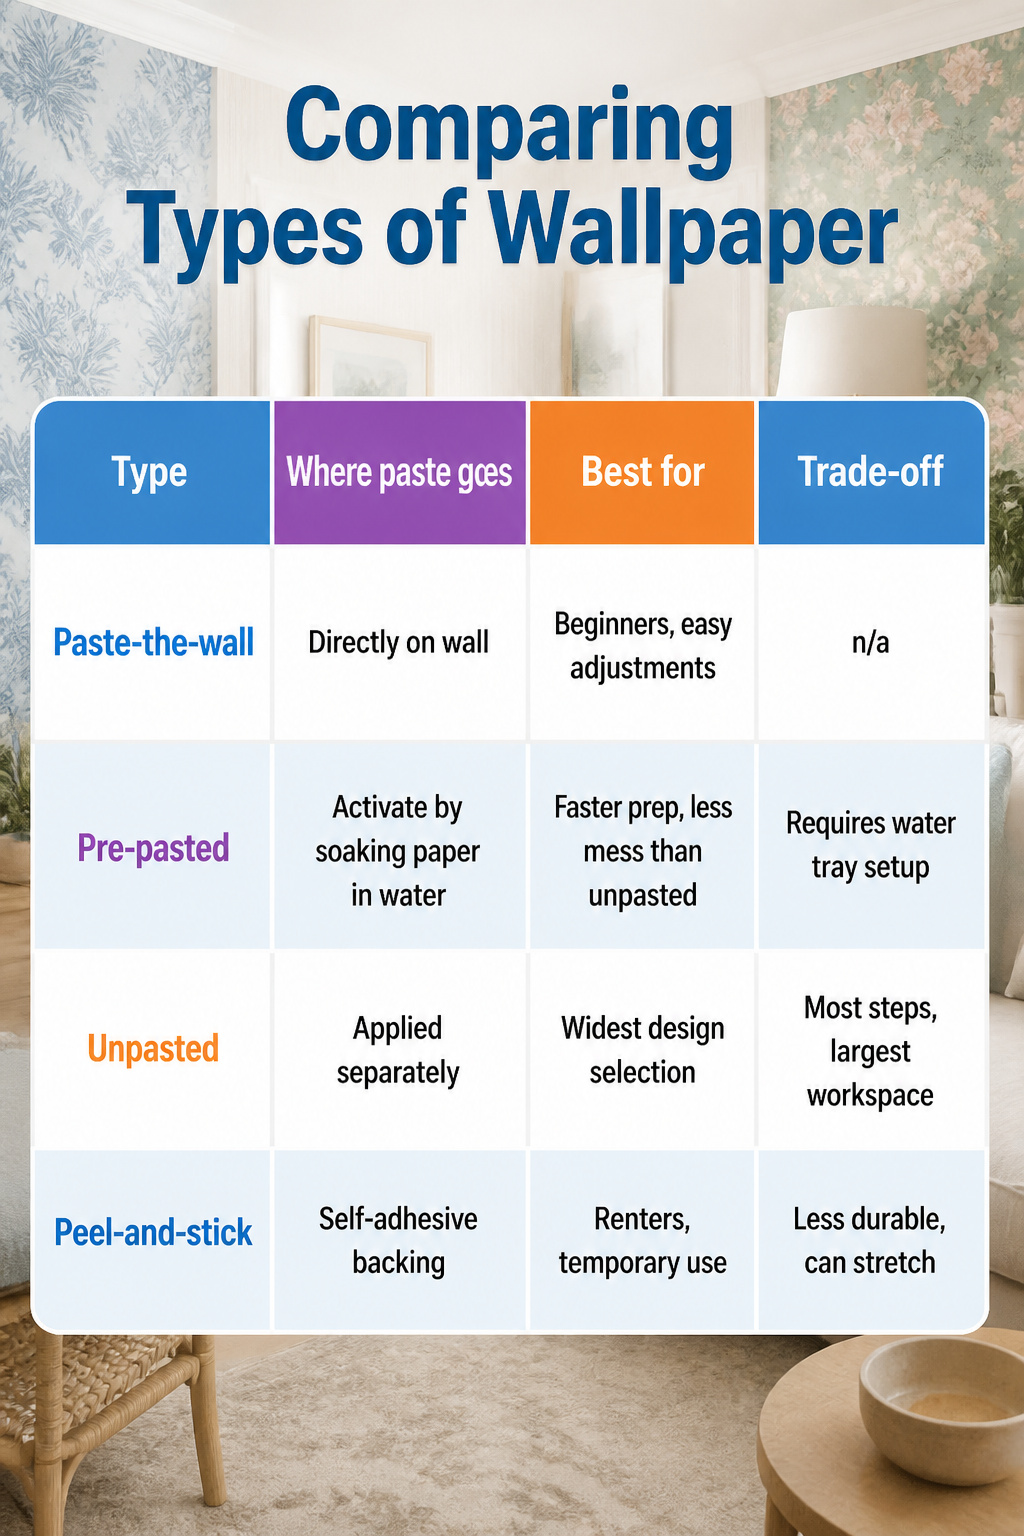
Peel-and-stick wallpaper clings like a sticker, stretches, and loses tackiness over time. Traditional unpasted paper demands a large workspace and careful precision with separate paste. Pre-pasted wallpaper carries cured adhesive activated by soaking in warm water. Paste-the-wall wallpaper, also called non-woven, lets you brush adhesive directly onto the wall instead, which means less mess and easier sideways adjustments while hanging.
"Non-woven wallpaper is the easiest to install, doesn’t expand or contract and looks virtually seamless."
That stability matters for first-timers who need forgiveness on alignment. For renters, peel-and-stick still wins on removal, though it trades durability for that convenience. One blogger who tried both in her own projects swore off peel-and-stick after switching to paste-the-wall, calling the difference "worlds apart."
| Type | Where paste goes | Best for | Trade-off |
|---|---|---|---|
| Paste-the-wall | Directly on wall | Beginners, easy adjustments | n/a |
| Pre-pasted | Activate by soaking paper in water | Faster prep, less mess than unpasted | Requires water tray setup |
| Unpasted | Applied separately to paper or wall | Widest design selection | Most steps, largest workspace |
| Peel-and-stick | Self-adhesive backing | Renters, temporary use | Less durable, can stretch |
Cost and Time
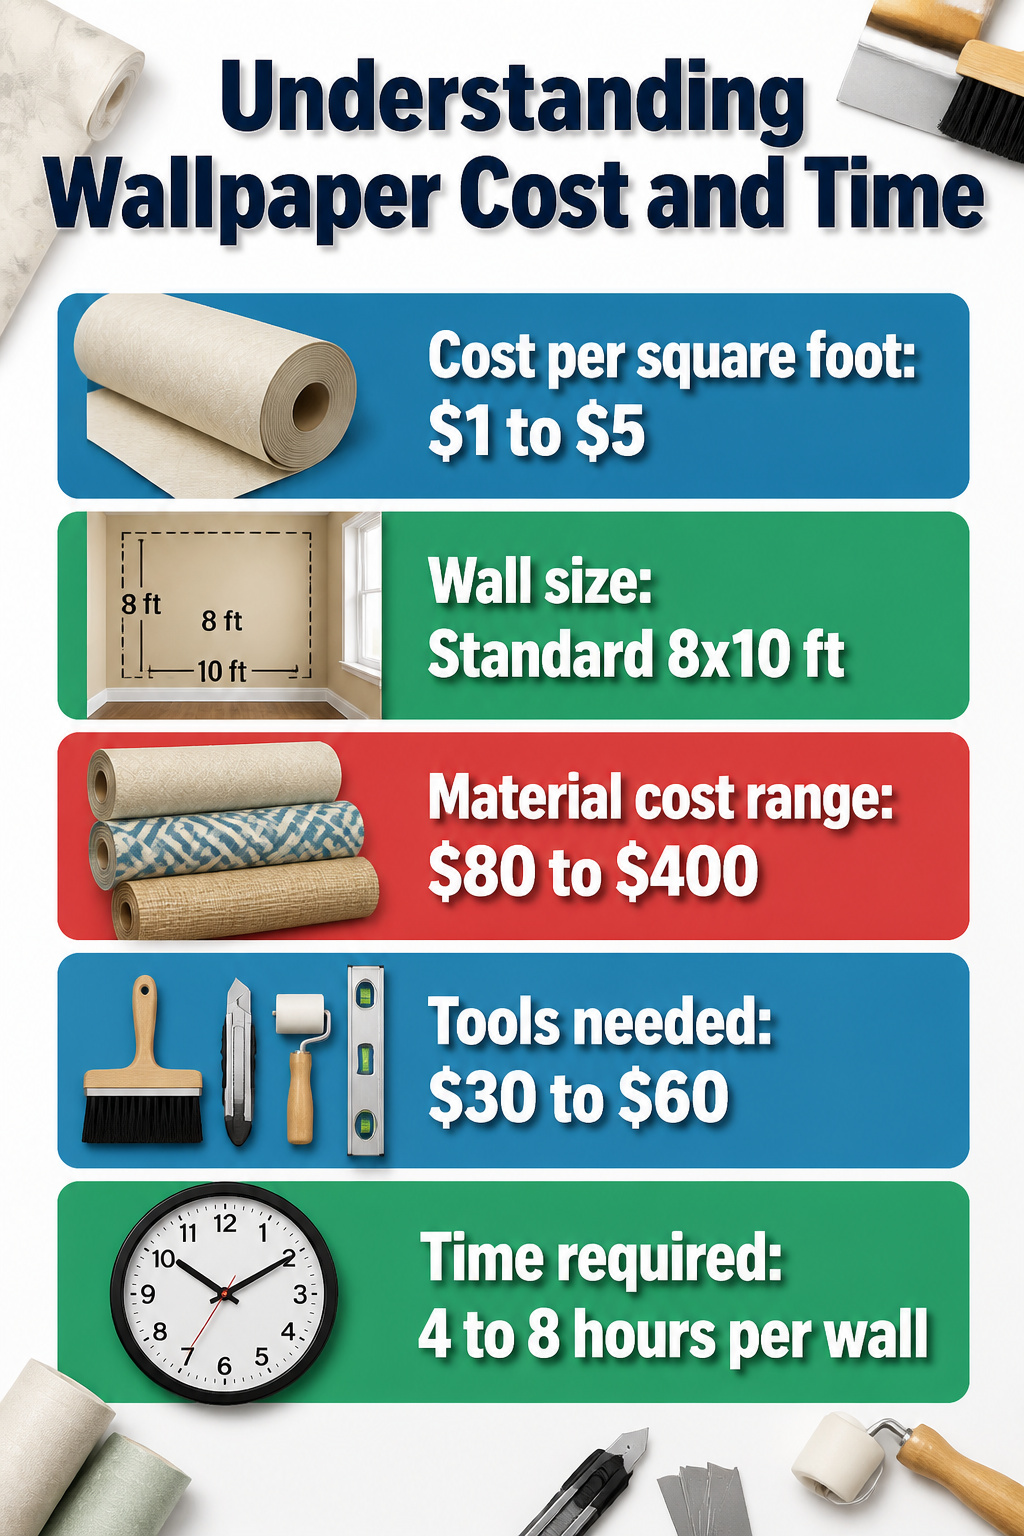
Wallpaper runs $1 to $5 per square foot, and that range matters more than it first seems. The lower end covers basic prepasted papers or simple vinyls; the upper end brings textured grasscloths, thick non-wovens, or anything with a raised pattern that hides wall flaws. A standard 8-by-10-foot wall eats about 80 square feet, so material alone lands between $80 and $400 per wall before you factor in the inevitable mis-cut or pattern-match waste.
Tools and prep materials add another $30 to $60 if you are starting from nothing: a decent smoothing brush, a sharp utility knife with plenty of blades, a seam roller, and a level longer than your longest strip. Most renters already own a measuring tape and a drop cloth; if not, that is another $15.
Time is the surprise cost. My first attempt, a single accent wall in a bedroom, stretched past six hours because I spent forty minutes fussing the first seam straight. Four to eight hours covers most one-wall projects, assuming walls are already smooth and you are not wrestling around windows or outlets. A full small room, two or three walls, can swallow a full weekend, especially if you discover mid-morning that the previous owner painted over old wallpaper and you are now stripping as you go. Budget the day, not the hour.
Pattern Matching

Pattern matching is where a wallpaper job lives or dies, and it is a separate skill from the basic measuring and cutting. A random match is the only kind that forgives impatience: the strips line up no matter where you cut, so you can roll through without watching the motif. Everything else demands attention.
Straight match and drop match are the two that burn beginners. With a straight match, the pattern aligns horizontally across every strip at the same height, so your cut points stay consistent. A drop match staggers the repeat, meaning the design steps down by some fraction of the repeat length with each strip. The Wallcoverings Association breaks these out in detail if you want to study before you buy, but the practical difference is this: drop match eats more paper. You will cut off usable sections to shift the pattern into place, and that waste adds up fast.
The repeat itself, measured in inches, tells you how far you are chasing. A two-inch repeat is trivial. A two-foot repeat, common on large florals and geometrics, can mean losing a foot or more per strip just to sync the design. Morris, who has hung enough of both to know, says the material, width, and repeat together decide whether the wall comes out crisp or crooked. He is right. I have read enough accounts of ruined afternoons to believe that skimming the label for that number saves more time than any tool in the bucket.
When you hang the second strip, you need to slide it on the wall while the paste is wet. The wallpaper size helps here, giving you that small window to nudge the paper until the seam disappears into the pattern. Rush this, and you will see the mismatch for years every time the light hits the wall at an angle.
Corners and Obstacles
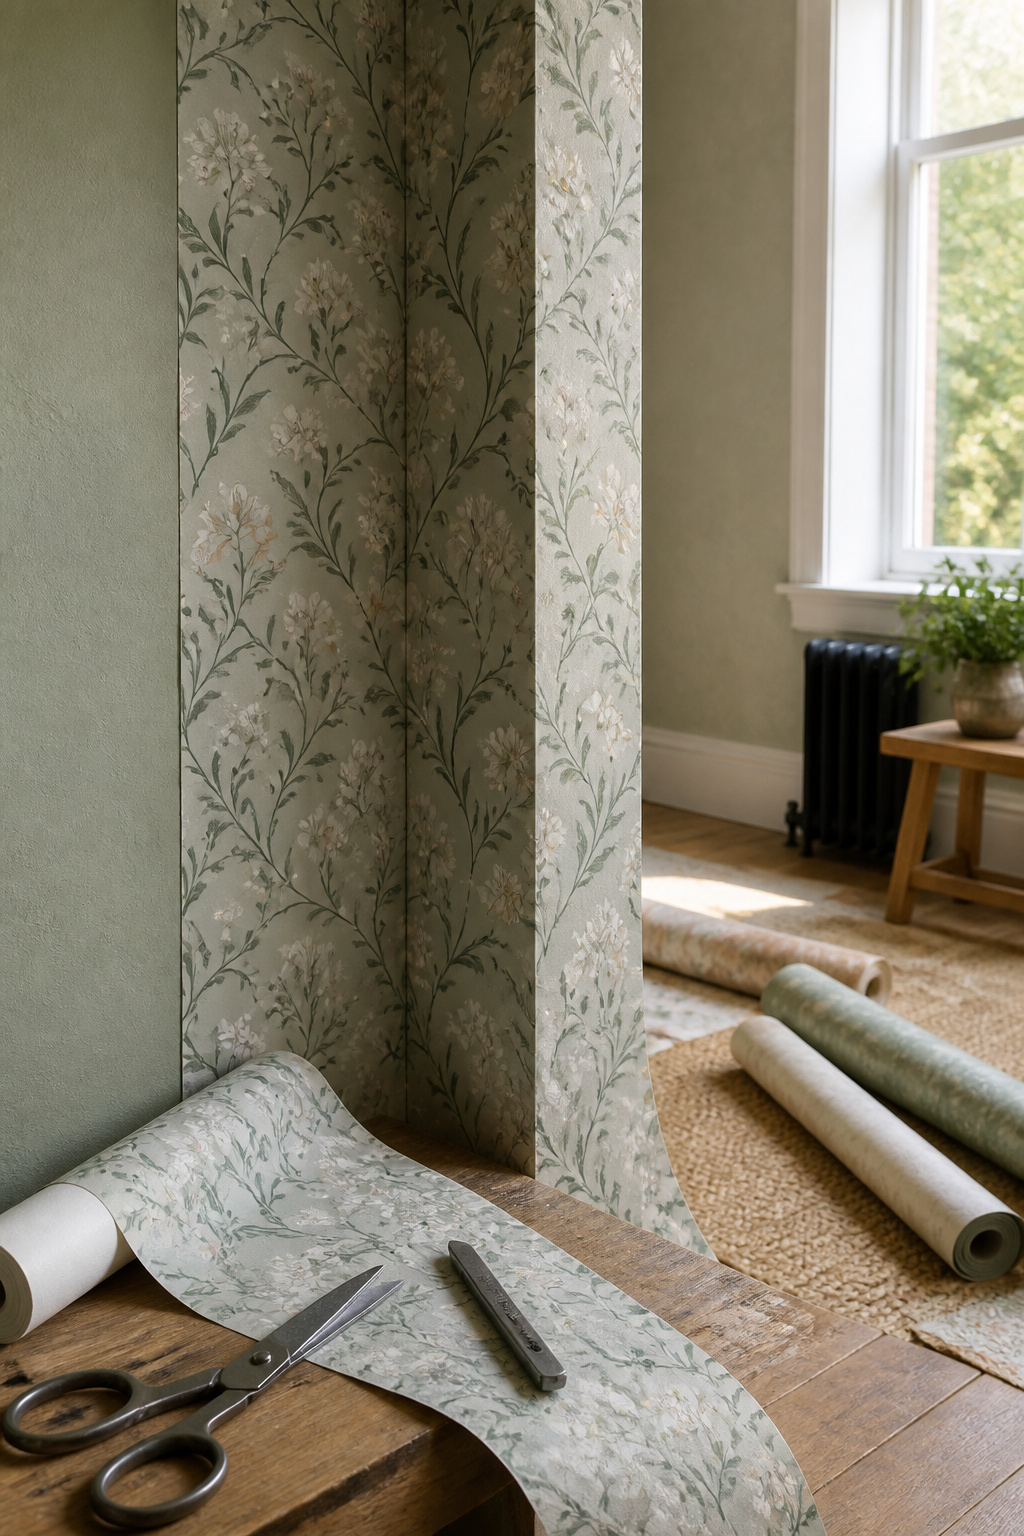
Corners, windows, and outlets are where patience pays off or peels back within a month. On my first run, I tried to muscle paper around an inside corner and ended up with a bubble that never flattened. The fix is simpler than the mistake: let the paper overlap the adjoining wall by about two to three centimeters, then cut back the overlap with a sharp blade so the seam falls right in the angle. For outside corners, wrap the paper around and trim any overlap so it stays hidden from view.
Relief cuts save the day around windows and door frames. Small diagonal snips at corners let the paper lie flat instead of fighting the turn. I reach for scissors here, not a utility knife; the control is worth the extra motion.
Outlets look tricky until you break them into steps. Make two vertical cuts flanking the box, then one horizontal cut across the middle. Pull the flaps away, trim them off, and snip around the screw notch before the cover plate goes back on. Work slowly enough that the blade never drags; a torn flap here is visible forever.
Frequently Asked Questions
How do I prepare my walls for wallpaper?
Start by removing faceplates and outlet covers, then tape over sockets to keep adhesive out. Fill holes and cracks with spackle, sand until the surface feels uniform, and wash away dust or grease with warm water and soap. If the wall was freshly painted, wait 30 to 60 days before hanging paper, then apply a coat of wallpaper primer so the adhesive bonds evenly and the paper strips cleanly later.
What tools do I need to hang wallpaper?
You will need wallpaper paste matched to your paper type, a smoothing brush or plastic tool, a sharp utility knife with extra blades, a level, tape measure, scissors, sponge, and drop cloth. A seam roller helps keep edges from lifting, and a putty knife or straight edge guides your cuts. Step stools or ladders, clean water in a bucket, and plenty of breakaway blades round out the kit.
How do I match patterns when hanging wallpaper?
Unroll a second length beside the first, hold the pattern up to the light, and find where the motif repeats before you cut. For straight or drop matches, you will cut off extra paper to align the design at every seam, so the waste adds up fast. Slide the next strip while the paste is still wet until the seam disappears into the pattern, then smooth it into place.
What types of wallpaper are there?
The four main types are paste-the-wall (also called non-woven), pre-pasted, unpasted, and peel-and-stick. Paste-the-wall lets you brush adhesive directly onto the wall for easier adjustments. Pre-pasted carries cured adhesive activated by soaking in warm water. Unpasted requires separate paste application. Peel-and-stick uses self-adhesive backing and works best for temporary use.