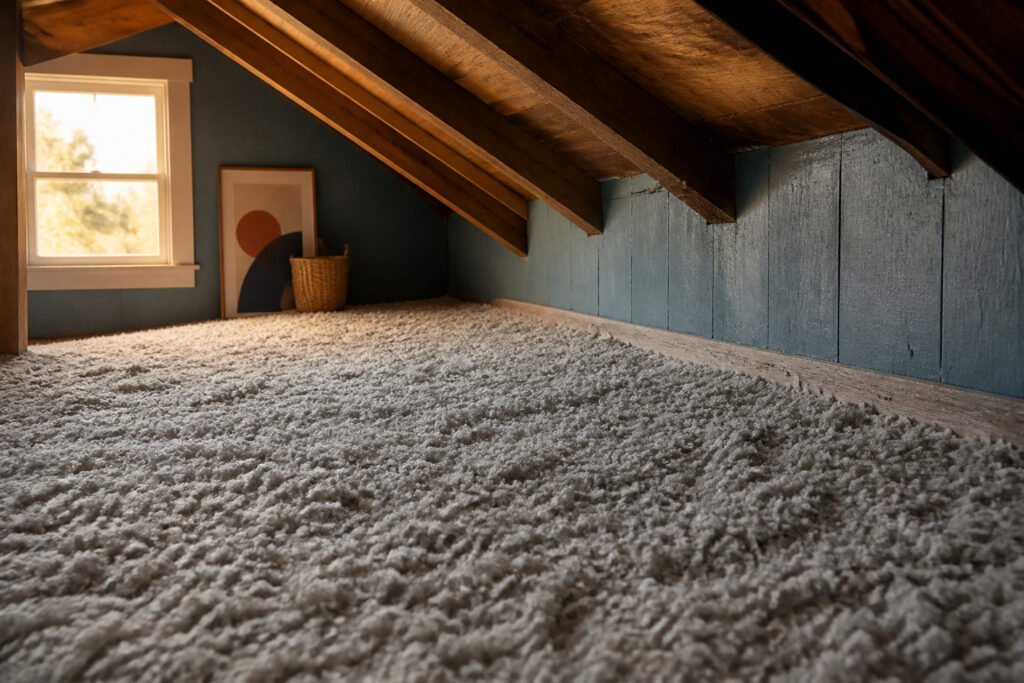
DIY blown in insulation is the process of renting a machine to spray loose cellulose or fiberglass into an attic until it reaches a thermal barrier thick enough to block winter heat loss. The catch is that it only works if you hit depth, not just coverage. In cold-climate zones like upstate New York, that means 16 inches of settled material to reach R60, and most weekend jobs fall short at the eaves where the roofline pinches. I learned that the hard way when a thermal camera showed a bright stripe along my north eave the first winter after I insulated.
Assess the Attic Space
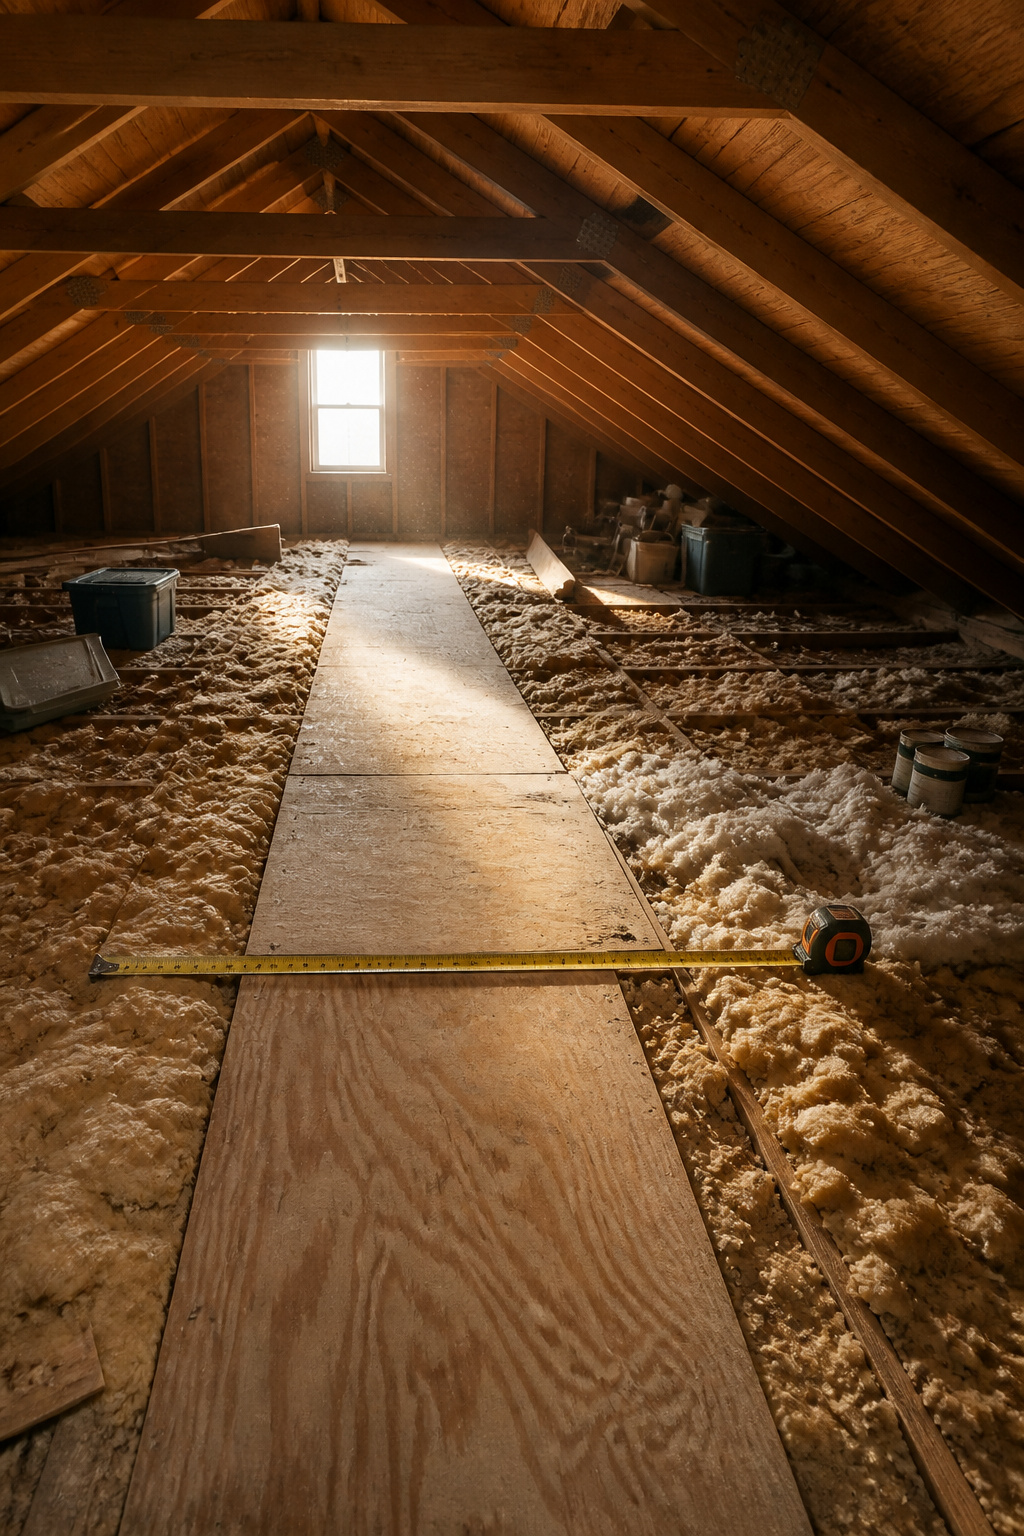
The first thing to check is how much insulation you already have and whether it is doing its job. I pull a tape measure across the attic floor in a few spots, noting the depth where the old batts or loose fill sit. Around upstate New York, attics need at least R60, which works out to about 16 inches of blown-in material to meet code. Anything less means you are measuring toward a gap, not a finish line.
While you are up there, mark off the zones you need to keep clear. A plywood runway down the center for storage or access is common, and you can blow right up to its edges without burying it. Raised storage platforms are trickier. If the plywood sits flat on the joists, the insulation underneath compresses to nothing. The fix is lifting those panels and reinstalling them on blocks or risers so the fill can slide underneath. I have seen attics where someone skipped this and created thin spots that bleed heat all winter.
Check the condition of what is there, too. Batts that are black, matted, or water-stained are not worth keeping. Remove them before you blow. Clean joist bays mean the new layer bonds evenly and you hit that 16-inch target everywhere, not just where it was easy to pile.
Choose Between Cellulose and Fiberglass
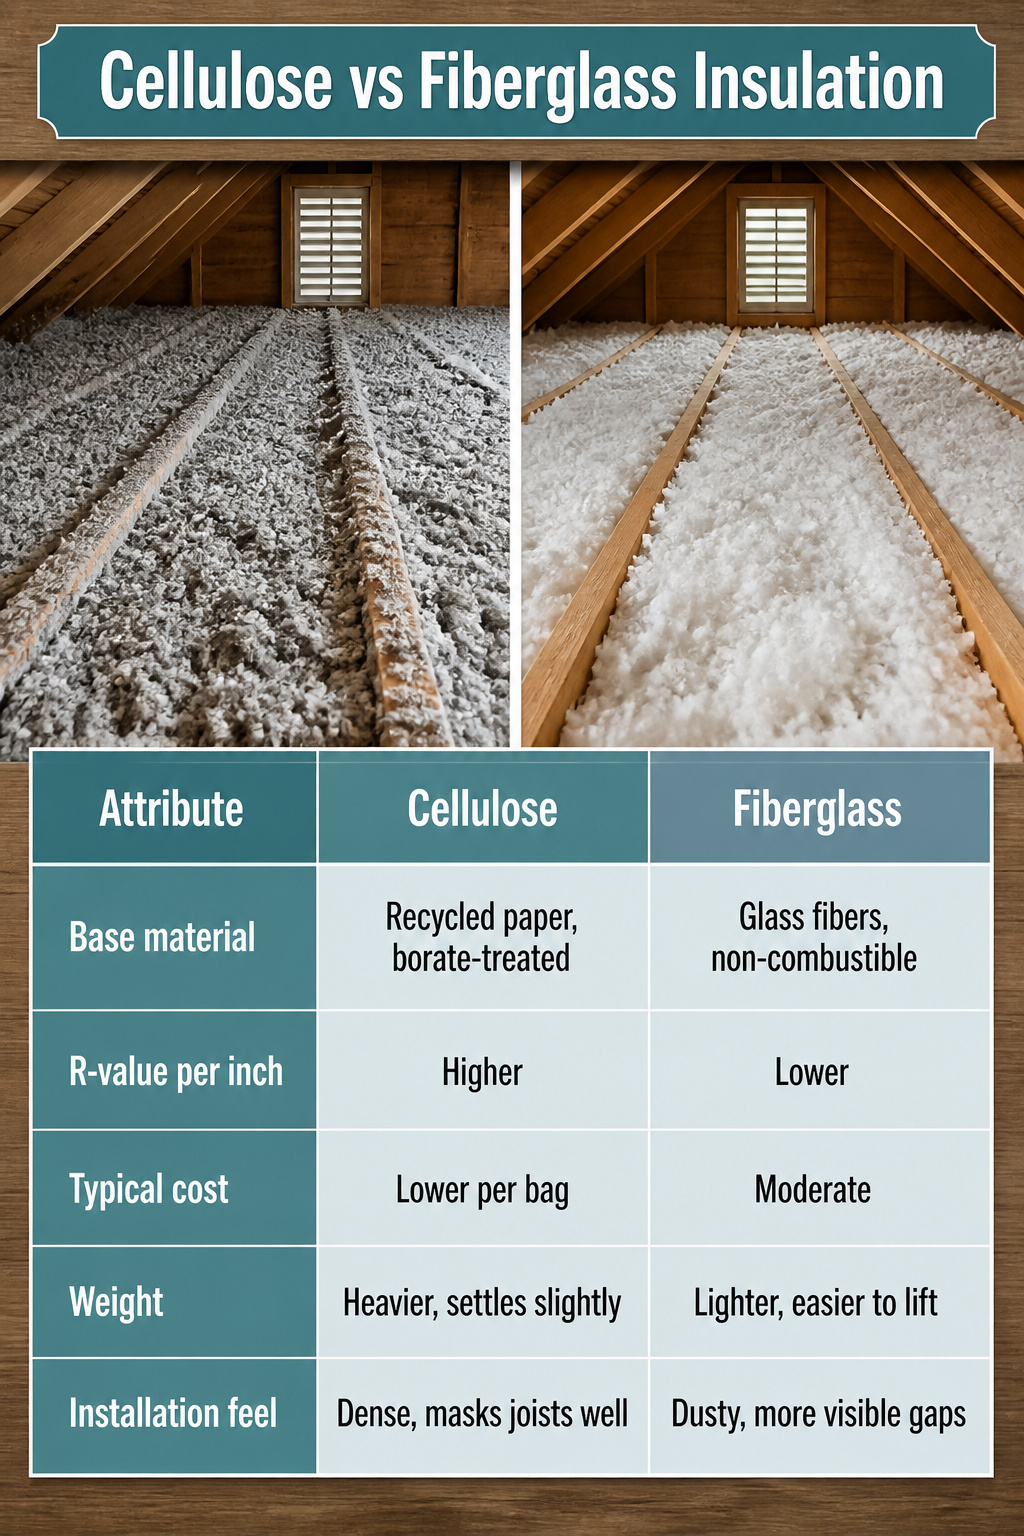
Cellulose and fiberglass handle heat differently, and that difference shapes which one makes sense for a weekend attic job. Cellulose is ground-up newspaper treated with borate for fire resistance; it packs tighter around joists and penetrations, which cuts down on the voids that let heat slip through. Fiberglass, either loose-fill or the batts you’re probably pulling out, is non-combustible by nature and lighter to move up a ladder.
Cost usually tilts toward cellulose per bag, though the gap narrows when you factor in how much fiberglass you need to hit the same R-value. Speaking of which, cellulose runs about R-3.2 to R-3.8 per inch, fiberglass closer to R-2.2 to R-2.7, so achieving code depth takes more inches of fiberglass and more trips across the attic.
| Attribute | Cellulose | Fiberglass |
|---|---|---|
| Base material | Recycled paper, borate-treated | Glass fibers, non-combustible |
| R-value per inch | Higher | Lower |
| Typical cost | Lower per bag | Moderate |
| Weight | Heavier, settles slightly | Lighter, easier to lift |
| Installation feel | Dense, masks joists well | Dusty, more visible gaps |
What convinced me, reading through a dozen of these guides, is that cellulose forgives the uneven joist spacing and buried wiring most old attics hide. Fiberglass demands more fussing to avoid thin spots. If your rental or first home has a straightforward attic with good access and you’re already renting the blower, cellulose saves money and probably performs better. Fiberglass wins only if you cannot handle the extra weight on the ladder or find a steep sale.
Prepare the Attic
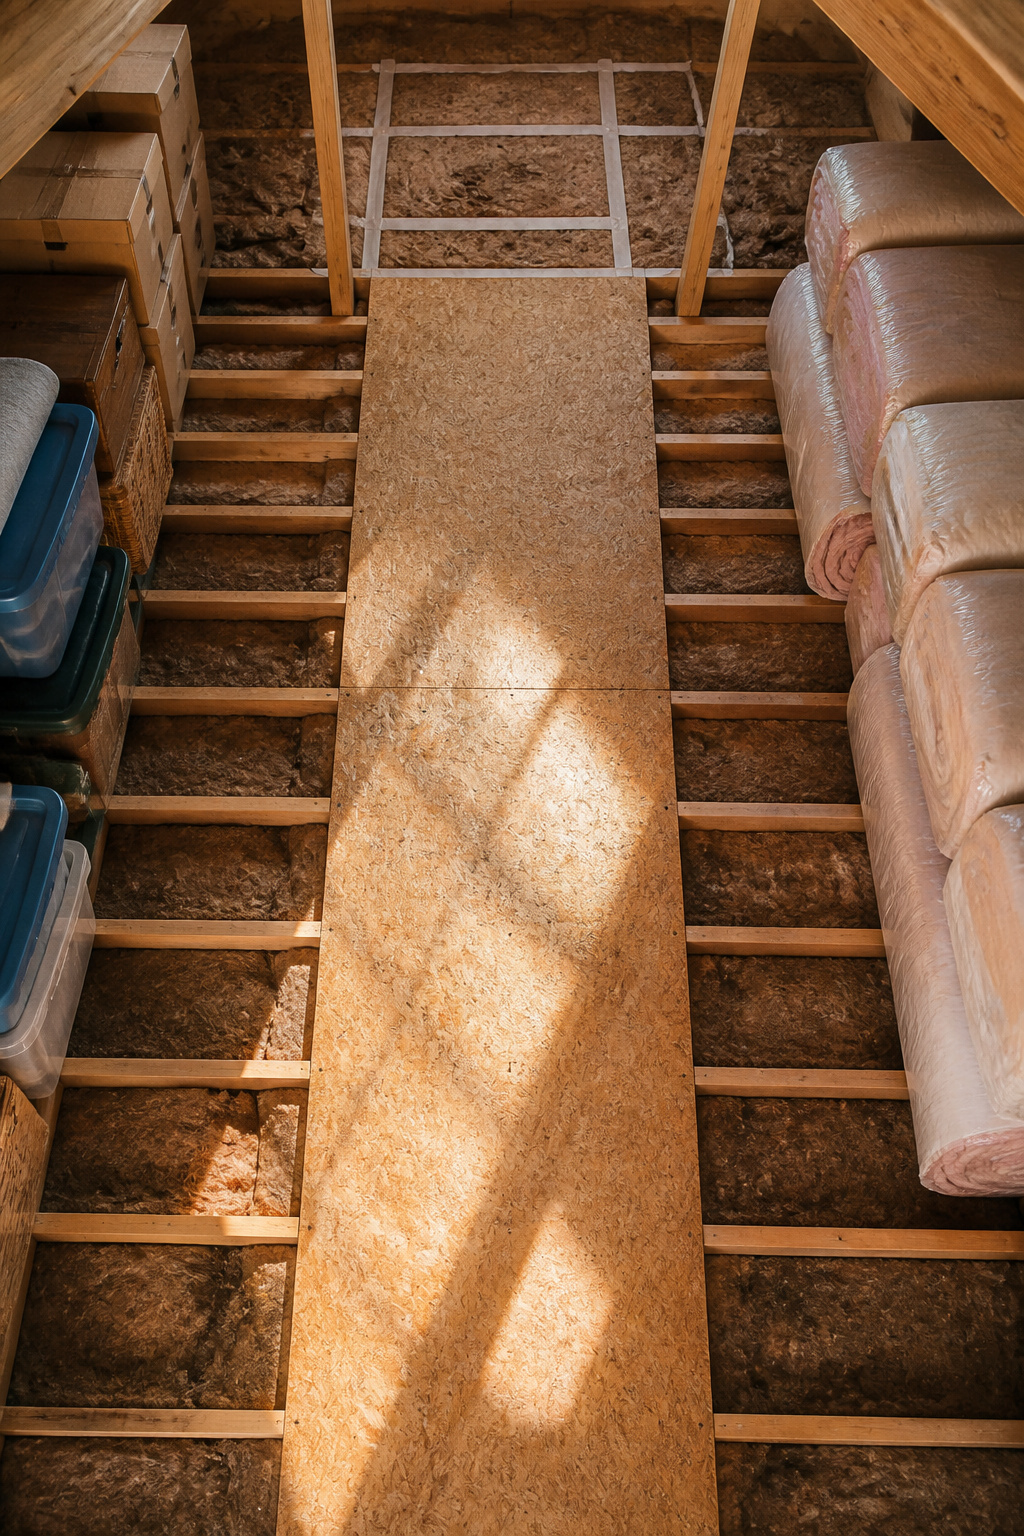
Start by pulling everything out that does not need to stay. Old boxes, the spare fan you meant to fix, the holiday decorations you forgot about: attic air needs to move freely during the blow, and loose objects become tripping hazards fast on joists spaced 16 inches apart. I laid a temporary plywood runway down the center of my own attic after nearly stepping through the ceiling below, and that single 2-by-8-foot strip saved the rest of the weekend.
Walkways and storage platforms are worth deciding now, not after the insulation is down. The areas underneath them can still be insulated; batt insulation slides in easily before you deck over the platform, then blown material fills the open areas around it in a separate pass. IC-rated recessed cans can be covered directly with insulation without gaps or protective cones, but the rating must be verified first: check inside the junction box cover, on the can interior beneath the trim, or at the bulb base. Non-IC fixtures need three inches of clearance or replacement before you blow. Keep soffit vents open with baffles during work; blocked airflow in a finished attic traps moisture and undoes the thermal benefit within a season.
Rent the Blowing Machine
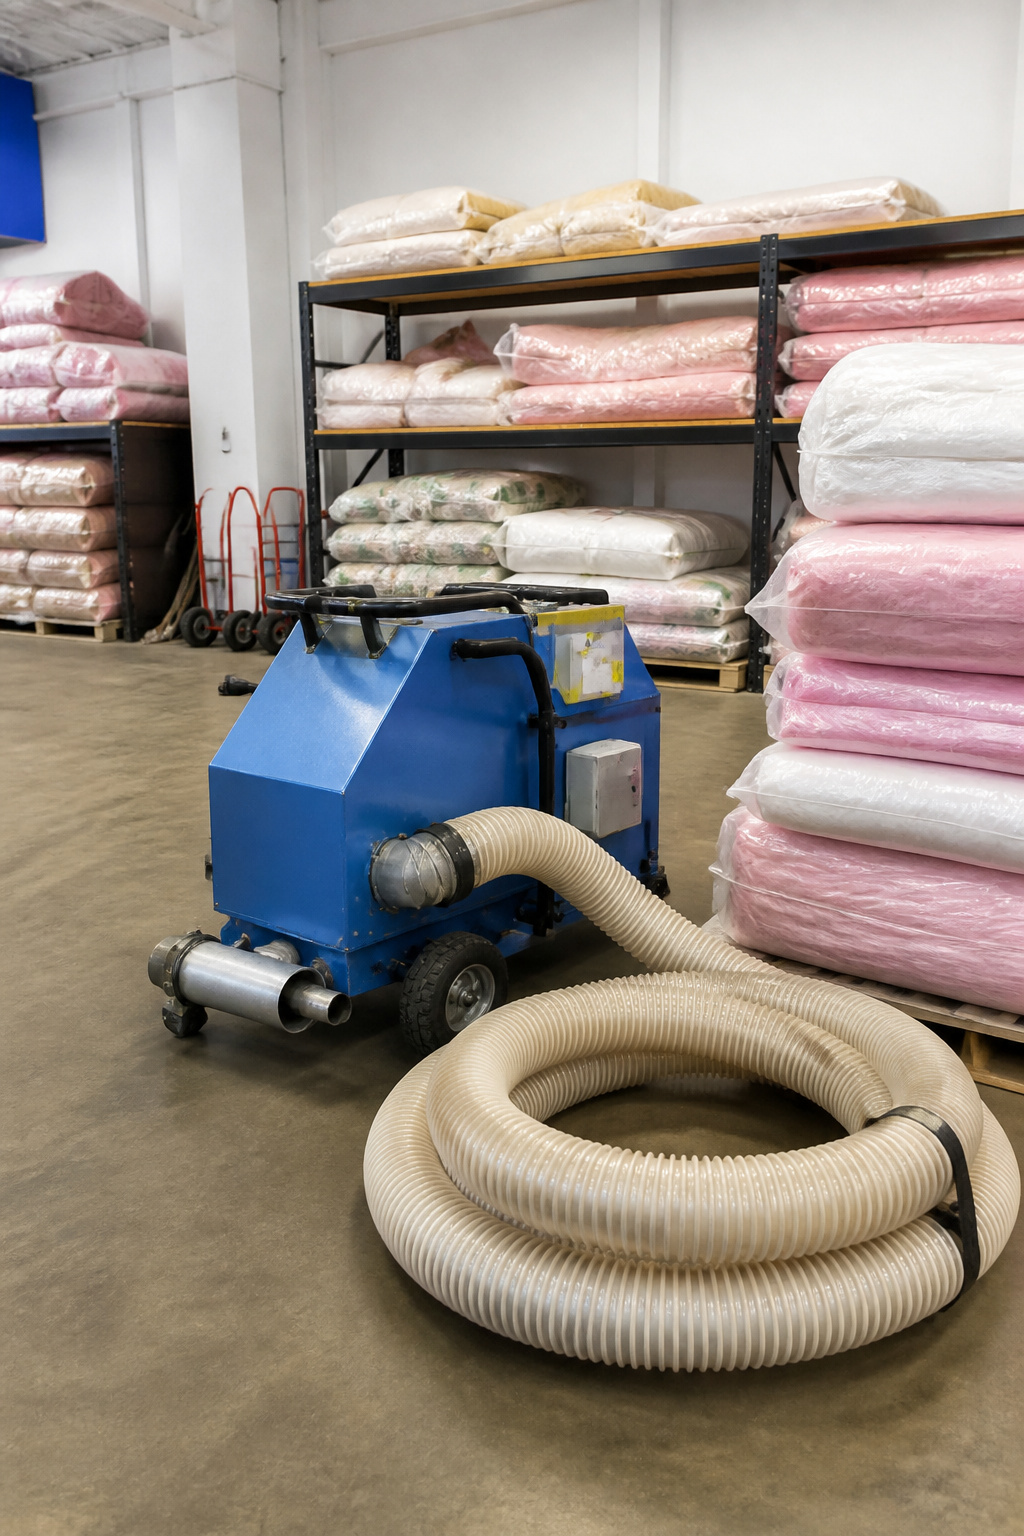
The blowing machine sits at the center of the whole job, and most big-box hardware stores keep them in the rental yard for exactly this project. One machine load covers roughly 800 square feet, a figure that matters more than it first appears.
I learned to measure the attic floor twice and compare that number to the machine capacity before leaving the store. A 1,600 square foot attic means two loads minimum, and the math gets awkward fast if you discover a shortage halfway through blowing. The rental desk staff usually know the coverage per bag for the insulation they stock, so the conversion from square feet to bales is worth doing right there.
Some renters grab the machine first and buy insulation second. That order flips the risk onto you: the machine goes back in four hours whether the job is done or not. Matching measured area to machine capacity before the rental clock starts keeps the afternoon from turning into a return trip and a second deposit.
Blow In Insulation
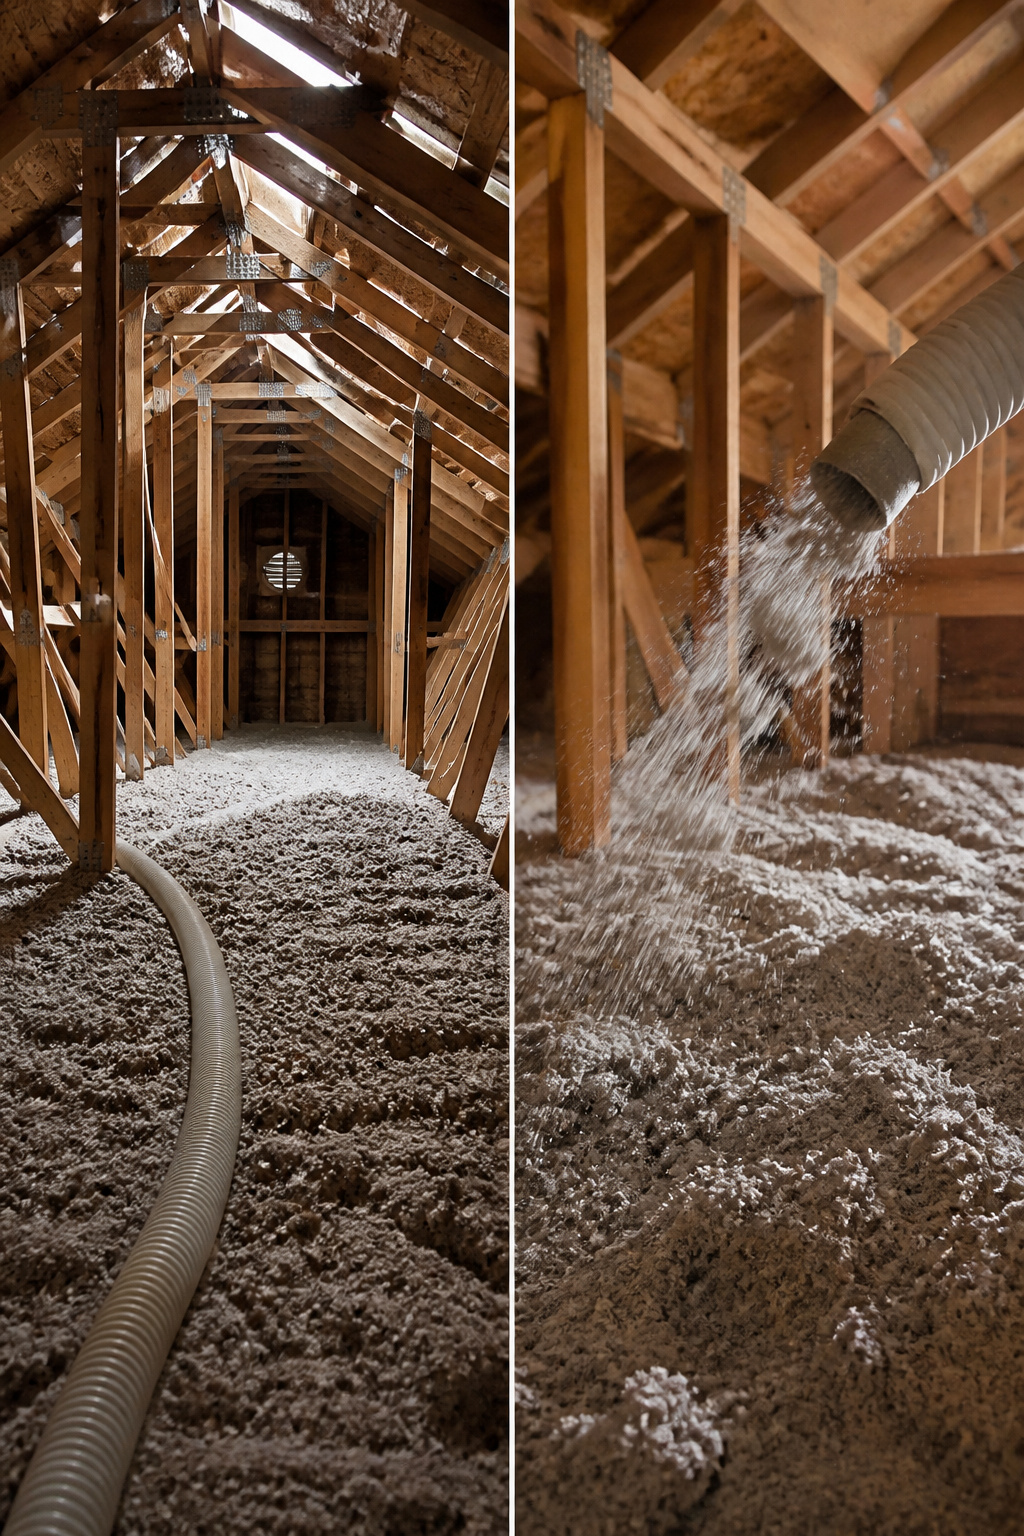
Pick the far corner and work back toward the access hatch so you never step through what you just laid. The hose end moves in a slow arc, letting the material fall and settle before you judge the depth. What looks even from the rafters often reads lumpy once you compress it with a yardstick, so I check twice: once while the blower runs, once after five minutes of settling.
Corners and edges along the top plates are where the heat slips out. The blower nozzle jams into tight angles if you pinch the hose, but the real fix is hand-packing those last six inches before the roofline. I learned that the hard way when a thermal camera showed a bright stripe along my north eave the first winter after I insulated.
Stop when the depth matches your target across ninety percent of the field, then spot-fill the low pockets. A second thin pass blends better than one heavy dump that bridges over the joists and leaves voids underneath.
Check for Proper Depth
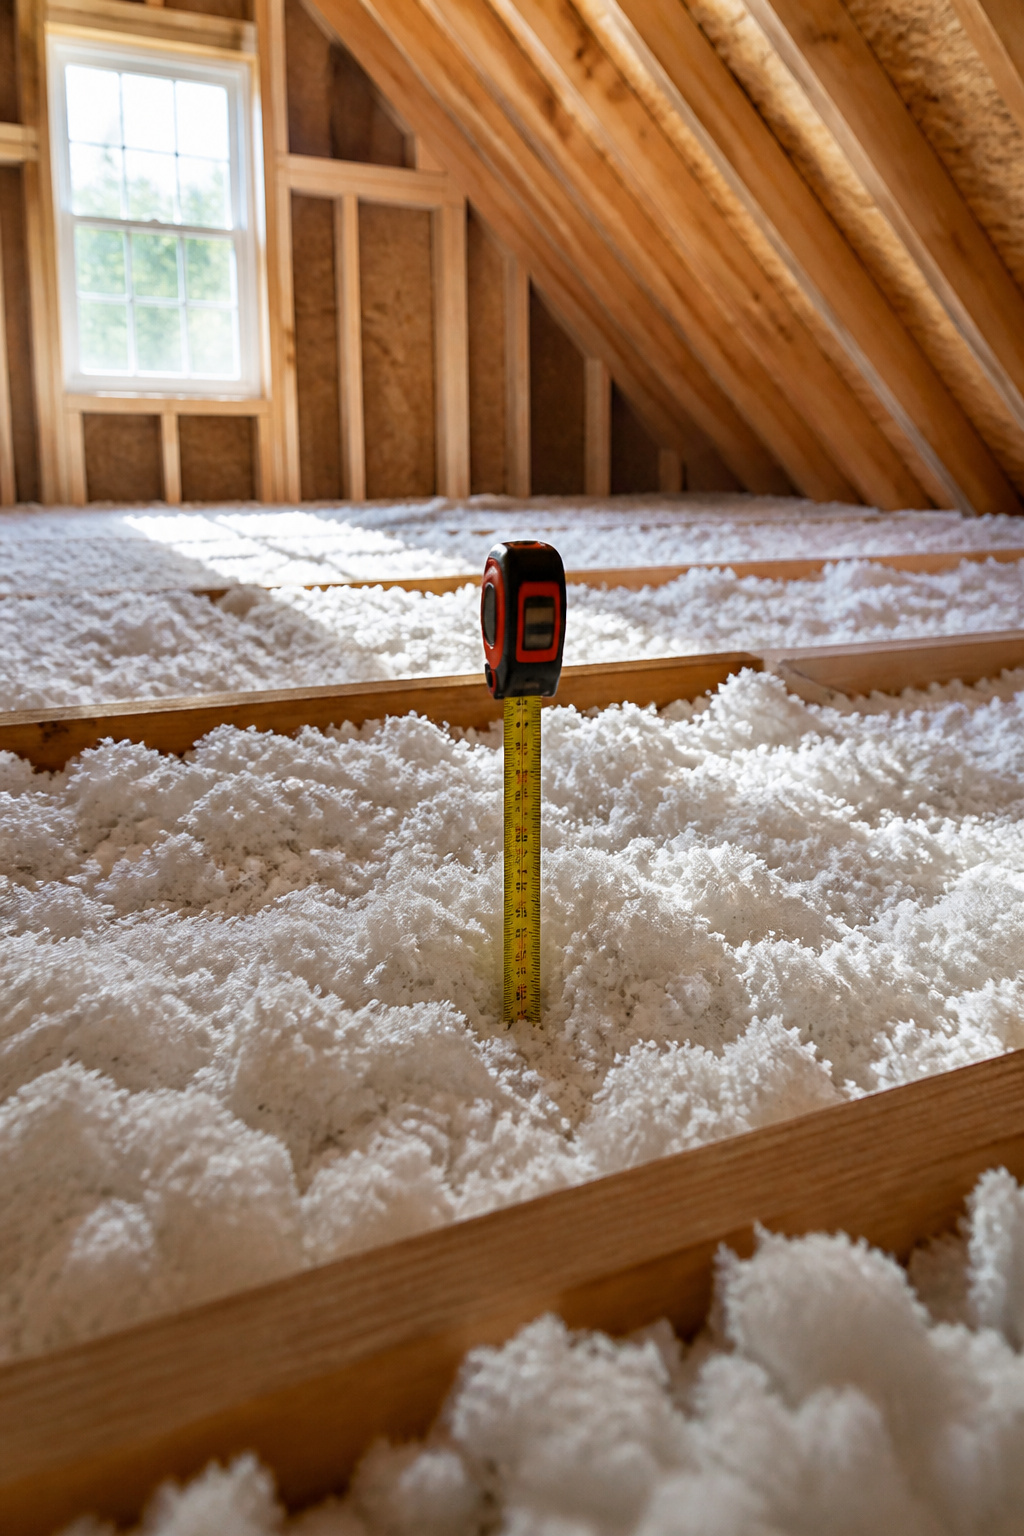
R60 equals about 16 inches of blown-in insulation, and measuring to that mark is where most DIY jobs fall short. A tape measure stuck through the fluff until it hits drywall gives the number, but the trick is where you check. Depth tends to drop at the eaves, where sloped rooflines pinch headroom and the temptation is to stop blowing early. It also thins around attic hatches, light fixtures, and anywhere the plywood runway sits, since installers often forget to lift those boards first. If the attic needs a raised walkway for access, pulling the plywood and reinstalling it on 2×4 sleepers buys the extra inches underneath; otherwise that strip stays cold all winter. Code in colder zones calls for that full R60, and scattered thin spots drag the whole assembly down. I check at least six points, including the spots farthest from the hatch where nobody wants to crawl twice.
Seal and Clean Up
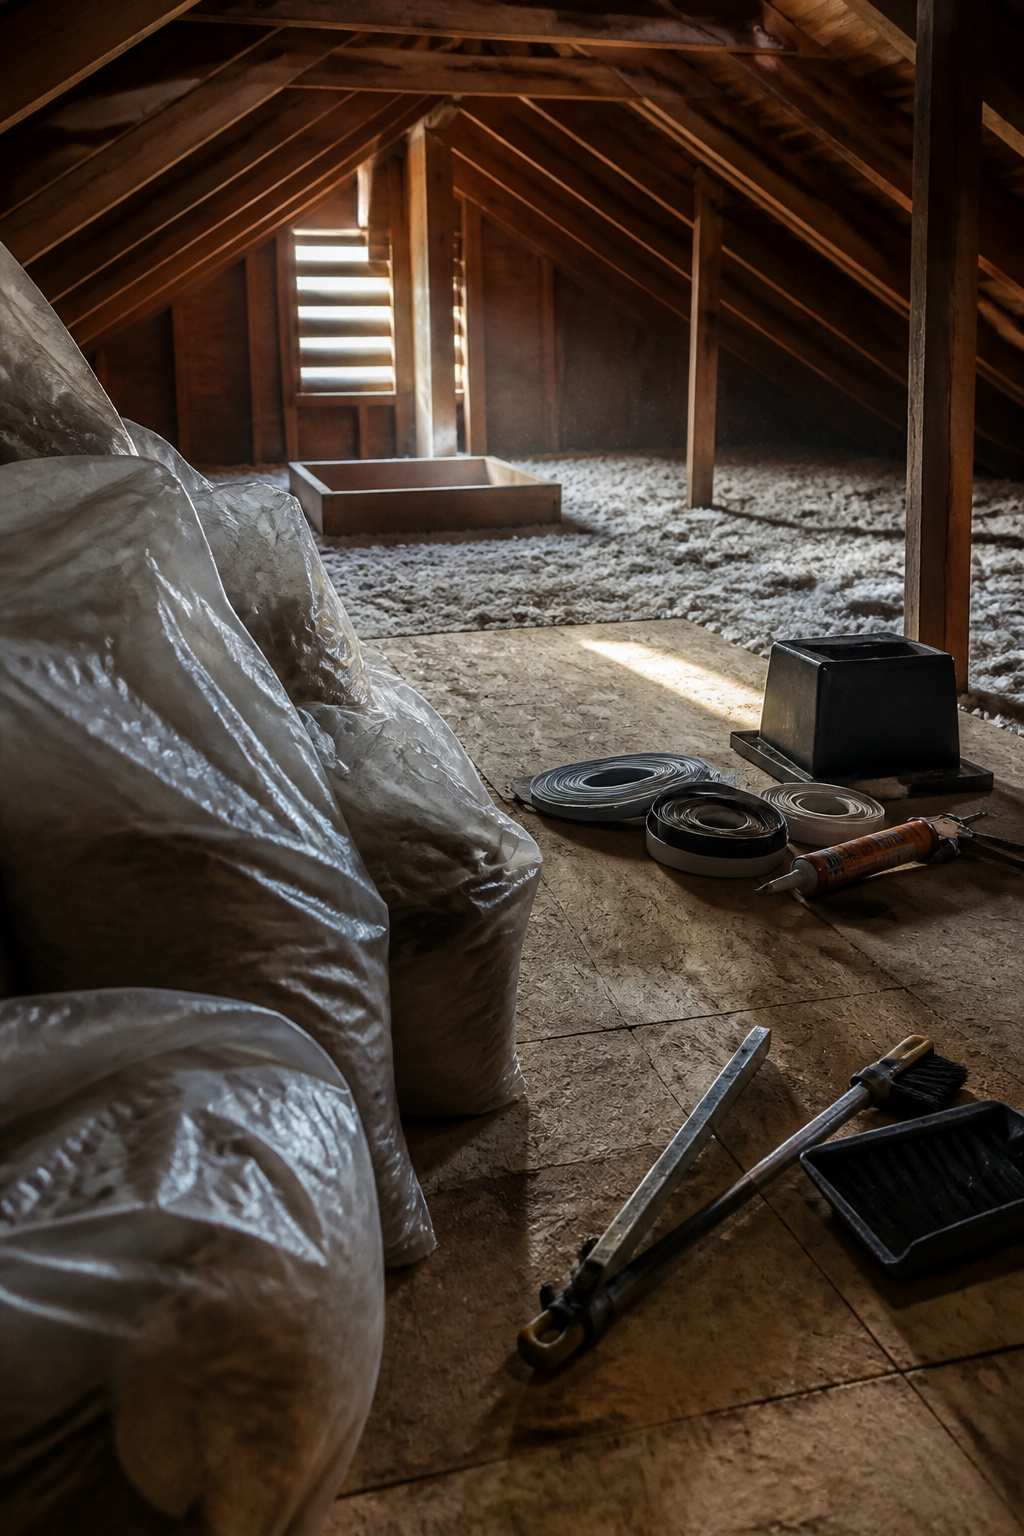
The last bags are empty and the machine is cooling down, but the job is not finished until the attic is closed up tight. Every hatch, vent, or temporary opening you used for hose access needs fresh caulk or replacement weatherstripping; warm air escaping through a half-sealed gap will undo hours of work faster than most people expect. I sweep the floor boards and joist bays while the dust is still loose, catching stray cellulose or fiberglass before it drifts down through light fixtures or into wall cavities below. The blowing machine goes back to the rental center the same day; late fees on that equipment sting worse than most tool rentals, and a weekend timeline does not forgive a Monday morning return. Leftover bags belong sealed in contractor bags, not the garage corner where they will wick moisture and turn into sodden bricks. Vacuum the access path last, since you will track fibers down the ladder no matter how careful you are. Proper cleanup now means no itchy surprises in the house for the next month, and no inspector or buyer later on wondering why insulation is spilling out of a half-sealed soffit.
Safety Precautions
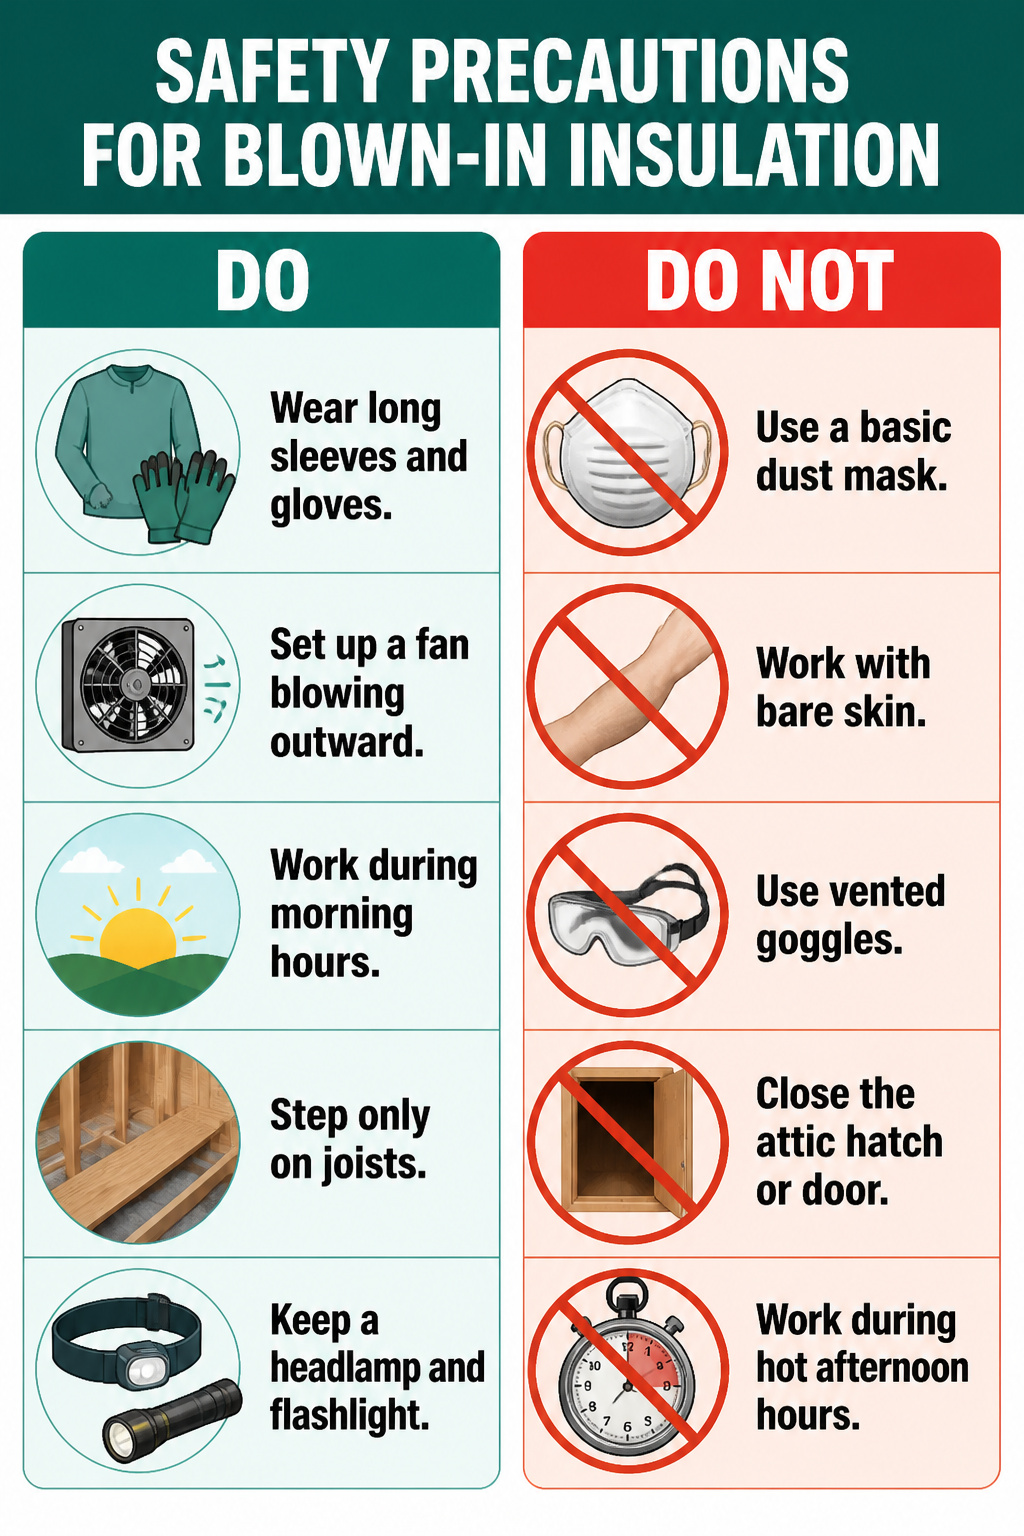
Blown-in insulation throws a surprising amount of material into the air, even when the machine is running right. A respirator rated N95 or higher, not a basic dust mask, is the minimum for keeping cellulose or fiberglass out of your lungs. Goggles that seal around the edges matter too; the cheap vented ones fog up fast and let particles slip through.
- Wear long sleeves and gloves. The itch from fiberglass or the fine dust from cellulose will find any bare skin.
- Set up a fan in the attic access point blowing outward, and keep the attic hatch or door open while you work. Stagnant air turns the space into a dust box.
- Work during morning hours if possible. Attic temperatures climb fast once the sun hits the roof, and heat exhaustion sneaks up when you are focused on feeding the hopper.
- Step only on joists or the plywood walkways you laid during prep. The insulation hides the gaps between joists completely.
- Keep a headlamp on your head and a flashlight in your pocket. Outlets and junction boxes get buried fast, and you do not want to guess where they are.
R-Value Requirements
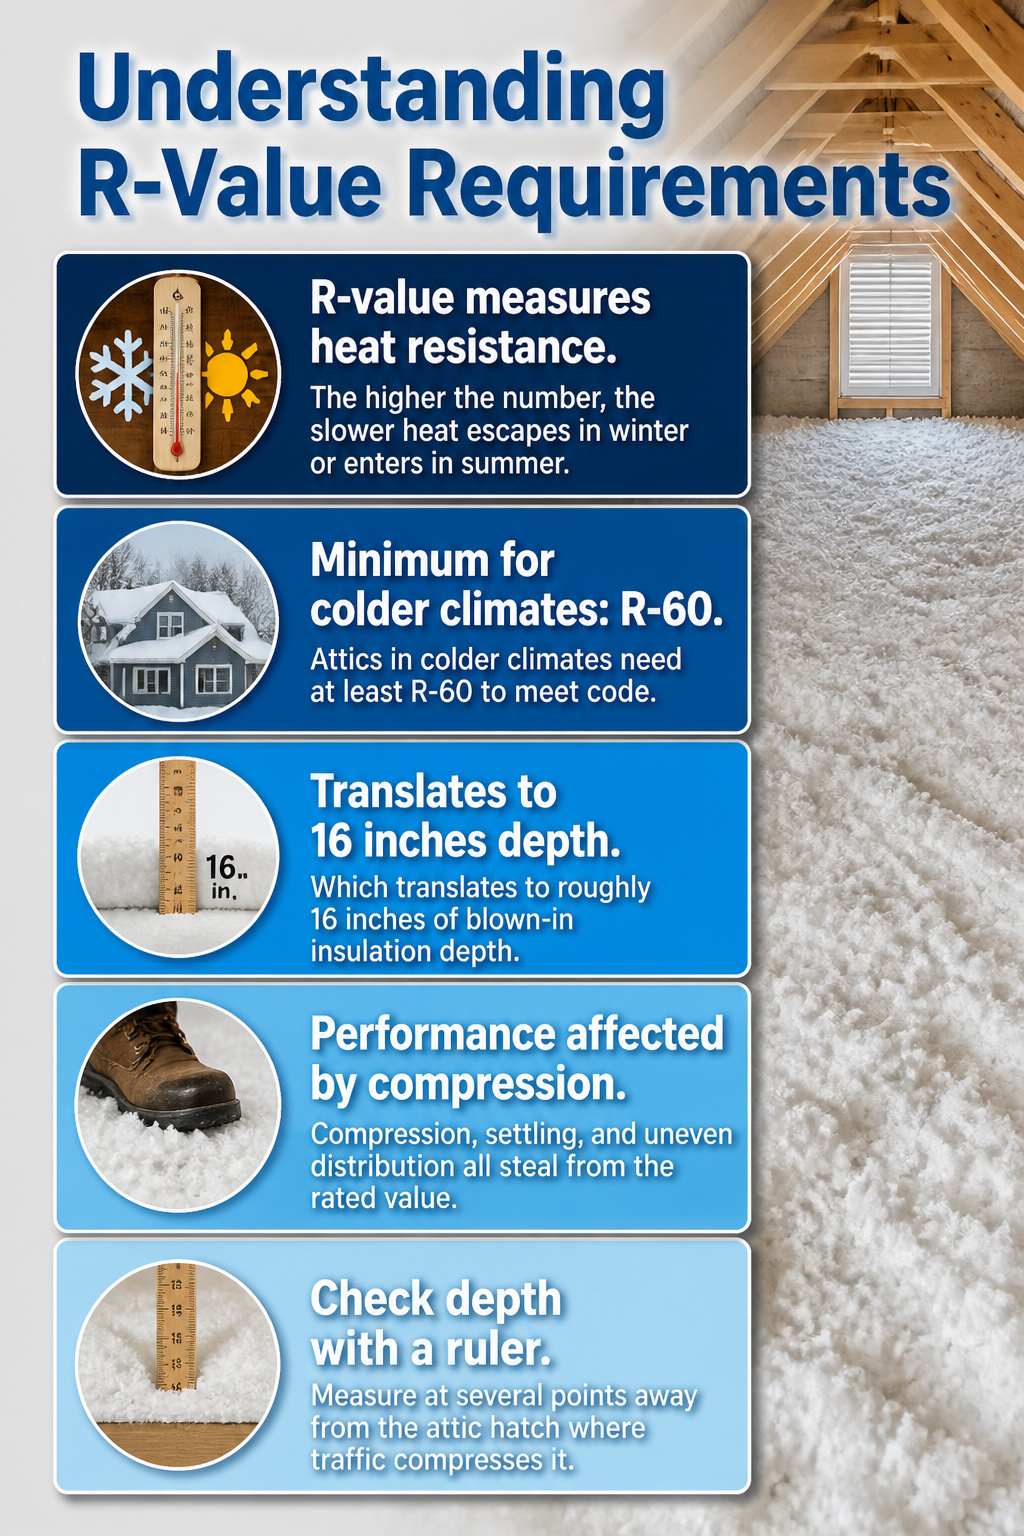
R-value measures how well a material resists heat flow. The higher the number, the slower heat escapes in winter or enters in summer. Attics in colder climates need at least R-60 to meet code, which translates to roughly 16 inches of blown-in insulation depth. That number comes from the same sources contractors use, and hitting it matters more than the material you choose.
Depth and performance move together, but not in a straight line. Compression, settling, and uneven distribution all steal from the rated value. What reads as 16 inches on day one can read as 14 by year two if the material was fluffed too aggressively during installation. The machine settings and your walking pattern across the joists determine whether you actually bank the R-value you paid for.
Checking depth is simple enough: a ruler poked through to the drywall below, measured at several points away from the attic hatch where traffic compresses it. The code minimum is a floor, not a target. In a 1948 ranch with recessed lights bleeding heat, even R-60 behaves like less if the air leaks upward unsealed. I would rather see R-50 with foamed penetrations than R-60 with gaps, though that foam work pushes this past a pure DIY weekend.
IC Rated Fixtures
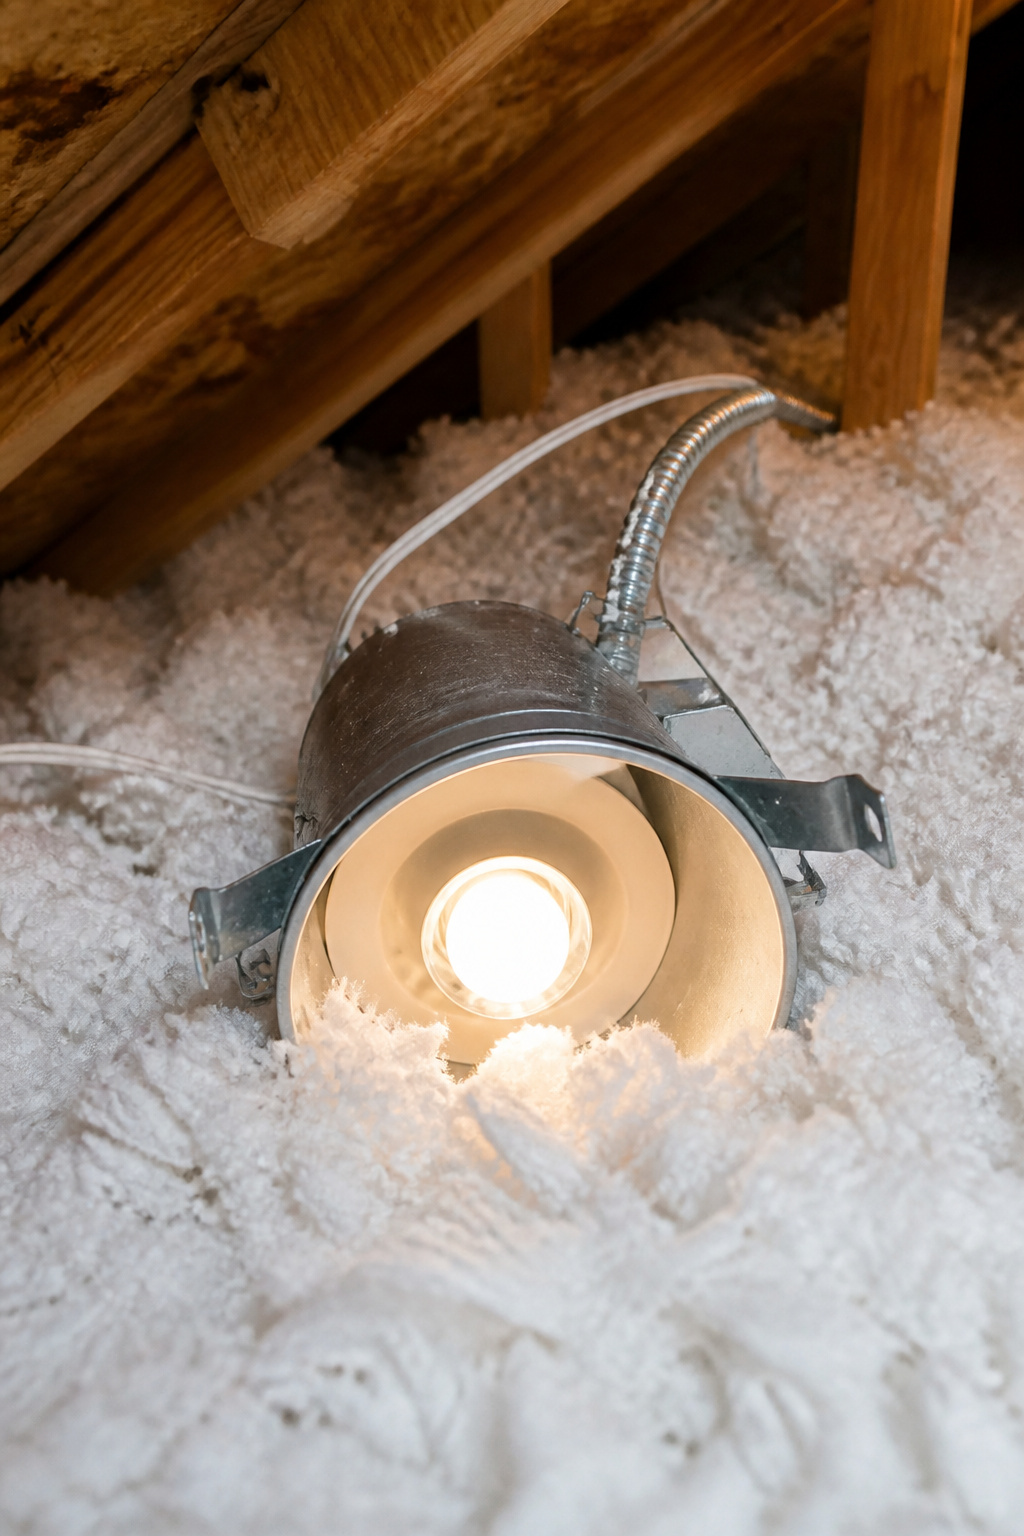
IC stands for Insulation Contact, and the rating tells you whether a recessed light can safely touch the insulation you are about to blow. If the can says IC rated, you can blow cellulose or fiberglass right up against it. No gap, no three-inch clearance, no metal cone needed. That saves time and removes a spot where heat would otherwise escape.
Non-IC rated cans need air space around them, which in practice means building a dam or buying a cover to keep insulation back. The rating is printed inside the junction box cover, on the inner wall of the can itself, or on the socket base. You may need to pop the trim to read it.
My own preference, if a can is sitting in an attic that will soon hold a foot of loose fill, is to swap it for IC rated rather than nurse a workaround through every future project. The check takes five minutes per fixture and settles the decision for good.
Frequently Asked Questions
What materials do I need for blown-in insulation?
You need either cellulose or fiberglass insulation and a blowing machine. Cellulose is recycled paper treated with borate; fiberglass is loose glass fibers. The blowing machine rents from most hardware stores, with one load covering roughly 800 square feet.
How do I prepare my attic for blown-in insulation?
Pull out everything that does not need to stay, then lay a plywood runway down the center for safe walking. Decide on storage platforms now and raise any flat-on-joist plywood on blocks so insulation slides underneath. Check that recessed cans are IC-rated before you blow, and keep soffit vents open with baffles.
What are IC rated fixtures?
IC stands for Insulation Contact, meaning the fixture can safely touch blown-in insulation without overheating. If the can says IC rated, you can blow cellulose or fiberglass right against it with no gap or cover needed. The rating is printed inside the junction box cover, on the can interior, or at the bulb base.