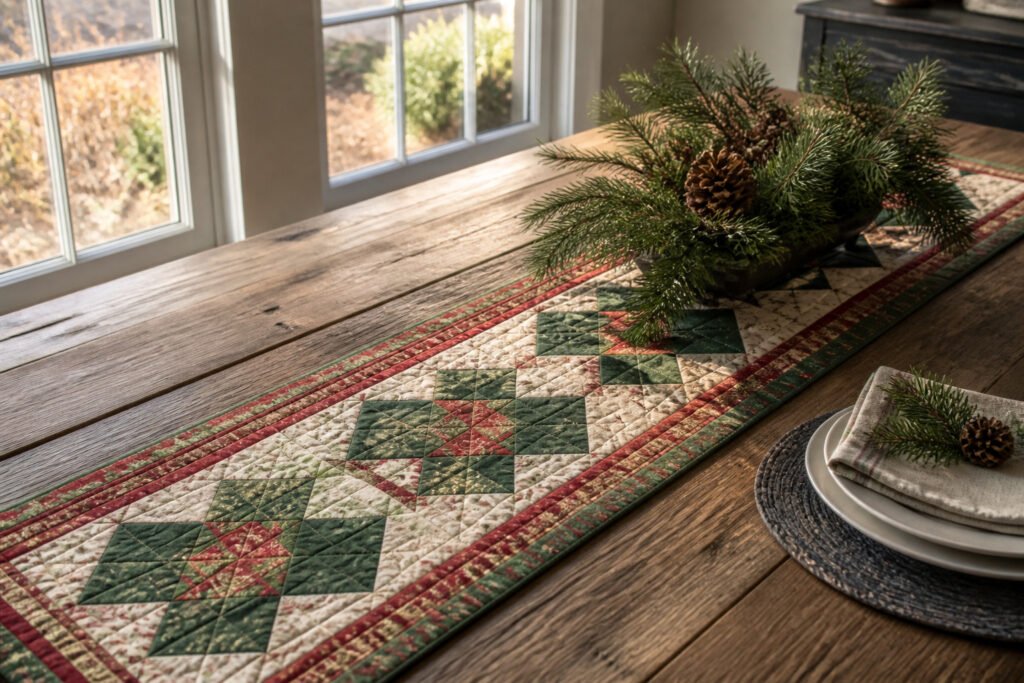
A Christmas table runner is a narrow length of fabric that centers the holiday table, but the version that looks finished instead of rushed depends on whether you quilt it. Layering batting between a pieced top and backing takes extra time, yet the difference between a runner that lies flat under plates and one that bunches under a gravy boat comes down to that single step. The 16 by 49 inch sandwich in the strip-pieced example here uses temporary spray adhesive to hold layers while you stitch.
Fabric Strip Table Runner
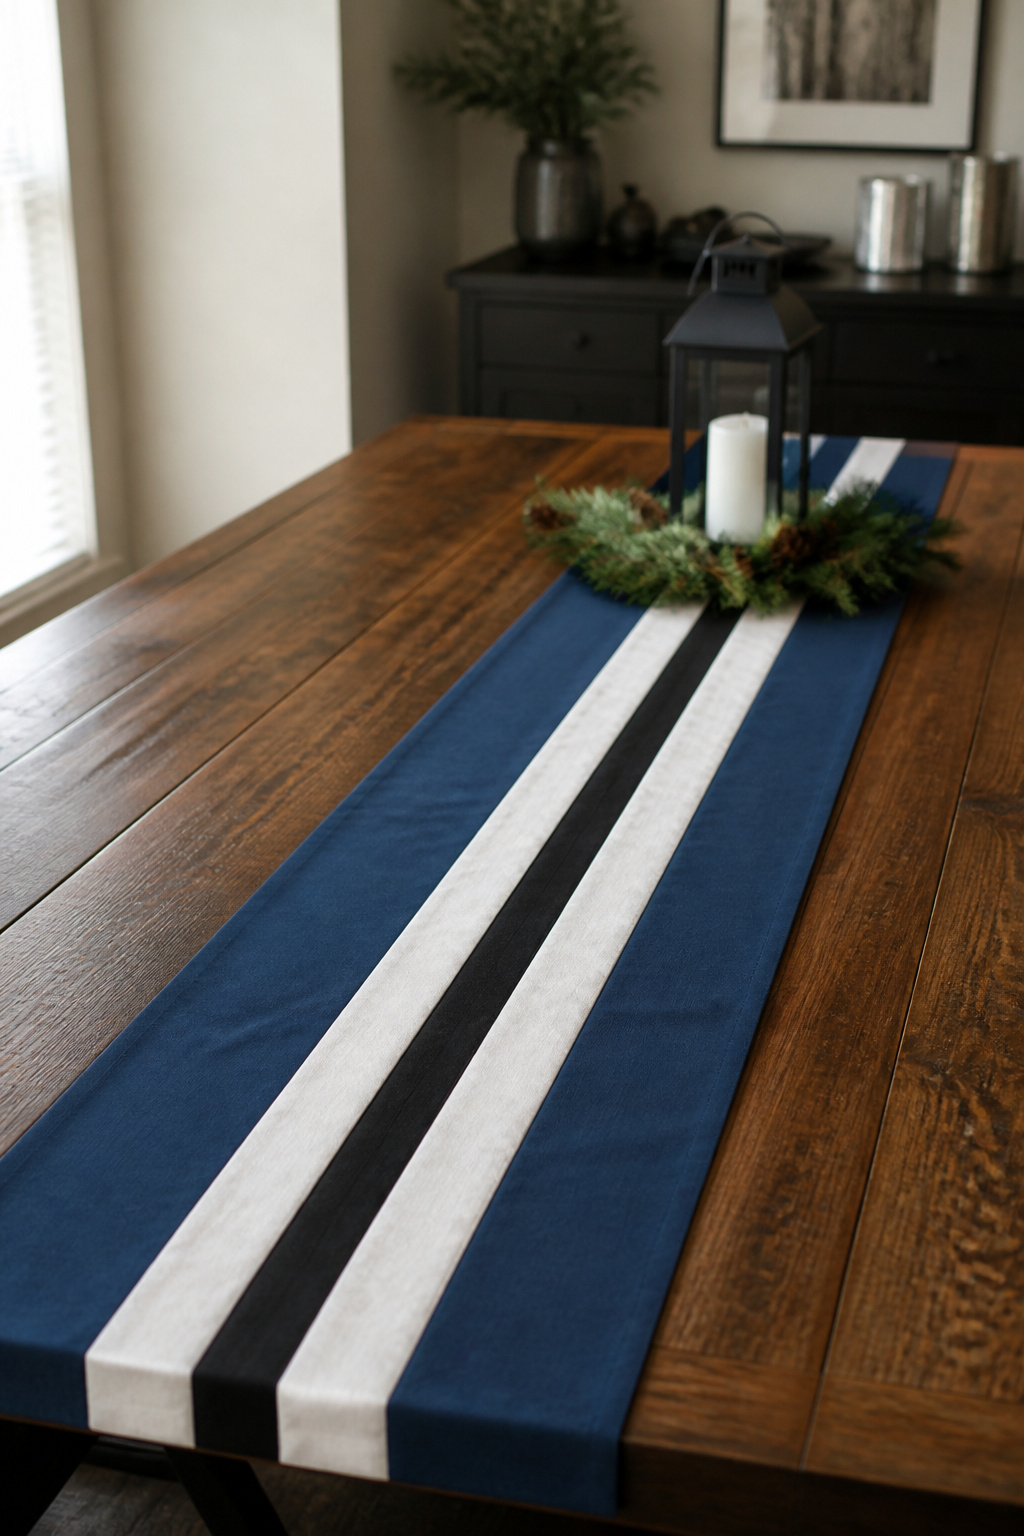
A strip-built runner is the fastest way to get a holiday table piece finished without buying a pattern. Mine started with a quarter yard of blue, three quarters of white, and an eighth of black, plus batting and backing cut to 16 by 49 inches each. The binding takes four strips at 2¼ inches by width of fabric.
Cut the top fabrics to 6½ inches for blue, 3½ inches for black, and 1½ inches for white, all by width of fabric. Sew them in order with a quarter-inch seam, pressing each seam toward the darker fabric so nothing ghosts through the white. The finished top should measure 41½ inches long before you add the backing and batting.
Quilted Table Runner
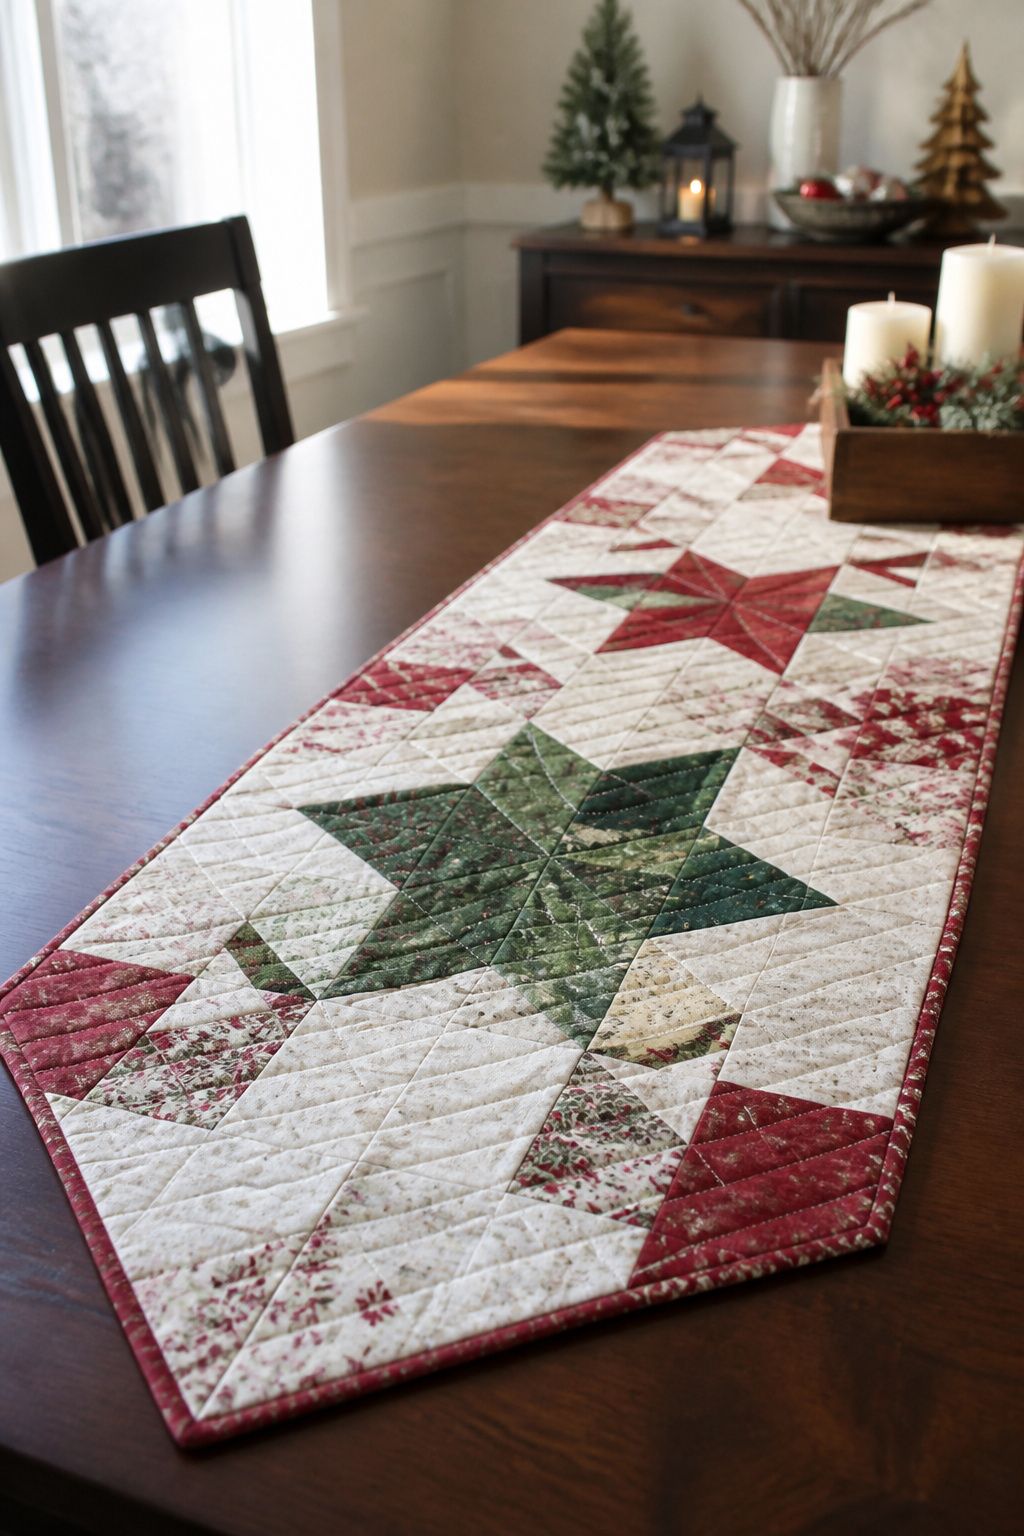
A quilted table runner is the version that feels most finished, and the extra step is mostly about layering three pieces instead of one. You start with the same strip-pieced top you would use for a simpler runner, then add batting in the middle and a backing fabric underneath. Lay the backing face down on your mat, smooth the batting on top, and spray both layers with temporary adhesive like 505 to keep them from shifting. The pieced top goes on last, sprayed again and pressed flat.
Basting holds everything together while you quilt. Pins work, though a spray baste saves time on a small project like this. For the quilting itself, simple diagonal lines across one fabric section and straight lines on another give enough texture without fighting the holiday pattern. Ditch stitching around the blocks and border, running right in the seam line, keeps the piecing crisp and defines the shape.
Pressing matters more here than on an unquilted runner because the bulk fights back. Press seams open as you build the top so nothing lumps under the quilting, and give the finished piece a final press from the back before you trim. Trimming means squaring the quilted sandwich to your seam lines, sliding the ruler along as you go since most mats are shorter than a table runner.
Dual-Sided Table Runner
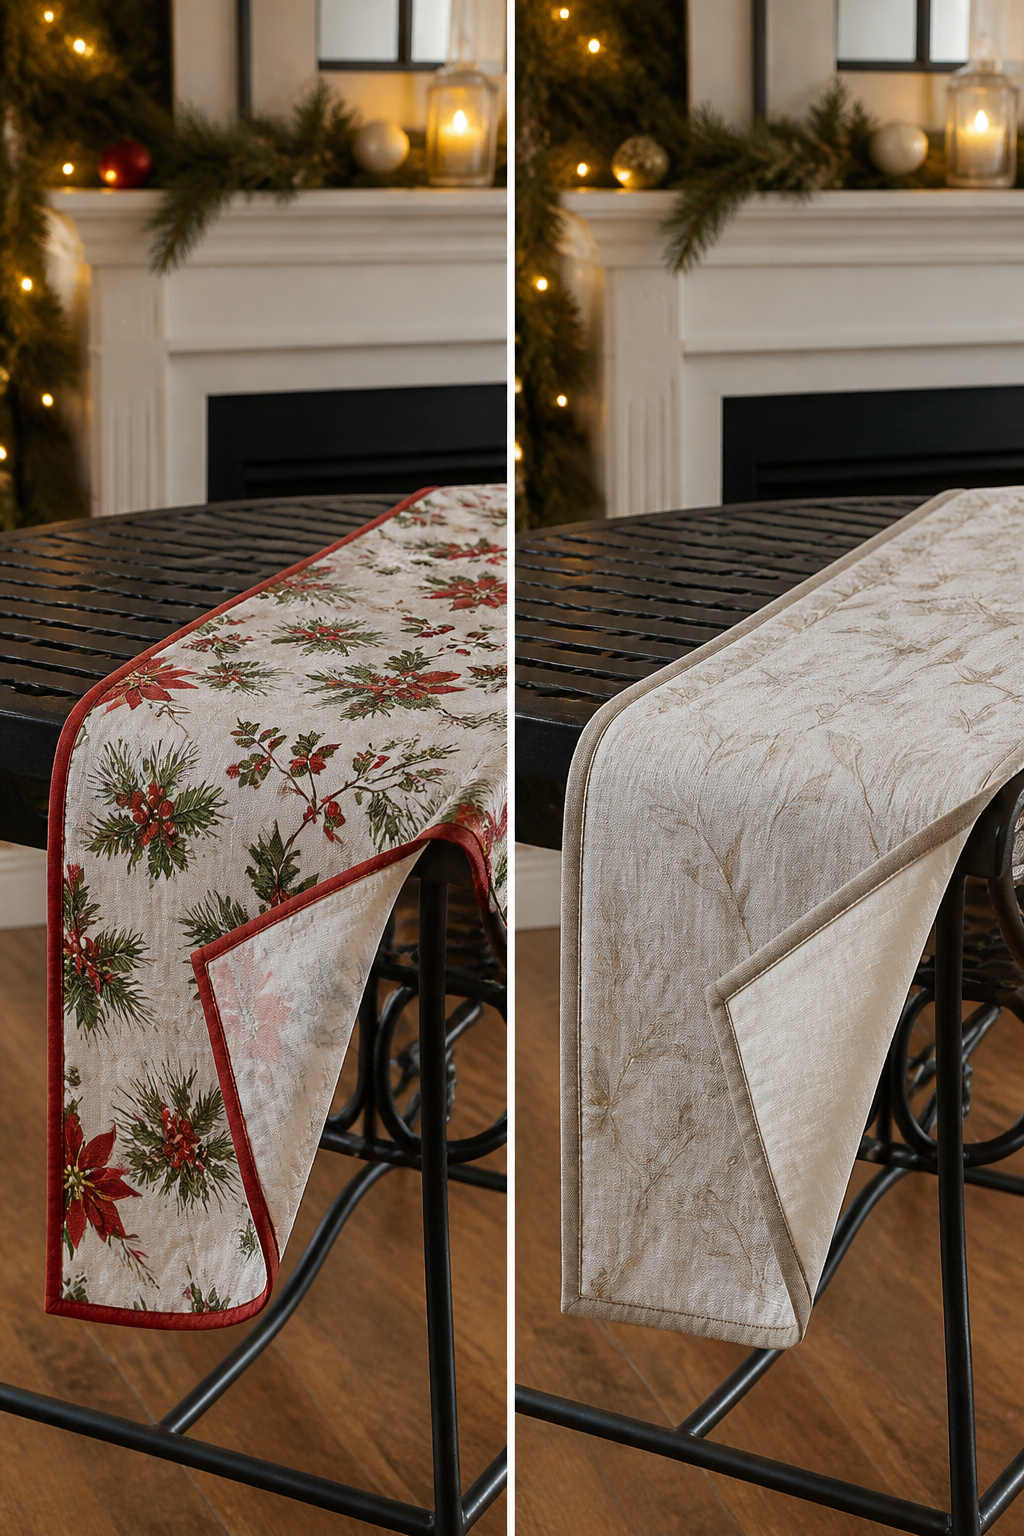
A reversible table runner gives you two finished faces, each good enough to be the front. I like the idea because December ends, the runner goes back in the drawer, and half the work sits unused for eleven months. Flip it to a neutral side and it stays on the table through winter.
The construction means building two complete tops, not one top and a backing. Both faces need the same quality fabric; there is no place to hide a cheaper print. That doubles your yardage, and it doubles the seam bulk where the layers meet. Press every seam open and trim the allowances to a scant quarter inch before you join the faces, or the finished runner will ridge up and refuse to lie flat.
I sandwich a thin cotton batting between the two layers for body, but skip the loftier poly fills. They fight you at the turn-through opening and leave the runner puffy in a way that reads homemade, not handmade. After turning, I close the gap with hand stitches sunk into the seam line, not topstitching that would announce itself on both sides.
The binding has to finish clean from either direction. I cut bias strips from one face fabric or the other, never a contrasting third fabric that would lock you to one orientation. A narrow 2-inch strip, folded double, gives enough to catch both layers without swallowing the design.
Embellished Table Runner
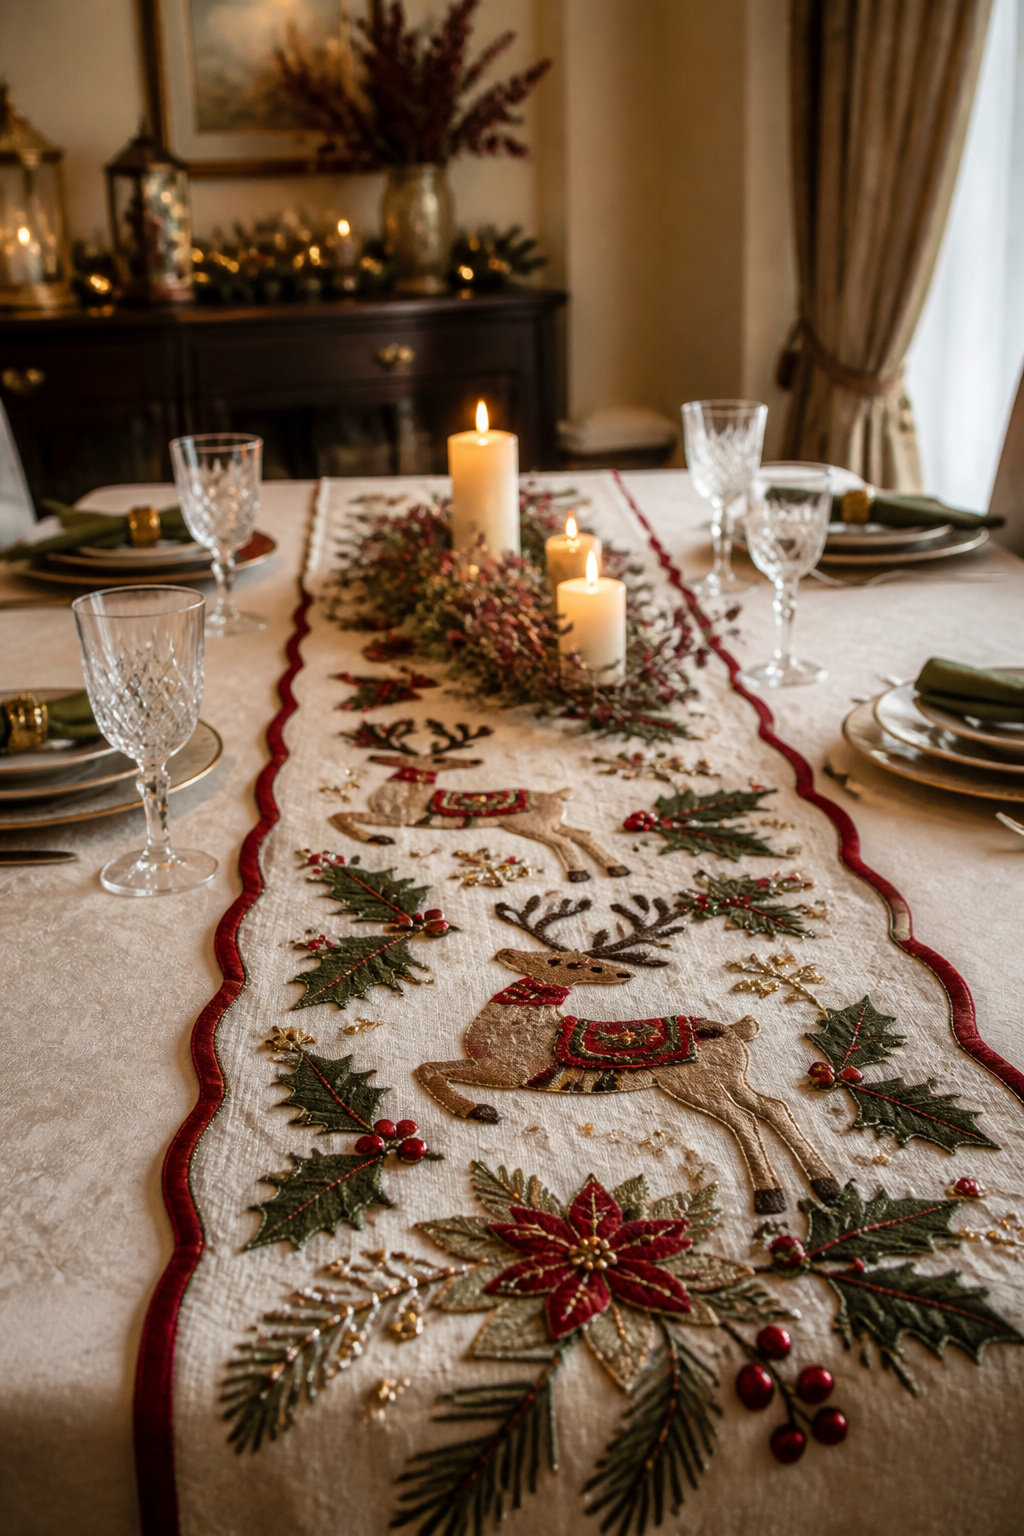
Embellished runners sit at the top of the difficulty stack, and the placement of every bead, stitch, or appliqué piece can make or break the finished look. Add surface decoration before you quilt, never after, because quilting lines that hit an embroidered motif will pucker the threadwork or distort the shape you spent hours perfecting. Appliqué works beautifully for Christmas themes: think wool felt reindeer silhouettes, cotton holly leaves with tiny red button berries, or a string of pieced-tree blocks running the length of the runner. Embroidery fills the gaps between larger elements, with simple backstitched garland lines or French knot snowflakes that catch candlelight across the table.
The trouble arrives when decoration crosses into quilting territory. A heavily embroidered center medallion looks elegant until you realize your walking foot has to stitch straight through it, compressing the raised work flat. Plan the quilting path around appliqué edges instead, using echo quilting that frames each shape rather than crossing it. Metallic threads in embroidery read festive but shred under machine needles; if you want shimmer, keep it to hand-worked areas or couch it on top after the sandwich is fully quilted. The same goes for dimensional elements like jingle bells or wooden buttons: sew them last, through the backing only, so they do not interfere with the quilting lines and so you can remove them before laundering.
Rotary Cutters and Mats
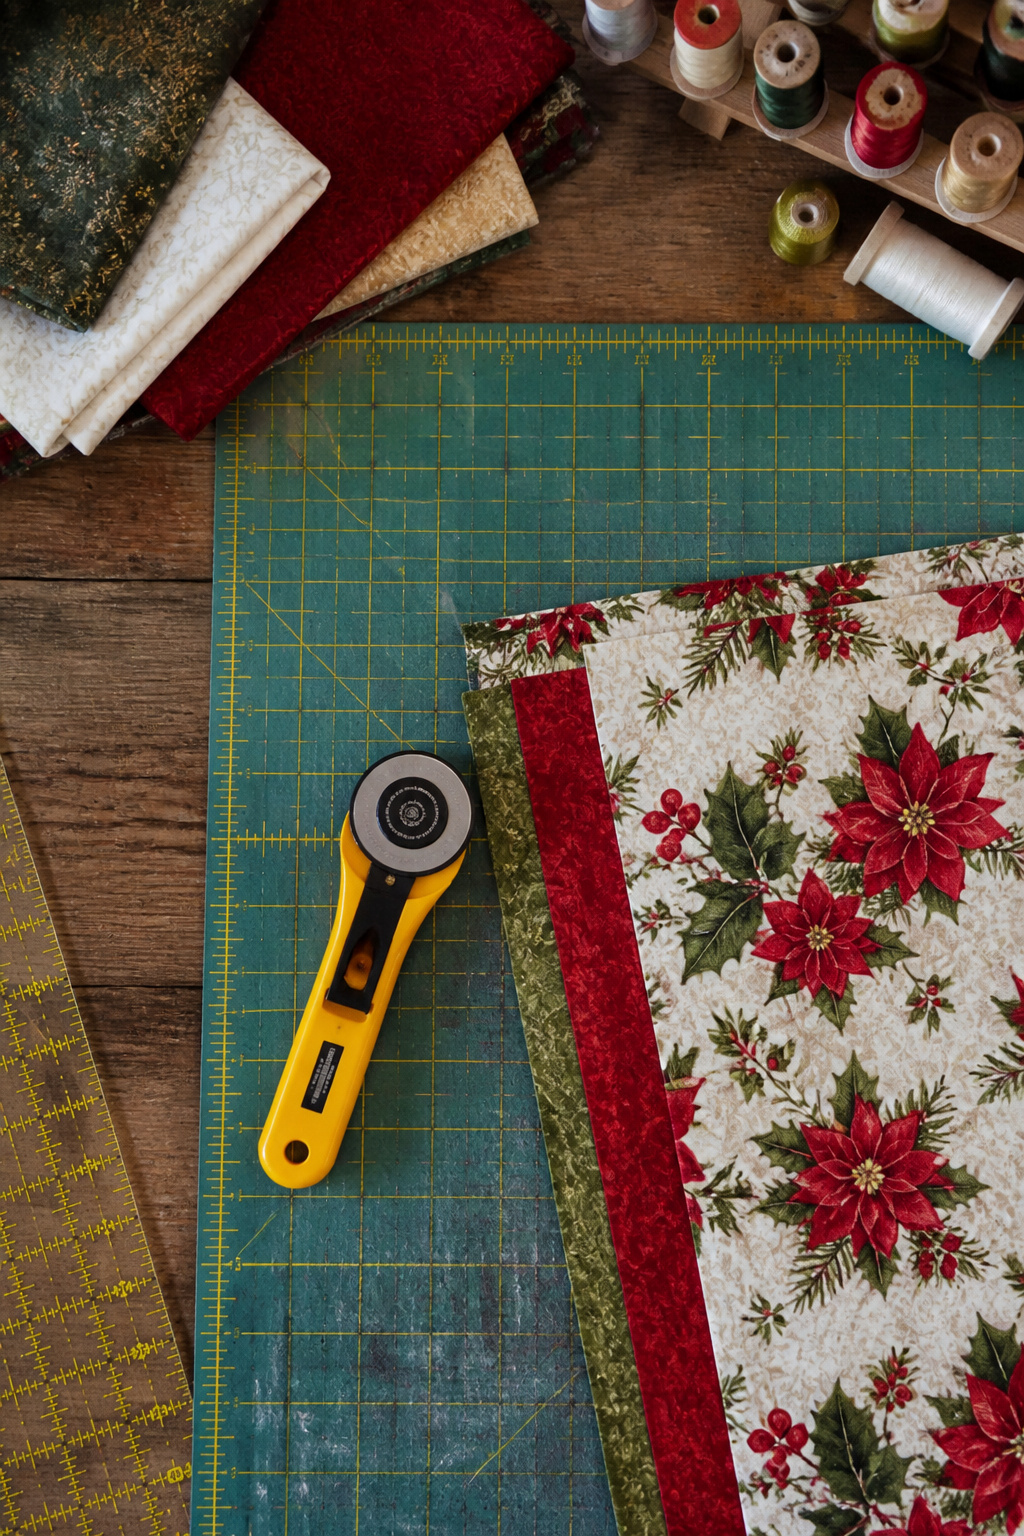
A 60 mm rotary cutter and a self-healing mat big enough to lay fabric flat are the two tools that separate a quick hour-long project from an evening of wrestling with scissors. Everything else is negotiable.
- The rotary cutter is the tool that matters most. A 60 mm blade rolls through folded yardage in one pass, which means straight edges without the jagged waver that dull scissors leave behind. The 24″ x 36″ Olfa mat gives you enough room to cut strips the full width of most holiday prints without shifting the fabric mid-slice. Smaller mats work, but you end up crawling around the table to reposition.
- A 12-1/2″ x 24-1/2″ rectangular ruler keeps the blade straight. I own two rulers and reach for the longer one every time; the short ruler sits in the drawer unless I am trimming something already cut.
- A sewing machine speeds things up, though a simple strip-pieced runner sews up fine by hand if that is what you have. The Juki 2010QP is what one quilter I follow uses, but any machine with a straight stitch will do the seams. What actually matters is a quarter-inch foot or tape mark you trust, because inconsistent seam allowance is what makes a runner ripple or pucker.
- The cordless iron is nice. It is not necessary. My corded iron stays plugged in by the board and works the same seams.
Fabric Weight and Type
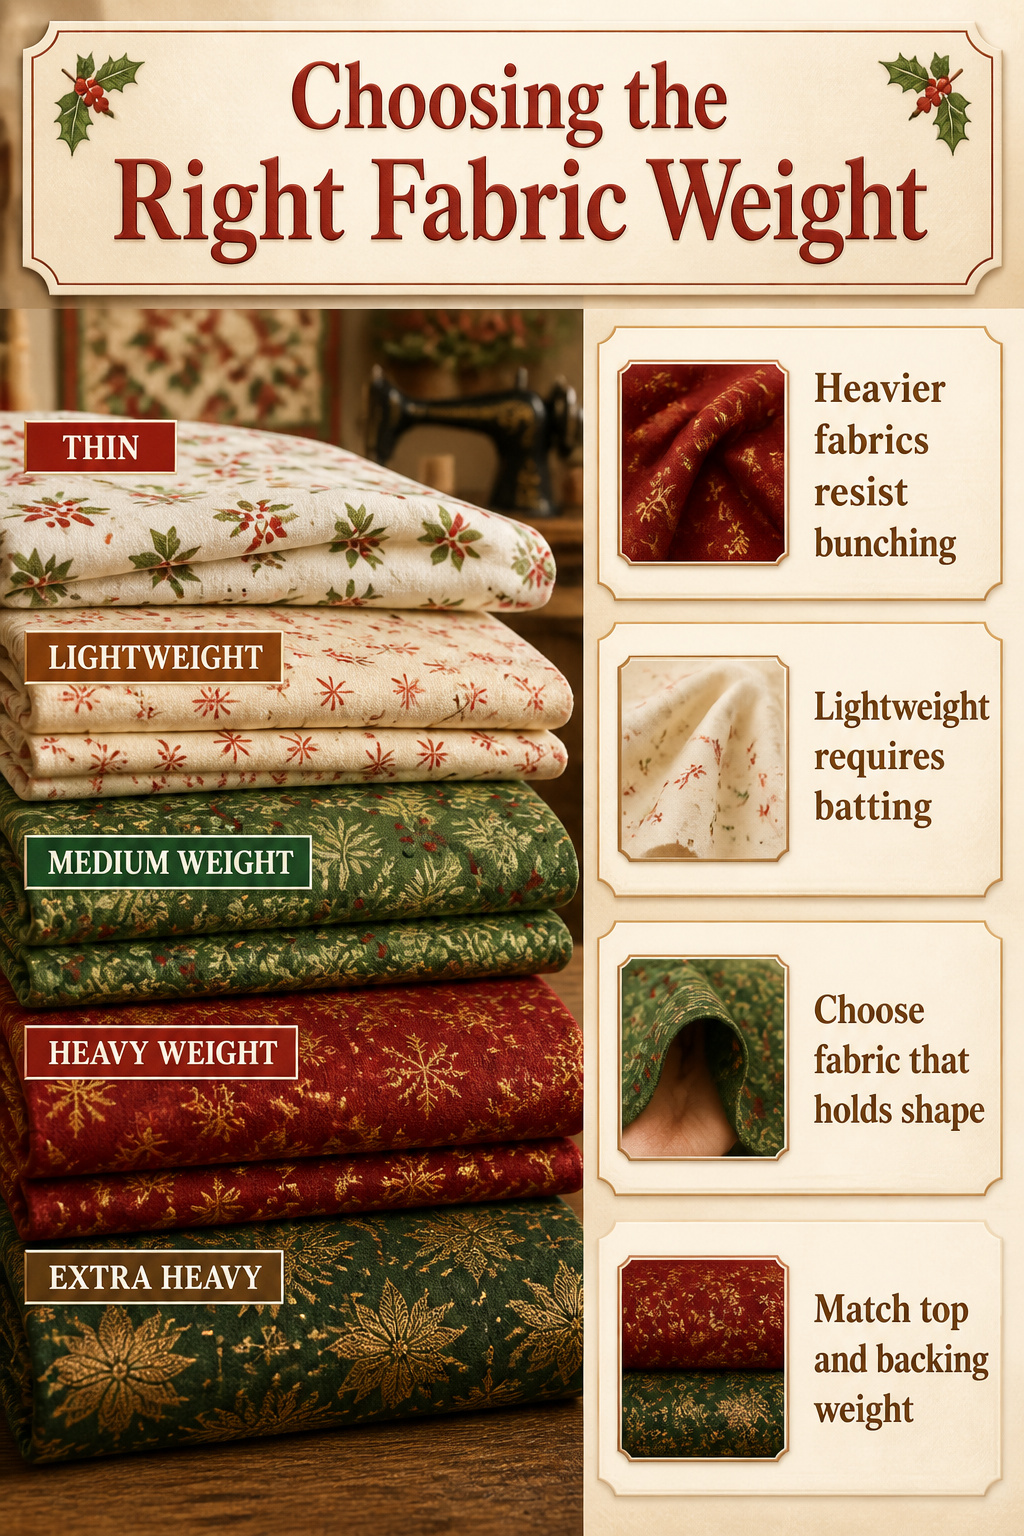
Most patterns for a Christmas table runner call for quilting cotton without mentioning weight, and after sorting through my own stash, I understand why the omission matters. The cotton labeled "quilting" at the chain store near me ranges from a thin, almost shirting feel to something that could stand up as a light canvas. For a runner that actually sits flat under plates and does not slide toward the table edge, the heavier end of that range wins every time. I have made the mistake of using a print I loved that turned out too light; it bunched under the gravy boat and never recovered.
What "heavy" means in practice depends on what your supplier stocks. Unfold the bolt and let it drape over your hand. If it stands away from your palm like a small tent, it will fight you at the machine and fight the table once finished. If it collapses immediately and shows every wrinkle from the bolt, it will need batting or interfacing to hold its shape, which adds steps and cost. The bolt that folds once and settles into a soft curve is the one I reach for now.
For backing, the same weight in a solid or a second print works without puckering. Mixing a heavy top with a light back is where I have seen seams torque after the first wash, so I match them or stay within one shelf of weight at the store.
Seam Allowances and Pressing
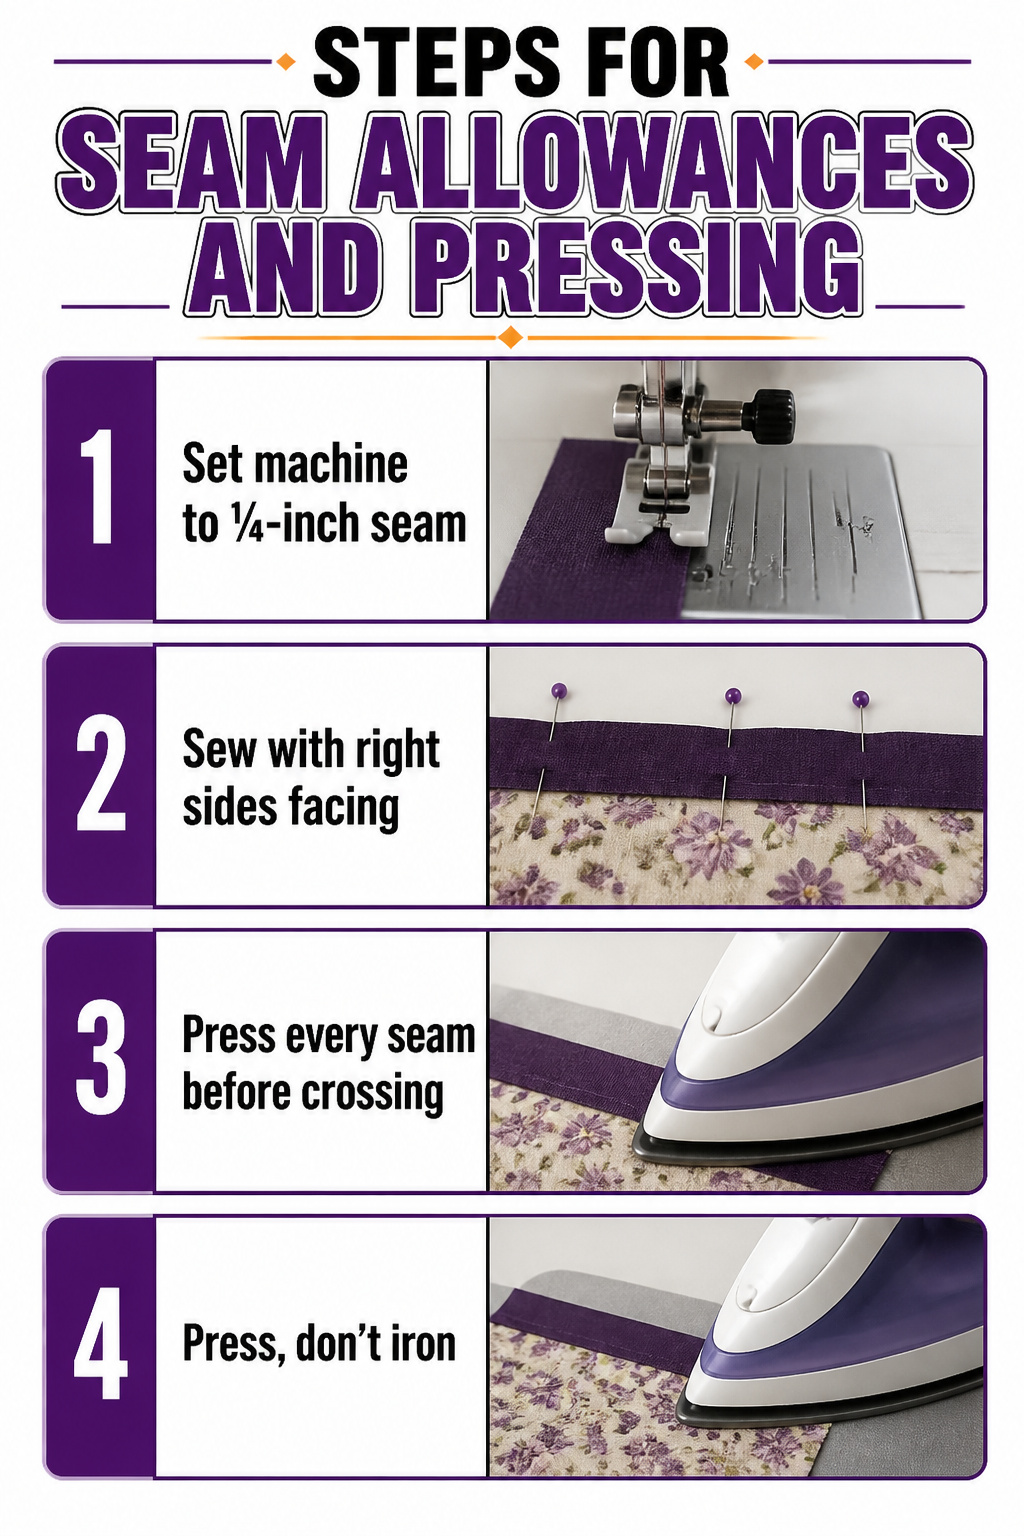
A quarter-inch seam allowance is the standard that holds these runners together. I used to eyeball seams and wonder why nothing sat flat; the lesson stuck after one too many rippled borders.
- Set the machine to a ¼-inch seam and keep that edge aligned against the foot or throat-plate mark. The 41½-inch side borders from the main panel go on at this width, no guessing.
- Sew with right sides facing. Pins help when the strip is longer than your table.
- Press every seam before it gets crossed by another. I learned this the hard way: sewn over an unpressed seam once, and the lump telegraphed straight through the finished top. Press toward the darker fabric so no shadow shows at the seam line.
- Press, don’t iron. The iron lifts and sets; sliding it distorts the strip.
Binding the Edges
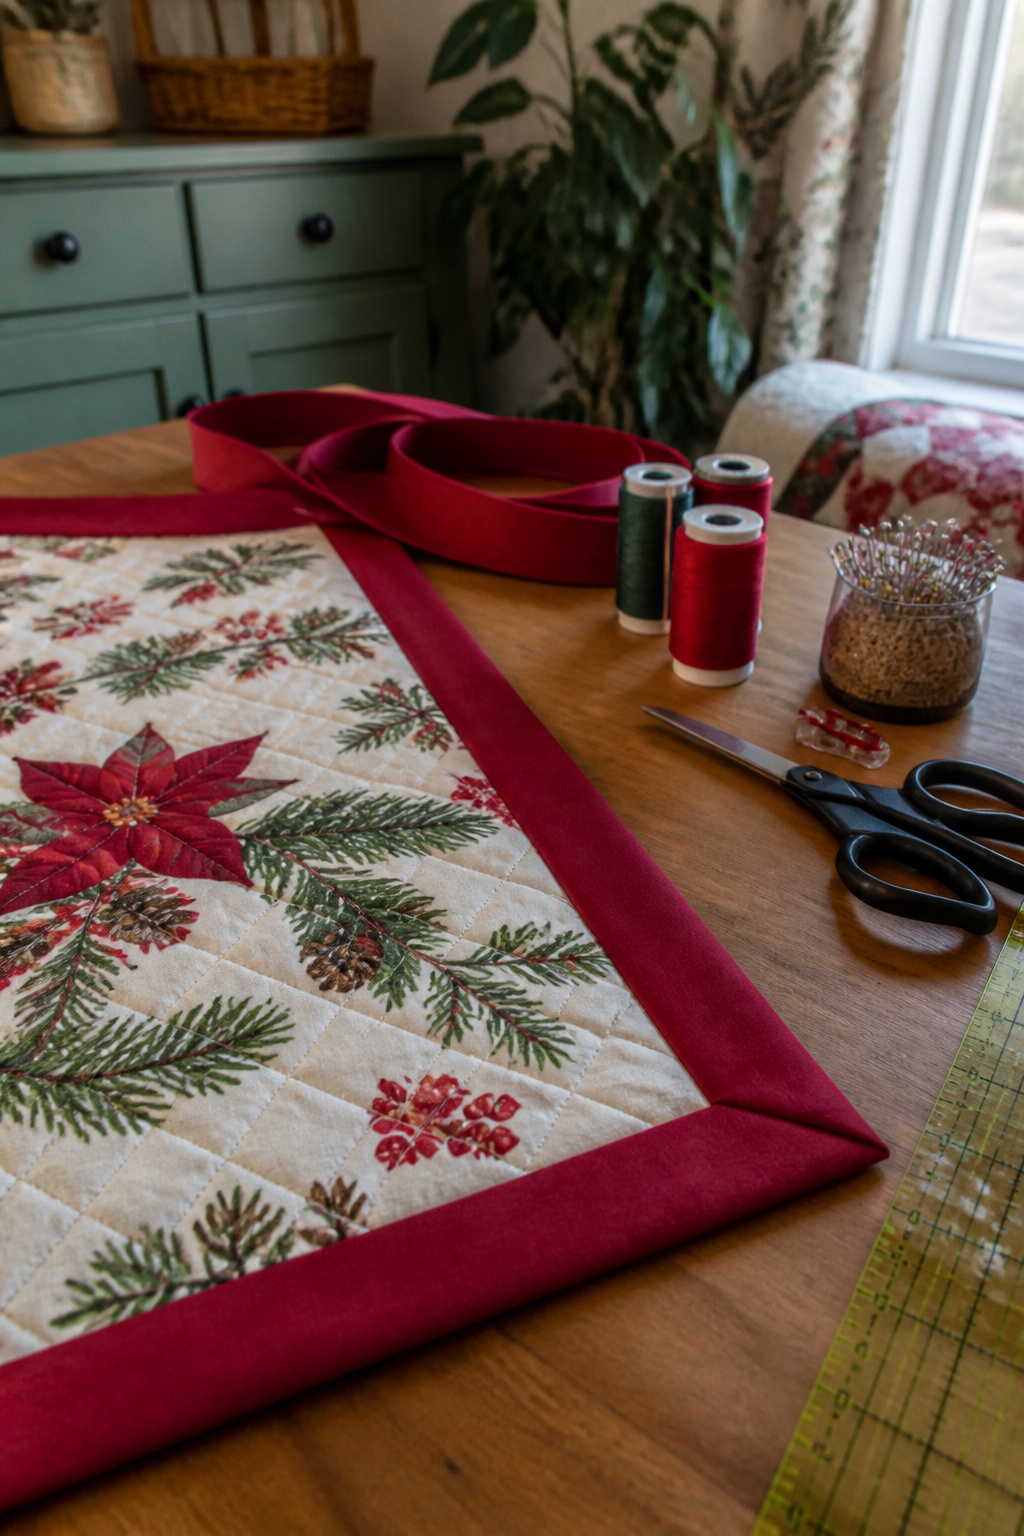
Binding a Christmas table runner takes four strips cut to 2¼ inches by the width of fabric. That width gives enough fold to cover the raw edge without bulking the seam, and WOF means you are working with the selvage-to-selvage length rather than piecing short scraps.
Mitered corners look harder than they are. You stitch to within a quarter inch of the corner, fold the binding up at forty-five degrees, then fold it back down along the next edge and keep sewing. The fold creates the diagonal line. What actually separates a homemade runner from one that looks finished is the invisible join where the two binding ends meet. You leave a tail, overlap the ends, trim them so they meet at a diagonal seam, and stitch that seam open before folding the binding to the back. Done right, the join disappears into the stripe of the binding itself.
Cutting the strips too short is the mistake that costs the whole afternoon. I have done it, measuring the perimeter and cutting exactly that length without accounting for the overlap, the miter folds, and the seam allowance to join the ends. The binding stops three inches short of closing the loop, and there is no fix except starting over with a fresh strip.
Frequently Asked Questions
What fabric do I need for a Christmas table runner?
You need a quarter yard of blue, three quarters of a yard of white, and an eighth of a yard of black for the strip-built top, plus batting and backing cut to 16 by 49 inches each. The binding takes four strips at 2¼ inches by the width of fabric. These amounts assume you are building a runner roughly 41½ inches long before finishing.
How do I make a table runner?
Cut your top fabrics to the specified strip widths, sew them in order with a quarter-inch seam, and press each seam toward the darker fabric so nothing shows through light colors. Add batting and backing, quilt if desired, then bind the edges. The whole project moves faster with a rotary cutter and mat than with scissors.
What is the best way to quilt a table runner?
Use simple diagonal lines across one fabric section and straight lines on another for texture that does not fight the holiday pattern. Ditch stitching right in the seam lines keeps the piecing crisp and defines the shape. Spray baste the layers with something like 505 to keep them from shifting while you work.